Algae Prevention Basics
Prevent aquarium algae with light restraint, plant health, maintenance, feeding control, nutrient balance, and patient observation.
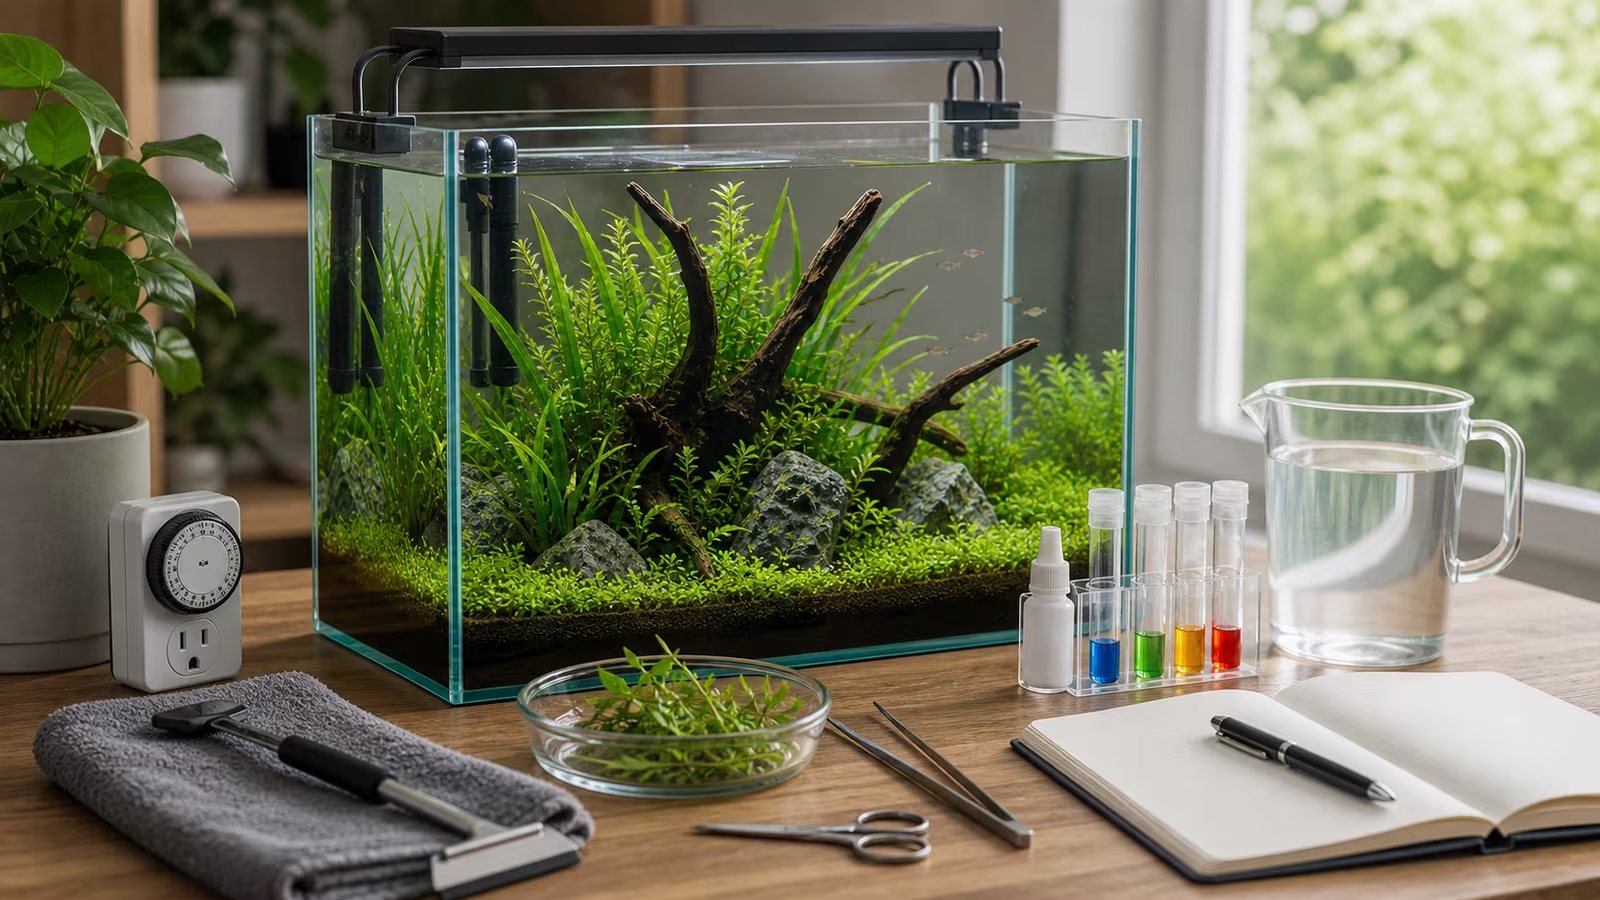
Algae is not a moral failure, and a little film on the glass is not necessarily a problem. A new planted tank may show algae while plants establish; an established tank can change after a shift in lighting, feeding, plant growth, or maintenance. The visible pattern is a clue, not a reliable test for one particular missing nutrient.
The best prevention is a repeatable routine: consistent light, healthy plants, appropriate feeding, regular water changes, gentle cleaning, and patient observation. This guide is for freshwater planted aquariums; the aim is manageable growth, not a sterile tank.
Heads up
Treatment boundary
Do not reach for algae chemicals, prolonged blackouts, or livestock additions without understanding the problem and the risks to the animals and plants already in the tank. If animals are gasping, lethargic, or dying, act promptly: check the filter and surface movement, test ammonia and nitrite, and seek aquatic veterinary or experienced local help. Do not wait for an algae experiment to finish.
First Checks
| Check | What To Look For |
|---|---|
| Light | Record the actual hours, intensity, and any direct sun. Has the timer or fixture changed? |
| Feeding | Look for uneaten food caught in plants or on the substrate. Check that each species still gets an appropriate diet. |
| Plants | Look at new growth as well as older leaves. Remove soft, decaying material and note plants that are shaded or struggling. |
| Maintenance | Check the water-change routine, visible debris, and filter flow. Test ammonia and nitrite if the tank is new or the filter has been disturbed. |
| Recent changes | Note new livestock, plant melt, fertilizer changes, a rescape, or a stopped filter. These are leads to investigate, not proof of a cause. |
Take a photo and note where the algae grows and how quickly it returns after cleaning. A few spots on glass, threads on leaves, and green water call for different follow-up. Use the Algae Diagnosis Guide for clues, or Diagnose Green Water if the water itself is green.
In a stocked tank, a detectable ammonia or nitrite reading needs attention even if the animals look normal. Check that filtration is working, make a partial water change with conditioned, temperature-matched water, and retest; seek experienced help if readings persist. OATA’s planted aquarium guide recommends testing more often during setup and identifies zero ammonia and nitrite as the goal before adding fish.
Set A Steady Light Schedule
Put the aquarium light on a timer and block direct sunlight with a curtain or blind. Direct sun adds variable light and can also heat the water. For a new, modestly planted setup, six to eight hours of aquarium light daily is a practical starting range, not a universal target. Tropica’s setup guide suggests starting at six hours during the first three weeks and increasing gradually; the right schedule still depends on the plants, fixture, and livestock.
Intensity matters too: a powerful fixture at full output can be too much even on a short schedule. If algae is spreading and the light has been on all day, shorten the schedule and record the change. If it is already in the starting range, check intensity, direct sun, plant growth, and recent changes before shortening it further. Give plants and animals a regular dark period and watch new plant growth; pale or struggling plants do not automatically need more light. Keep the filter and heater on continuous power, separate from the light timer. See Photoperiod and Timer Setup and Light Balance for Aquatic Plants .
Support Plants And Manage Waste
Choose plants suited to the light and care you can provide. A useful amount of healthy plant growth can take up nutrients, but plants do not guarantee an algae-free tank or replace a cycled filter. Trim overcrowded growth before it shades plants beneath it, and remove decaying leaves without stripping away every imperfect one. Newly submerged plants may shed older leaves while adapting; look for healthy new growth before assuming the whole plant has failed.
Feed the amount and type your animals need, and remove uneaten food. Some bottom feeders and grazers need time or specialized food, so do not use a single feeding rule for every species. Review stocking before adding animals: a larger animal load brings more waste and care needs.
Continue partial water changes suited to the tank and livestock, using conditioned, temperature-matched replacement water. Siphon loose debris gently rather than repeatedly disturbing planted substrate. Top-offs replace evaporated water; they do not replace water changes. The Merck Veterinary Manual’s maintenance checklist covers observation, feeding, algae removal, plant care, testing, and filter checks. For a routine, see Water Change Rhythm for Planted Tanks and Maintenance Day Checklist .
Keep the filter running and check for blocked intakes or reduced flow. Clean media when needed, gently in removed tank water, rather than replacing all established media at once. Do not sacrifice filtration to make the tank look spotless. Filter Media Maintenance Without Losing the Cycle explains the process.
Fertilizer And Cleanup Animals
Plant nutrients come from several places, including food and animal waste, source water, substrate, and fertilizer. Algae alone cannot tell you which nutrient is excessive or deficient. Review the dosing instructions, plant growth, water-change routine, and any recent change before adjusting fertilizer; stopping all nutrition can leave plants struggling too. A nitrate test is useful context, but one reading does not diagnose an algae type. Record the result and when it was taken relative to dosing and water changes; testing source water can help put it in context. See Water Testing for Aquascapes and Fertilizing Aquatic Plants .
Cleanup animals can be useful residents, but they are not an algae management plan by themselves. Snails, shrimp, and fish add waste and need compatible water, space, food, and tankmates. Some grazers need supplemental food even when algae is visible. The Ornamental Aquatic Trade Association’s algae-eater guide discusses their care and the limits of using them for cleaning. See also Snails in Planted Tanks .
A Two-Week Observation Plan
- Record a baseline. Photograph the same areas, note light hours and intensity, feeding, recent changes, and relevant test results.
- Remove what is easy. Use a scraper suitable for glass or acrylic, keeping grit out of the pad to prevent scratches. Lift loose strands, siphon or net the loosened material, and trim badly decayed leaves. Avoid damaging healthy leaves or disturbing the whole tank.
- Choose one routine adjustment. For example, shorten an unusually long light schedule or remove uneaten food more consistently. Continue normal animal care and water changes.
- Compare after one to two weeks. Photograph the same cleaned area in similar light and compare how much has grown back, not just old marks elsewhere. Record plant growth and animal behavior too. If algae keeps spreading, check whether the adjustment was consistent, revisit the clues, and make another measured adjustment. Do not delay action for distressed animals or unsafe water while waiting.
Common Mistakes
- Running lights for long hours and blaming fertilizer only.
- Adding algae-eating animals to a tank that cannot support them.
- Scrubbing everything sterile and damaging the biological filter.
- Treating every algae pattern with the same response or changing several things at once.
- Ignoring decaying plant leaves, uneaten food, or a clogged filter.
Related Fondsites Path
- Algae Diagnosis Guide for clue-based next steps.
- Diatoms, Hair Algae, and Black Beard Algae for common attached growth patterns.
- Light Balance for Aquatic Plants for matching light to the setup.
- Snails in Planted Tanks for responsible cleanup-crew thinking.
Try This Next
Check the timer, remove a small patch of visible algae, and review feeding. Write down what you changed and photograph the cleaned patch. Compare it again in a week, while watching plants and animals each day.