Aquascape Composition Rules That Actually Help
Use aquarium layout composition, focal points, slopes, negative space, plant mass, and sightlines to make planted tanks easier to read and maintain.
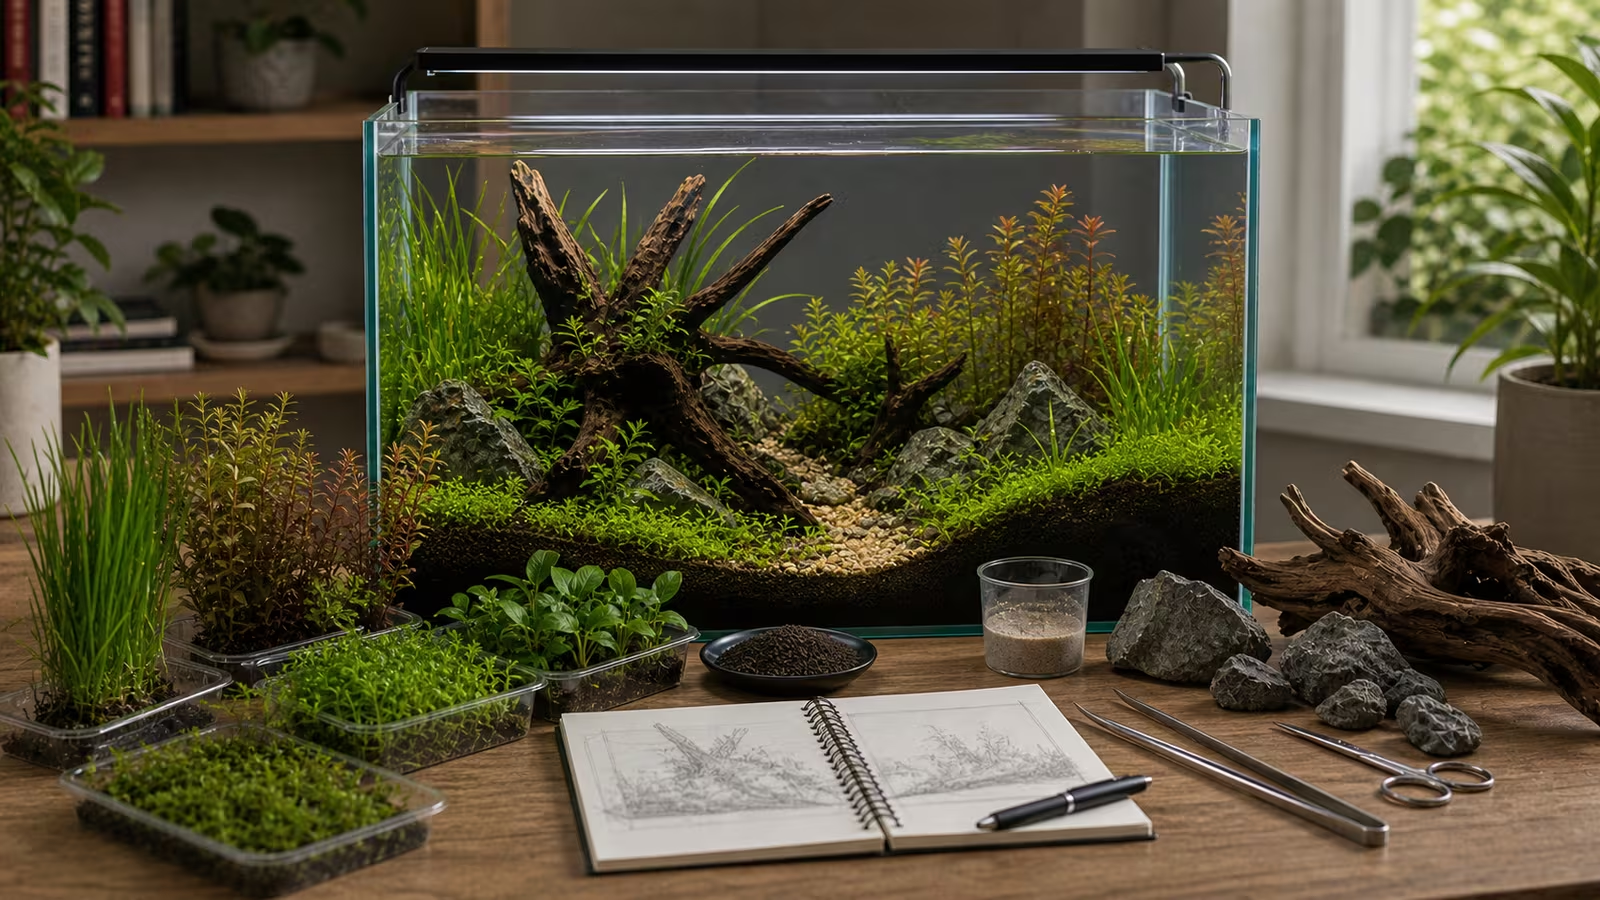
Aquascape composition is about arranging hardscape, plants, open space, and equipment so the tank looks intentional and can still be maintained. A beautiful layout that cannot be cleaned, trimmed, or stocked kindly is not a good beginner design.
Treat the rules as starting points, not requirements. The strongest choice depends on the tank’s dimensions, where it will be viewed, the plants you can grow, and the animals you intend to keep.
Heads up
Design boundary
Do not sacrifice animal welfare, swimming room, stable water, or maintenance access for a layout trick. Sharp hardscape, unstable rock piles, blocked intakes, and cramped stocking are not design wins.
Choose A Focal Area
A focal area gives the eye somewhere to land. It might be a stone group, a root shape, a plant mass, or a gap of open substrate. Start with one prominent feature, then use smaller pieces or repeated plant groups to support it. If several equally large, high-contrast features compete, try removing or repositioning one.
An off-center focal point can make an arrangement feel less symmetrical. A centered feature can work too, especially when balance is intentional. A rule-of-thirds grid is a useful experiment, not a measurement the tank must obey. Look from the seat or standing position where you will actually see the aquarium; what reads clearly from above may hide the midground from the front.
To try the grid, divide a front-view photo into three equal columns and three equal rows. Place the strongest part of the feature near one of the intersections, then compare it with a centered version. For example, a branching root near the left intersection could be balanced by a lower plant group on the right and open space between them. Move the feature if the result feels crowded or blocks access; there is no need to hit the intersection precisely.
Choose An Overall Shape
Before adding small details, compare the silhouette of the main hardscape and the plants at their expected height. A high group tapering down toward an open side creates a triangle; two higher groups with a lower space between them create a valley; a central group with open space around it forms an island. None is inherently better. A valley needs a gap that will remain visible after growth, while an island needs enough space around it to be seen and maintained.
Sketch the outline on a front-view photo, including the plants you plan to grow. If the silhouette becomes a solid wall at mature height, thin or lower a group, or accept a fuller look. In this Tropica rock layout , stone provides the main shape and plants act as accents. The author also describes the extra work of cleaning exposed rock; study the composition and maintenance tradeoff rather than copying its stocking or equipment.
Use Slope And Depth
A substrate slope from front to back can make the tank look deeper. Larger hardscape in front and smaller pieces behind can suggest distance; a path that narrows toward the back can do the same. These are visual cues, not extra tank volume or swimming room. Depth and Perspective in Small Aquascapes explores how to combine them without crowding the tank.
Keep the slope modest enough to maintain. Substrate can shift with gravity, digging animals, water flow, planting, and siphoning. Stones or wood can help retain a bank, but check that the pieces themselves are stable and do not lean precariously against the glass. Plan for a softened slope to remain attractive rather than relying on a steep wall staying perfect. Tropica’s hardscape and substrate guide illustrates a rearward slope as one way to create perspective.
Leave Negative Space
Open sand, visible substrate, or a clear channel between plant masses can give the eye a rest. It can also leave room to clean the glass, remove debris, and observe livestock. A clear foreground is one option; open water and appropriate cover elsewhere matter too. The space animals need depends on the species, not the apparent size of the scene.
Check the space from above as well as from the front. Can a siphon reach it? Will a spreading plant close the gap? If light sand borders darker substrate, stones or planted edges can slow mixing, though grains will still move. For fish, plan cover as well as open space: the RSPCA’s tropical fish guidance advises suitable plant cover and warns against sharp decor and holes that can trap growing fish. Open Sand Paths and Foreground Space covers the upkeep of these areas.
Group Plants By Job
Use the table as a planning aid, not a fixed list of positions. Choose species for their mature size, light and other growing needs, and the trimming you are willing to do.
| Plant Job | Layout Use | Planning Check |
|---|---|---|
| Background stems | Height, color, nutrient uptake, and a screen for equipment. | Leave access to the intake and room to trim. |
| Midground rosettes | Structure and transitions around hardscape. | Allow for the mature width so leaves do not shade the foreground. |
| Epiphytes | Texture on wood and rock. | Attach Anubias or Java fern with the rhizome exposed rather than buried. |
| Foreground plants | Scale and low edges around open viewing areas. | Check whether the species suits the available light and care. |
Repeat a plant in a group rather than placing one of every species across the tank. Leave space for growth, but do not assume every foreground needs a carpet. Tropica’s planting guide explains how planting differs for stems, rosettes, rhizomes, and other plant types. For a closer look at spacing and maintenance, see Planting Density for New Aquascapes .
Test The Layout Before Filling
- Mark the working areas. Identify the filter intake and outlet, heater if used, cleaning routes, and the space and cover required by your intended livestock. Keep equipment accessible and flow unobstructed.
- Arrange the main structure dry. Try a stone group or piece of wood, then add supporting pieces. Place heavy stones on a stable base before building substrate around them; test that they cannot shift when touched or undermined. Use aquarium-safe materials and avoid trapping animals in narrow gaps.
- Check the view and access. Photograph the layout from the usual viewing position, then try reaching the front glass, substrate, equipment, and planting pockets with your tools. Adjust any attractive feature that blocks routine care.
- Sketch the mature planting. Mark plant groups and the open spaces you want to retain. Imagine the plants at their expected size, then leave enough room to trim and remove loose leaves.
The structure does not have to look finished without plants: plants may provide the focal point or soften the hardscape. The dry photograph is simply a way to spot competing shapes and access problems while changes are easy. Some wood floats until waterlogged, and loose substrate can move during filling, so check the layout again underwater before adding animals. Once the filter is running, check that the outlet is clear and observe water movement around the hardscape; revisit it as plants grow. Hardscape Layout Basics for Planted Tanks covers stability and anchoring, and Hiding Equipment Without Hurting Flow helps with access and circulation.
Common Mistakes
- Buying plants before deciding where they fit and whether their needs match the tank.
- Treating an off-center focal point as mandatory rather than testing the whole composition.
- Blocking maintenance access or filter flow behind hardscape.
- Using too many plant species in a tiny tank without room for mature growth.
- Trying to preserve a setup-day photograph instead of trimming and adjusting as the tank grows.
Related Fondsites Path
- Iwagumi, Nature Aquarium, and Dutch Style Basics for style vocabulary.
- Plant Before Fish Plan for a careful setup sequence.
- Aquascape Photo Journal for tracking changes over time.
Try This Next
Make two dry arrangements and photograph each from the normal viewing position. Choose the one with a clearer focal area and better access, then mark where plants will grow and where a scraper and siphon need to reach. Revisit the photo after the first trim to see whether those spaces are still open.