Aquascape Studio Quickstart: A Planted Tank Without Panic
A calm first plan for planted aquariums: tank size, stand safety, cycling, plants, water changes, stocking restraint, and maintenance before shopping.
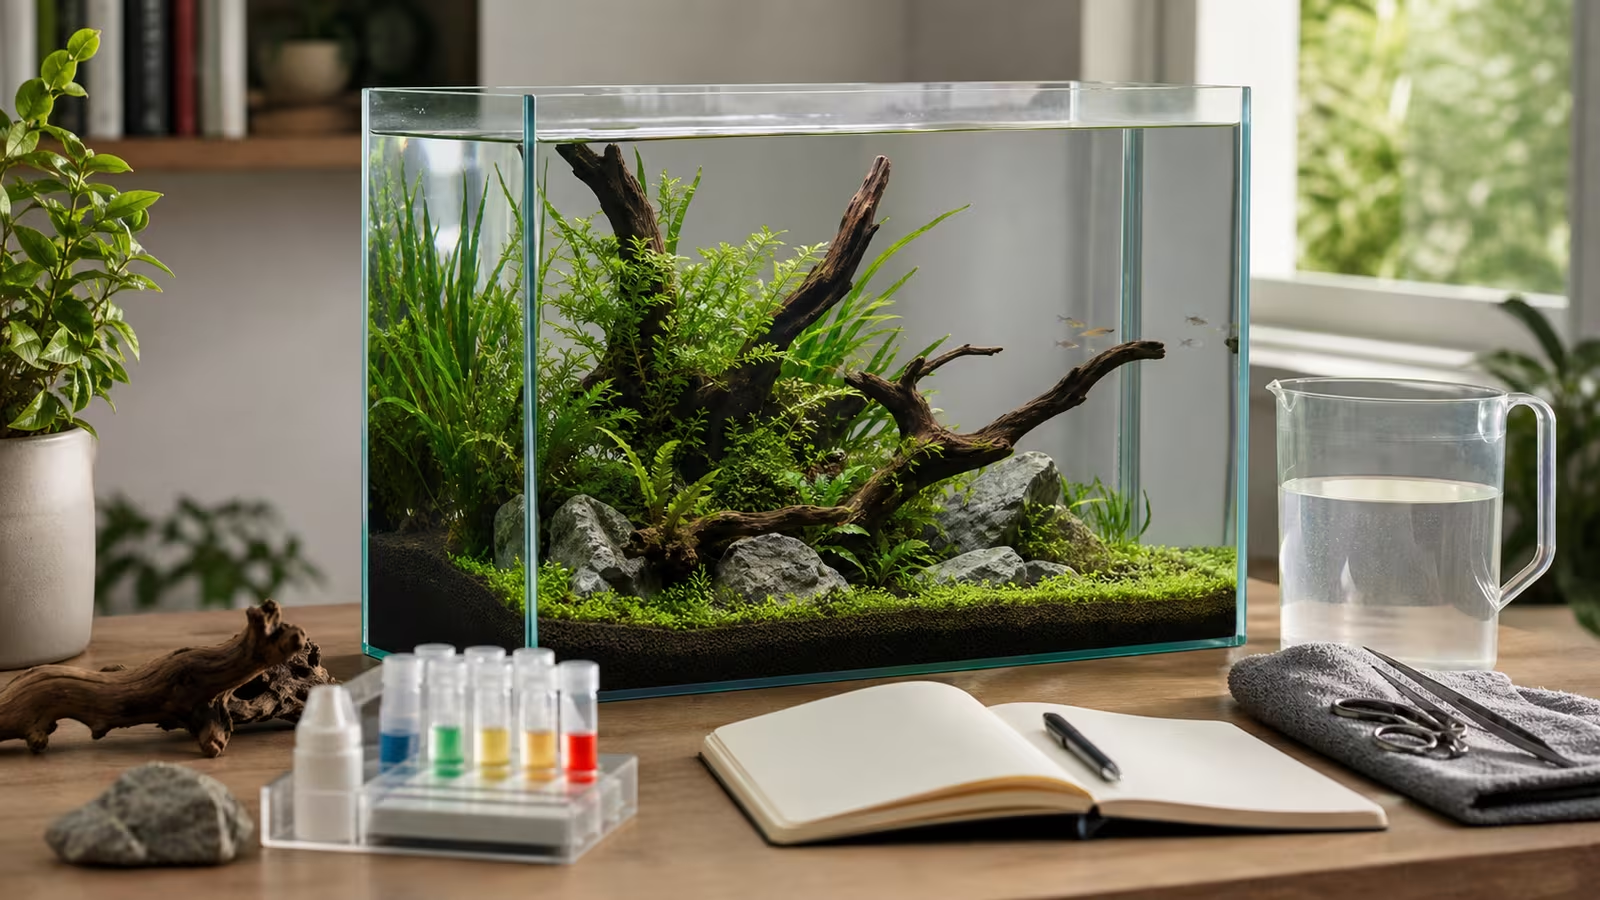
The first planted-aquarium decision is not the plant list, the fish list, or the photograph you want to copy. It is whether the tank can become a stable living system in the room where you plan to keep it. Water is heavy, animals are living beings, electricity sits nearby, and even a beautiful nano tank can become stressful when it is too small, overstocked, badly lit, or hard to maintain.
Aquascape Studio starts with restraint. Choose the tank and stand before choosing animals. Cycle the tank before stocking it. Choose enough suitable plants to give the layout a start, without committing to species that need high light, CO2, and constant trimming. Plan water changes before the first bucket is full. Decide where the cords, towels, siphon, test kit, and emergency cleanup supplies live before water can reach a floor, outlet, or bookshelf.
Heads up
Aquarium boundary
This guide is practical education for planted aquariums. It is not veterinary care, disease diagnosis, structural engineering, electrical work, legal advice, or a substitute for experienced local help. For sick animals, repeated losses, leaks, electrical hazards, questionable stands, restricted species, or local regulation questions, contact the appropriate qualified professional or authority.
Start With The System
Think in this order: room, stand, tank, water, plants, cycle, animals, routine. A tank that looks small can still weigh more than expected once glass, water, substrate, rock, wood, equipment, and cabinet contents are included. A tank near direct sun can become an algae project. A tank on a decorative table can become a leak or tipping risk. A tank with cords running downhill into an outlet is not ready for water.
Once the physical setup is honest, choose the biological plan. A planted tank needs a suitable filter and flow, light and nutrients matched to the plants, and a routine you can keep. Plants can use some nutrients, but they do not remove the need for filtration, testing, or water changes. Clear water is not proof that the tank is safe. Testing and time matter.
Beginner Sequence
| Step | What To Do Before Moving On |
|---|---|
| Place the tank | Confirm the stand is level, supports the tank as the manufacturer specifies, and is rated for the filled weight. Keep the tank away from direct sun and allow access to safe power and maintenance. |
| Build the hardscape | Arrange stone, wood, and substrate dry so heavy pieces are stable and cleaning access remains possible. |
| Plant first | Add hardy aquatic plants suited to low or moderate light. Expect some transition melt. |
| Cycle the tank | Run the filter and use a measured fishless ammonia source; track ammonia, nitrite, and nitrate. Do not add animals because the tank looks empty. |
| Stock slowly | Choose animals by adult size, group needs, temperature, water parameters, and behavior. |
| Maintain rhythm | Water changes, trimming, filter checks, top-offs, and observation become the real hobby. |
Plan The Space And Equipment
Freshwater weighs about 1 kg per liter (8.3 lb per U.S. gallon). A 20-gallon tank holds up to about 167 lb (76 kg) of water alone; add the empty tank, substrate, hardscape, equipment, and stand. Use actual weights where available. A stand rating does not establish that the floor can carry the load; if the floor or stand is in doubt, ask a qualified professional before filling. See Aquarium Location and Stand Safety .
Make room to reach the filter and carry a bucket. Keep electrical connections dry and off the floor, and make a drip loop in each cord so water running along it can drip off before reaching the connection. Use GFCI or RCD protection as appropriate locally. Unplug aquarium appliances before putting your hands in the water; see Heater, Thermometer, and Electrical Safety .
For a simple freshwater start, plan for a filter, a light and timer, a thermometer, a heater if the intended species need one, test kits for ammonia, nitrite, nitrate and pH, an appropriate water conditioner, and a dedicated bucket and siphon. Check whether the intended animals also need hardness tests. Keep the filter running continuously; the timer is for the light. A larger tank is still heavy and needs care, but very small volumes can change quickly. Choose the tank around the adult needs of the animals you may eventually keep, including swimming space and group size; a small tank does not suit every small fish.
Plant And Fill
Choose a few plants suited to your light, temperature, and available time. Anubias and Java fern can be attached to wood or rock with their rhizomes exposed; suitable crypts and easy stems can be planted in substrate. For crypts, cover the roots but leave the crown, where the leaves meet the roots, exposed. Some rooted plants may need root tabs or a nutrient-bearing substrate. Leave room for growth and cleaning. Some leaves may melt as plants adapt; remove decaying material and look for new growth. The beginner plant guide and low-tech setup help with choices.
Stabilize the hardscape before filling and add water gently to avoid disturbing the layout. Check your supply for chlorine or chloramine and use an aquarium conditioner labeled for it, following the directions. Standing water overnight is not a reliable treatment for chloramine. Start the filter, check for leaks and flow, and use a heater if needed. Start with six hours of light on a timer for the first two to three weeks, as Tropica’s startup guide suggests, then adjust gradually with the plants and fixture in mind. More hours do not automatically fix slow growth. See Dechlorinator and Source Water Basics and Light Balance for Aquatic Plants .
Cycle Before Adding Animals
A new biological filter needs time and an ammonia source to develop. With no animals in the tank, test the source and aquarium water first: some water or substrates may already contribute ammonia. Use a measured aquarium fishless-cycling ammonia product according to its directions for the actual water volume, allowing for substrate and hardscape. Keep the filter running, test and record ammonia and nitrite during the cycle, and record nitrate too. Do not keep adding full doses blindly; follow the product and test-kit instructions. Plants can take up nitrogen, so nitrate alone does not prove readiness. Zero ammonia and nitrite in an empty tank with no ammonia added does not show that it can process waste either.
Before stocking, add a measured cycling dose as directed, test to confirm ammonia is detectable, and record the reading and time. Without adding more ammonia, test again about 24 hours later: both ammonia and nitrite should be undetectable on the kit. Repeat the check to confirm the response. This tests the whole planted system, not the filter alone, and does not guarantee capacity for a full stock at once. Check that temperature and water chemistry suit the chosen species, stop dosing, and change water as needed. Introduce a suitable first group, including an appropriate group size for social species, and test ammonia and nitrite daily for the first several days. Wait for stable readings before adding more animals. Cycling can take weeks or longer, so use the results rather than a calendar date. The cycling guide explains dosing, testing, and the limits of this readiness check. The Ornamental Aquatic Trade Association’s planted aquarium guide also describes fishless cycling and gradual stocking.
If animals are already present, do not add cycling ammonia. If ammonia or nitrite is detectable, promptly make a partial water change with suitable conditioned, temperature-matched water, check the filter, and test again. Test the replacement water too; it can contain ammonia or nitrite. If animals are distressed, increase aeration and seek experienced aquatic or veterinary help promptly. See Water Testing for Aquascapes for a testing log and the stocking guide for choosing animals.
Make Maintenance Easy To Repeat
Check the filter, temperature, and any animals daily. Each week, test the water, remove decaying leaves, trim as needed, and make a partial water change with conditioned, temperature-matched water suitable for the inhabitants. About 25% weekly is a starting point, not a fixed rule; the amount and frequency depend on stocking, species, source water, and test results. Test more often during cycling, after adding animals, or when readings are concerning. Top-offs replace evaporated water but do not remove accumulated waste; use suitable water for top-offs and continue partial water changes. When flow falls, gently rinse filter media in removed tank water rather than replacing it all at once. Never start a siphon by mouth. See Water Change Rhythm for the steps and adjustments.
Common Mistakes
- Buying shrimp, snails, or fish the same day as the tank.
- Treating a nano tank as easier because it is smaller.
- Running strong light for long hours in a low-tech tank.
- Calling every algae spot a failure instead of a clue.
- Forgetting drip loops, towels, siphon control, and filled weight.
- Using one-size-fits-all stocking rules instead of species-specific research.
A Good First Goal
For the first month, success is not a contest aquascape. Success is stable water tests, living plants, no rushed animals, safe equipment, and a maintenance routine you actually perform. The tank can look sparse while plants establish. It can carry a little early algae while you tune light and nutrients. It can be beautiful without being crowded.
Related Fondsites Path
- Clear Water Lab for source water, testing, and filter-claim boundaries.
- Pawstead for animal welfare habits and when to call a qualified professional.
- Houseplant Clinic for plant observation, light restraint, and one-change-at-a-time thinking.
- Keepers Guild for maintenance records, leak prevention, repair limits, and safer DIY boundaries.
- Visual Prompt Lab for documenting aquascape layouts, alt text, captions, and image review.
Try This Next
Before shopping, write one page with the tank location, expected filled weight, desired plants, desired animals, cycling plan, water-change route, and emergency towel/bucket location. If any line is vague, solve that line before buying living things.