Dechlorinator and Source Water Basics
Understand tap water, chlorine, chloramine, well water, softened water, RO water, remineralization, and source-water fit for planted aquariums.
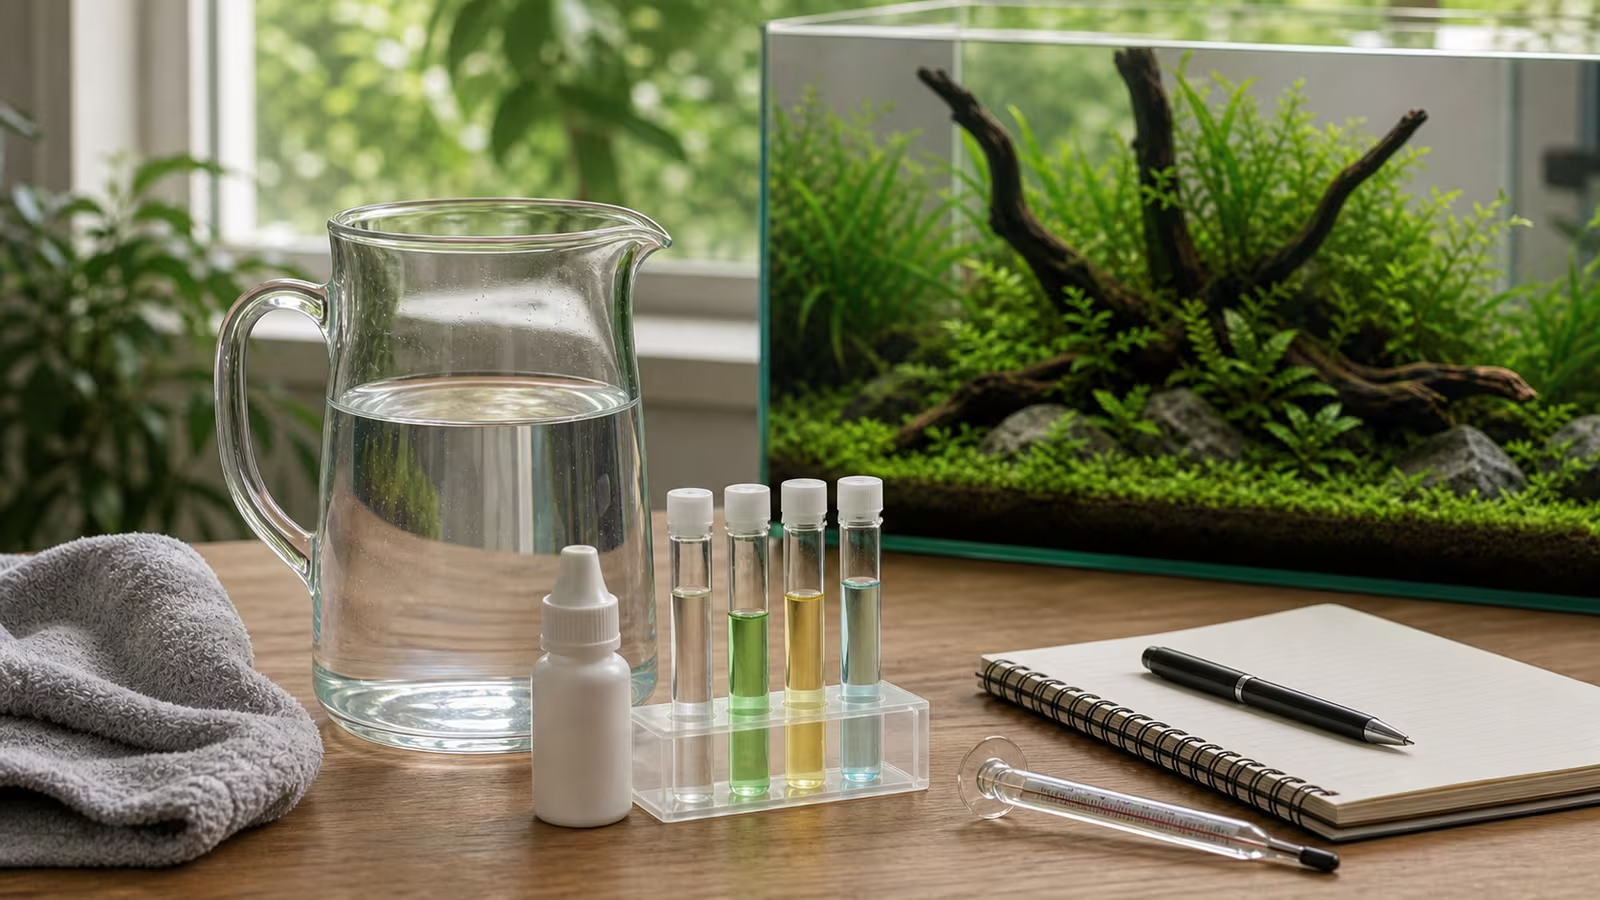
Aquarium water begins before the tank. Municipal tap water, private well water, softened water, reverse-osmosis water, store water, and rainwater can all behave differently. You do not need to become a chemist, but you do need to know what enters the aquarium and how to prepare it for its inhabitants.
For a municipal supply containing chlorine or chloramine, an appropriate dechlorinator is part of the water-change routine. Both disinfectants can harm fish and beneficial filter bacteria. Drinking-water treatment makes water suitable for people; it does not automatically make it suitable for aquatic animals.
Heads up
Source-water boundary
Follow local water advisories and product labels. Dechlorinator does not make contaminated water safe or replace lab testing. Private wells, unusual contaminants, and sensitive species may need specific testing and expert advice.
Start With Your Source
Ask your water provider which disinfectant it uses, whether it changes treatment seasonally, and where to find current notices and a water-quality report. A report is a useful starting point, but conditions can vary over time and water can pick up metals from household plumbing. If you use a private well, ask a local health department or accredited laboratory what to test for in your area.
| Source | What To Check |
|---|---|
| Municipal tap | Chlorine or chloramine, pH, GH, KH, nitrate, local advisories, and changes in treatment. |
| Private well | Lab testing for local contaminants, nitrate, metals, and bacteria; check aquarium hardness and pH too. Well water can be low in oxygen, so aerate it before use and recheck pH after aeration. A disinfected well may also need dechlorination. |
| Softened water | An ion-exchange softener typically replaces calcium and magnesium with sodium or potassium. Lower GH does not mean low dissolved salts or suitable water for every animal. Compare it with an unsoftened tap if available. |
| RO water | Mineral content and how it will be remineralized; verify the output and maintain the filter according to its instructions. |
| Store water | Ask whether it is RO, distilled, spring, or another type, and check its mineral content, consistency, handling, and cost. |
| Rainwater | Collection surfaces, storage, and local contamination can make it unpredictable. Do not assume it is aquarium-ready because it is soft. |
Test the actual water you plan to use for pH, GH, KH, ammonia, nitrite, and nitrate, and compare it with the tank and the needs of the species you keep. GH describes mainly calcium and magnesium; KH is a measure associated with buffering. Neither is a complete contaminant test. See Water Testing for Aquascapes and KH, GH, and pH for interpretation.
Keep separate, labeled results for the untreated source, the prepared replacement batch, and the tank. Test a new source before adopting it and recheck after a supply, plumbing, or treatment change. For example, if tank water contains 40 mg/L nitrate and replacement water contains 20 mg/L, a 50% change brings the mixed water to about 30 mg/L. Further water changes alone move that reading toward the source concentration without bringing it below 20 mg/L; feeding, plant uptake, and other processes also affect the tank’s reading over time. A report from the utility cannot rule out a problem introduced by your own plumbing; ask about a suitable metals test if that is a concern, particularly for invertebrates.
Dechlorinator Basics
Choose an aquarium conditioner labeled for the disinfectant in your supply. If the utility uses chloramine, the label must cover chloramine, not only chlorine. Contact the provider if you are unsure; do not rely on smell or clarity. A chlorine test should measure total chlorine to include chloramine, rather than free chlorine alone. Total chlorine includes free and combined chlorine; a reading alone does not identify which disinfectant the utility uses. Follow the kit and conditioner instructions, including any advice about test interference.
When checking a new routine, test the source and then the mixed, treated batch after the label’s contact time with a total-chlorine kit suitable for the low levels relevant to aquariums. Aim for no detectable residual, remembering that a zero reading means below the kit’s detection limit, not proof of zero chlorine. If a residual remains, do not add the batch: check the dose, volume, contact time, and test instructions, then retest or use another suitable source. Do not guess at extra doses.
Free chlorine can dissipate with aeration, but chloramine is more persistent. Leaving a bucket overnight is not a reliable substitute for treating and checking chloraminated water. Breaking down chloramine can also leave ammonia in the water; a chlorine-only treatment does not necessarily address it. Check what your conditioner actually claims to do, and test ammonia in the prepared water and tank when relevant. Some conditioners can interfere with ammonia tests, so check both products’ instructions. If prepared water has a concerning ammonia reading, resolve the result and find a suitable source before relying on it for a change. A conditioner is not a replacement for an established biological filter .
Prepare A Replacement Batch
- Measure the water. Use a clean, aquarium-only bucket and mark the volume. For example, if the label says 1 mL per 10 liters, a 20-liter batch needs 2 mL. This is an arithmetic example, not a dose for every product.
- Treat according to the label. Use the stated dose for the volume being treated and the instructions for the disinfectant present. Product concentrations and direct-to-tank directions differ; follow the specific label if it calls for a different dosing basis. Mix and allow any stated contact time before adding water.
- Check the match. Use a thermometer to match temperature to the tank and make sure the replacement water’s GH, KH, pH, and other relevant readings suit the inhabitants. If source and tank water differ substantially, especially in a long-neglected tank, seek experienced help before making abrupt changes.
- Add gently and observe. Pour prepared water slowly, check equipment and animals, and record the amount and any change in source or treatment. Store the conditioner safely and replace it if expired or contaminated.
Preparing water in a bucket makes the dose and contact time easier to control. For a refill directly from the tap, use only a method supported by your product’s directions and ensure the incoming water is treated as directed before it can expose livestock or filter bacteria. The water-change guide covers the rest of the maintenance sequence.
RO And Remineralization
RO water can help when tap water does not fit the planned livestock, but it is not automatically better. Near-pure water has little of the calcium and magnesium measured by GH and little buffering capacity. For water changes, use a suitable remineralizer or a measured blend with suitable source water, then test the prepared batch for the parameters relevant to your animals. Products differ: a GH-only shrimp mineral and a GH/KH product do different jobs. Follow the label, mix fully, and check the result before adding it. If blending with chlorinated tap water, treat the tap portion as required. Record the proportions and test results so you can reproduce the batch; a TDS reading alone cannot tell you which minerals or contaminants are present.
Top-off has a different job: evaporation leaves most dissolved minerals behind, so adding low-mineral water can replace the loss without continually adding minerals. It does not replace water changes. See Evaporation, Top-Off, and Minerals for the distinction. Do not switch an established tank’s water recipe suddenly; test first and plan changes around its inhabitants.
Common Mistakes
- Adding untreated tap water in a rush or assuming that overnight aging removes chloramine.
- Assuming clear or drinkable water is aquarium-ready, or that conditioner removes every contaminant.
- Dosing by the tank’s advertised capacity without checking the product’s directions and the actual amount being treated.
- Using softened water without understanding what changed, or using RO water for changes with no mineral plan.
- Chasing pH instead of choosing livestock that fits the source water and a repeatable maintenance routine.
Related Fondsites Path
- Clear Water Lab for water reports and testing boundaries.
- Water Testing for Aquascapes for aquarium-specific test habits.
- Shrimp Tank Basics for mineral-sensitive livestock.
Try This Next
Write down your source, disinfectant, conditioner and label dose, usual water-change volume, temperature-matching method, and GH, KH, and pH notes. Mark the bucket and keep the dosing rule nearby so maintenance does not depend on memory. Recheck the plan when the supplier announces a treatment change or the source changes.
Sources
- Merck Veterinary Manual: Providing a Home for Fish explains source-water treatment and the effects of chlorine and chloramine on fish and beneficial bacteria.
- University of Florida IFAS: Chlorine—Friend or Foe? describes chlorine and chloramine and a pre- and post-treatment testing exercise.
- University of Florida IFAS: On-Farm Transport of Ornamental Fish discusses disinfectants and the low dissolved oxygen that can occur in well water.
- Merck Veterinary Manual: Water Quality Tests distinguishes free and total chlorine tests and describes hardness and alkalinity.
- US EPA: Protect Your Home’s Water provides private-well testing guidance and recommends checking local risks.
- US EPA: Cation Exchange Water Softeners explains the exchange of calcium and magnesium for sodium or potassium.