Hardscape Layout Basics for Planted Tanks
Arrange stone, driftwood, substrate slope, planting pockets, open water, and cleaning lanes before a planted aquarium is filled.
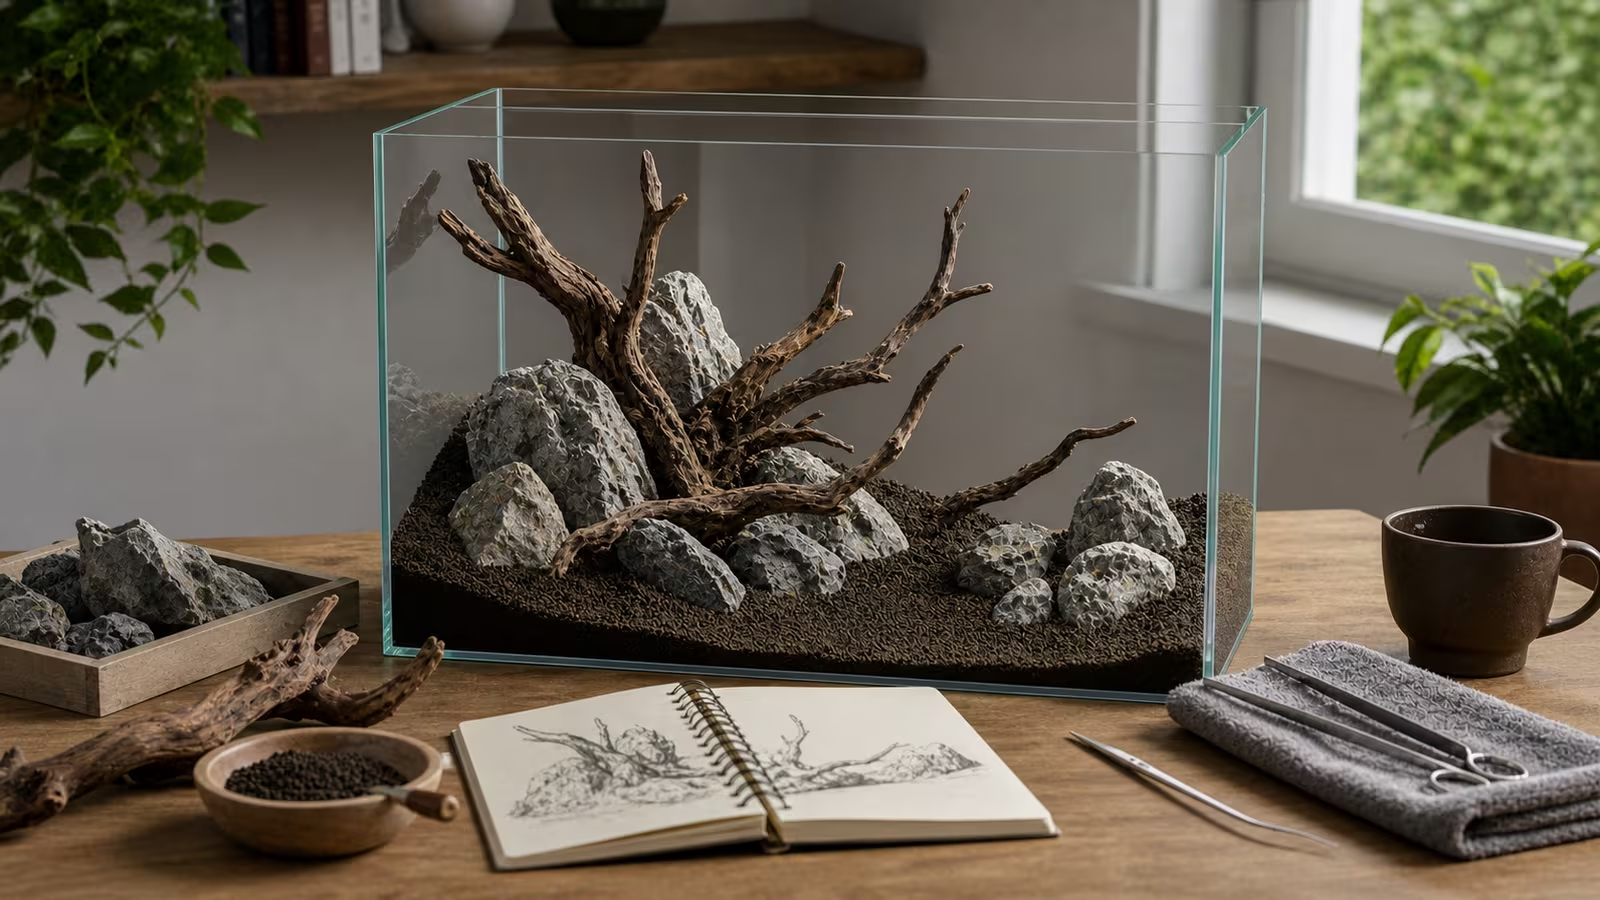
Hardscape is the structure of the aquascape: stone, wood, substrate slope, open space, and the physical paths that plants and animals will use. It is tempting to think of hardscape as decoration. In practice, it shapes planting, flow, cleaning, animal shelter, swimming room, and whether the tank is stable enough to leave alone.
Build the hardscape dry whenever possible. Dry layout work lets you step back, photograph the tank, remove extra pieces, and test stability before water makes every change messier. Once animals are present, major hardscape changes can disturb bacteria, release trapped debris, damage roots, and stress livestock.
Heads up
Hardscape safety boundary
Use aquarium-safe materials. Avoid unstable rock piles, sharp edges for delicate animals, unknown coatings, contaminated collected materials, and heavy pieces leaning directly against glass. Check local rules before collecting natural materials.
Useful Layout Questions
| Question | What It Protects |
|---|---|
| Where is the main focal point? | Keeps the tank from becoming a pile of equal objects. |
| Where will foreground, midground, and background plants go? | Prevents hardscape from blocking every planting pocket. |
| Can you clean the glass and substrate edges? | Keeps maintenance realistic. |
| Are heavy pieces stable? | Reduces collapse risk during planting or animal movement. |
| Is there open water or walking space? | Protects animal movement and visual breathing room. |
Composition Without Overcomplication
Choose one main structure. It might be a sloping stone group, a branching piece of wood, or a low island with plants around it. Then remove pieces that compete with it. In small tanks, restraint often looks more natural than crowding. Negative space is not wasted space; it gives plants room to grow and animals room to move.
Use plant growth as part of the future layout. A stem plant that looks short today can become the background. Moss can thicken and hide wood shape. Floating plants can shade the scene. Leave room for the plants to grow and for regular trimming, not only for the tank you see on fill day.
Try turning the main wood or stone until its strongest shape is visible from the usual viewing position. Add smaller pieces to support it, then look from the side and above: a clear front view can still hide a blocked route or an inaccessible corner. Aquascape Composition Rules offers more ways to test focal points without treating them as fixed rules.
For a first attempt, place one stable stone group or piece of wood off center, with taller plants planned behind it and a lower open area beside it. Leave a scraper-width lane along the front and side glass, then check that the filter and heater can still be reached. Place the equipment, or a same-sized placeholder, in the dry tank to check the space it needs. Move the structure if those practical spaces disappear; the exact shape is yours to choose.
Build and Check the Layout
- Choose and prepare the materials. Start with rock and wood intended for aquarium use. Check for sharp edges, loose fragments, and narrow holes where an animal could become trapped as it grows. Some rocks change water chemistry: limestone, for example, can raise pH and buffering . Match materials to the animals and water you intend to keep; see Driftwood, Rocks, and Substrate for the material checks.
- Place the main pieces securely. Set the largest stones on a stable base at the tank bottom before building up the surrounding substrate, so digging or maintenance cannot undermine them. Follow the aquarium manufacturer’s guidance on weight and any protection used beneath rocks. Check that the stand and floor can support the filled aquarium, including the hardscape; the location and stand guide explains what to consider. Lower pieces gently into the tank; do not drop them or lean them against the glass. Test each piece with a gentle push from several directions. If a stack shifts, rearrange or remove pieces until it stands securely without relying on a loose stone or a mound of substrate.
- Plan for floating wood. Some aquarium wood floats until waterlogged. Soak it ahead of time or attach it securely to a stable, aquarium-safe anchor. Do not wedge buoyant wood against the glass or depend on a precarious rock pile to hold it down. See Driftwood Tannins and Preparation for more on soaking and tint.
- Shape a modest slope and leave planting pockets. A low foreground rising toward the back can suggest depth, as shown in Tropica’s hardscape guide , but substrate can shift during planting, filling, and cleaning. Use a gentle grade that still looks acceptable if it settles, with enough depth for the roots of your chosen plants. Place retaining stones securely and leave gaps for planting rather than packing every space with rock.
- Rehearse maintenance. From the usual viewing position, photograph the layout. Then try the scraper, siphon, and planting tweezers in the empty tank. Leave access to the glass, filter intake and outlet, heater, and substrate you expect to clean. Keep flow paths open and make sure equipment can be removed without taking apart the layout.
Mark the intended plant groups before filling. Rooted plants need accessible substrate and room for their mature spread; Anubias and Java fern can be attached to wood or stone with the rhizome exposed. A shallow layer of water can make planting easier; keep exposed plants damp while working, as described in Tropica’s planting guide . Attaching Epiphytes to Hardscape covers attachment choices.
A dry test does not show how buoyant wood or loose substrate will behave underwater. Fill slowly onto a clean plate or bowl to reduce disturbance, then check the arrangement again once submerged. Correct anything that moves before adding animals. Once the filter is running, check that the outlet is not blocked and observe water movement around the structure and at the surface. Debris collecting in a corner or plants pushed over by the current can prompt an adjustment to the outlet or layout. Check the flow again as plants grow, and match it to the intended animals. See Filter Flow and Surface Agitation for a closer check. Follow the Plant Before Fish Plan and Cycling a Planted Aquarium before stocking.
Make Space Work for the Animals
An open area can help both the composition and swimming, but it does not replace shelter. Plan hides and routes for the species you intend to keep, including their adult size and behavior. Avoid enclosed gaps that are easy to enter but difficult to leave, and check that a buried or stacked hide cannot collapse. The RSPCA’s fish behavior guidance recommends sturdy shelter suited to the fish; its tropical fish care guidance also cautions against sharp decor and holes where fish can become trapped.
The amount of open water a layout appears to have is not a stocking rule. Check the actual tank dimensions and species needs before choosing livestock. For ideas on balancing the visual slope with usable space, read Depth and Perspective in Small Aquascapes .
Common Mistakes
- Filling the tank before checking whether the layout reads from the main viewing angle.
- Stacking rocks in a way that can shift.
- Using every purchased piece because it was paid for.
- Leaving no room for tools, siphons, or trimming.
- Forgetting that plants grow and animals need usable space.
Related Fondsites Path
- Open Sand Paths and Foreground Space for planning and maintaining an open area.
- Hiding Equipment Without Hurting Flow for keeping equipment accessible.
- Rescape Without Crashing a Tank for changes to an established aquarium.
Try This Next
Make two dry layouts and photograph both from the normal viewing seat. Pick the one with the clearer shape, then remove one piece. Compare both for stability, animal space, and access as well as appearance; keep the piece if it serves a clear purpose.