Low-Tech Planted Tank Setup
Build a low-tech planted aquarium with moderate light, hardy aquatic plants, steady maintenance, and no pressurized CO2 complexity.
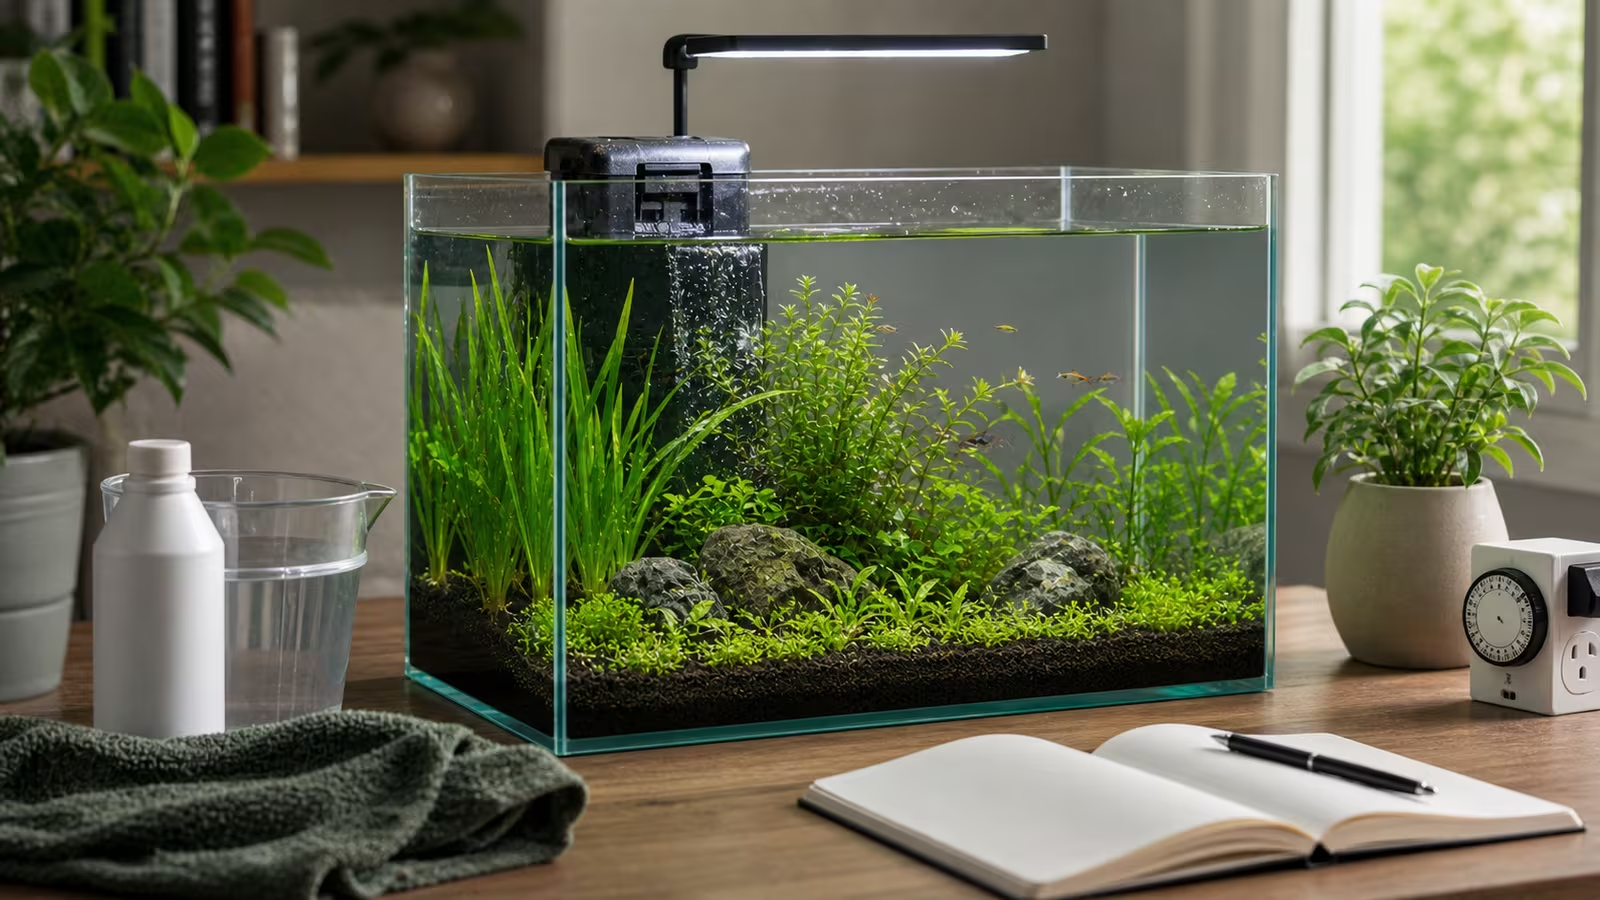
A low-tech planted tank is not a tank with no technology. It usually still has a filter, light, heater when needed, test kit, dechlorinator, tools, and a maintenance routine. “Low-tech” generally means growing suitable plants without pressurized CO2, rather than pursuing the intense light and rapid growth of a high-tech setup. Plants still need carbon, which is available in the water even without injection.
This can be a good beginner path: equipment costs may be lower, and slower growth can mean less trimming. Growth rates and care still depend on the plants and conditions. Choose plants that match the light, water, and routine you can provide instead of expecting every plant to look like a high-tech display.
Heads up
Low-tech is not no-care
Low-tech tanks still need cycling, water changes, safe equipment, appropriate stocking, and animal-welfare decisions. Do not use “low-tech” as an excuse for unfiltered, unheated, uncycled, or overcrowded animal setups.
What Low-Tech Needs
| Part | Practical Default |
|---|---|
| Light | A moderate setting on a timer, with a regular dark period. |
| Plants | Hardy epiphytes, easy stems, mosses, crypts, and other plants suited to the conditions. |
| Nutrients | A suitable substrate, root tabs, or liquid fertilizer according to the plant list and product directions. |
| Filtration | Continuous, gentle but useful flow; protect established media during cleaning. |
| Testing | Ammonia, nitrite, nitrate, and pH tests; check hardness too when relevant to the planned species. |
| Stocking | Compatible animals chosen for the tank and added gradually only after cycling. |
Set Up In A Useful Order
- Plan the home and equipment. Choose a level, weight-rated stand with room for maintenance. Check the tank for leaks, arrange stable hardscape, and choose a substrate for the plants you intend to grow. Plain aquarium sand or gravel can work with rooted plants and root tabs; some active soils can change water chemistry or release ammonium, so follow the product’s startup instructions and test the water. See Substrate for Aquatic Plants . Use a heater if the room cannot reliably maintain the temperature required by your chosen animals and plants.
- Plant before adding animals. Inspect plants, remove packaging and damaged leaves, and place rooted plants in the substrate. For crypts, bury the roots but leave the crown, where the leaves meet the roots, exposed. Attach Anubias and Java fern to wood or rock with their rhizomes exposed; burying the rhizome can cause rot. Leave room to trim and maintain the tank. See Plant Before Fish Plan and plant inspection .
- Fill and start equipment. Fill gently, treat tap water for chlorine or chloramine according to the conditioner instructions, and start the filter and any needed heater. Check for leaks, flow, and temperature. Put only the light on the timer; the filter and heater need continuous power.
- Cycle without animals. Use a measured aquarium fishless-cycling ammonia source, following its directions for the actual water volume after allowing for substrate and hardscape. Test ammonia before dosing, especially if the substrate releases it; then test ammonia and nitrite as the system establishes, and keep a log of doses and readings. Account for ammonia already present and follow the product and test-kit instructions for further dosing rather than adding full doses blindly. An empty tank with zero readings may simply have no waste to process; plants do not make cycling unnecessary. Never add cycling ammonia when animals are present.
- Check readiness and stock gradually. Before adding animals, test after a measured cycling dose to confirm that ammonia is detectable, then check that both ammonia and nitrite are undetectable about 24 hours later. Repeat the check to confirm the response, and check that temperature and water conditions suit the intended species. Stop dosing ammonia, change water as needed, and add an appropriate first group. Test ammonia and nitrite frequently after stocking, and wait for stable readings before adding another group. Choose an appropriate group size for social species rather than splitting a school into an unsuitable number. A planted tank’s response reflects both plants and the filter; it does not measure the filter alone or guarantee capacity for a full stock at once. See Cycling a Planted Aquarium for the full procedure.
The Ornamental Aquatic Trade Association’s planted aquarium guide covers equipment, planting, fishless cycling, and gradual stocking. Allow the tests and the needs of the chosen species, not a calendar date, to determine when animals arrive.
Plant Choices Matter
Anubias, Java fern, Buce, mosses, many crypts, water sprite, hornwort, and some easy stems can work in a low-tech tank. Check the particular species or variety for its adult size, temperature, and light needs. A few slow-growing epiphytes provide structure; faster-growing plants can add plant mass, but still need space and trimming. Demanding red plants, dense carpets, and high-light stems may disappoint without added CO2 and a more intensive routine.
For a simple first layout, attach an Anubias to a rock or piece of wood, plant a few crypts in the substrate, and use a suitable easy stem or water sprite behind them. Leave open space for flow and access. Tropica’s Anubias guide describes one low-light variety and explains why its rhizome should remain uncovered. Check local rules before buying plants and dispose of trimmings responsibly; see Invasive Species Disposal . Beginner Aquarium Plants has more choices.
Newly submerged leaves can melt as plants adjust. Remove decaying leaves and watch for healthy new growth before replacing the plant or changing several inputs at once. The plant melt guide helps distinguish adjustment from continuing trouble.
Light Restraint
Start with a consistent six to eight hours of light on a timer and a moderate fixture setting if it is adjustable. For a new tank, Tropica’s startup guide suggests six hours for the first two to three weeks before increasing the period. This is a starting point, not a universal intensity: tank depth, fixture output, shade, and plant placement all affect the light reaching leaves. Avoid direct sun where it makes lighting or temperature unpredictable.
If algae spreads quickly, check the schedule, fixture setting, direct sun, plant growth, and maintenance before making a change. Clean a small patch, adjust one setting at a time, and compare the return of algae and new plant growth over the next one to two weeks. Longer hours alone will not fix every slow-growing plant. Light Balance for Aquatic Plants has a fuller troubleshooting guide.
Feed Plants And Maintain The Tank
Plants draw on nutrients from source water, food and animal waste, substrate, and fertilizer. Rooted plants such as crypts may benefit from root tabs in an inert substrate; epiphytes take nutrients from the water and should not have their rhizomes buried to reach a tab. Use a liquid fertilizer when the plant list and conditions call for it, following the product directions. More fertilizer is not automatically better, and slow growth alone does not identify a deficiency. See Fertilizing Aquatic Plants .
Check equipment, temperature, and animals daily. Each week, observe new leaves, remove decaying material, trim as needed, and test water. For an established freshwater community tank, a partial water change of about 25% of the actual water volume each week is a practical starting point; adjust the amount and frequency for the animals, test results, and tank. The OATA freshwater aquarium guide describes weekly partial changes and the factors that affect them. Use replacement water with a matching temperature and chemistry suitable for the inhabitants, and condition it for chlorine or chloramine. When flow falls, gently rinse clogged filter media in removed tank water and keep established media rather than replacing it all at once. The University of Illinois veterinary fish-care guide recommends monitoring water chemistry and notes that newer tanks need more frequent testing. See Water Change Rhythm for a practical routine.
If ammonia or nitrite is detectable after animals are added, promptly make a partial water change with suitable conditioned, temperature-matched water, check feeding and filtration, and test again. Check the source water too: a water change cannot reliably dilute ammonia if the replacement water also contains it. Continue monitoring daily while the problem is resolved; do not add more animals until readings are stable. If animals show distress, increase aeration and seek experienced aquatic or veterinary help promptly. Clear water is not proof of safe water.
Common Mistakes
- Buying high-light carpeting plants for a low-tech tank without checking their needs.
- Running lights long hours because plants look slow.
- Burying the rhizomes of Anubias or Java fern.
- Assuming plants eliminate the need for cycling or water changes.
- Overstocking because the tank has greenery.
- Adding many fertilizers without observing plant response.
Related Fondsites Path
- Plant Light Matcher for matching plant ambition to light and CO2.
- CO2 Versus Low-Tech Planted Tanks for choosing a setup around your plant goals.
- Water Testing for Aquascapes for recording and interpreting results.
- Clear Water Lab for source-water thinking.
Try This Next
Build a short plant list from the tank’s light, temperature, and your maintenance routine. Sketch where each plant will go, then make a setup calendar for planting, fishless cycling, testing, and water changes. Put livestock shopping after the readiness checks, with room for the cycle to take longer than expected.