Photoperiod and Timer Setup
Set aquarium light duration, dimming, split schedules, direct-sun boundaries, and viewing time without destabilizing a planted tank.
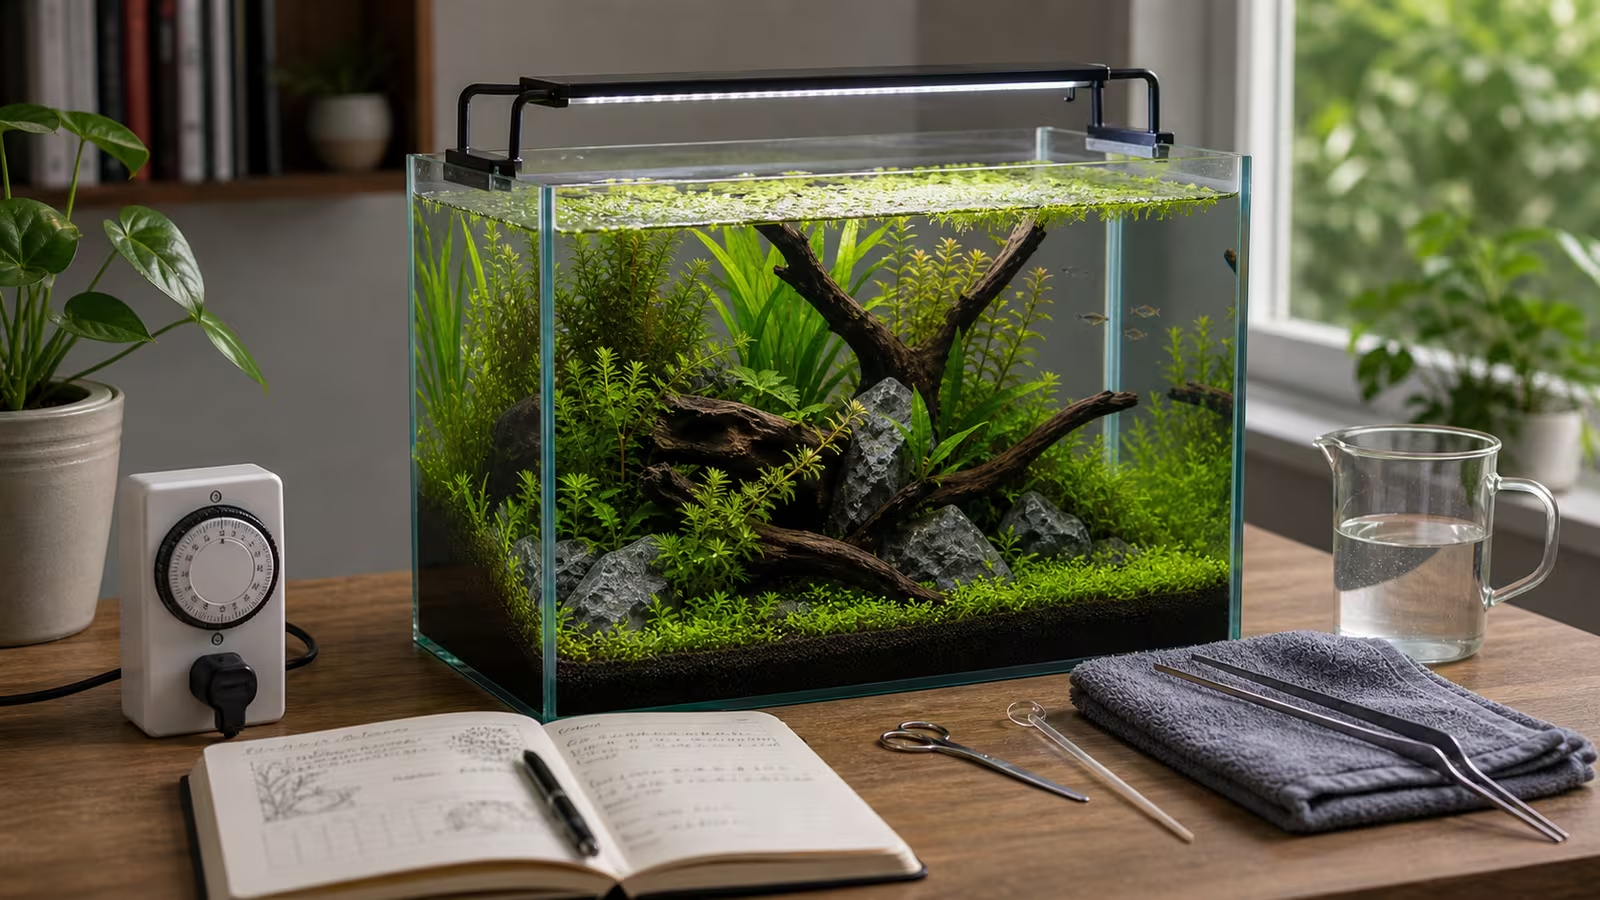
Photoperiod is the daily period when the aquarium light is on. A consistent schedule lets plants receive light during the hours you enjoy the tank and gives animals a predictable day and night. It also makes it easier to notice whether a change in light is affecting plant growth or algae.
A timer removes the daily guesswork. Light duration is only one part of the picture: fixture intensity, distance, shade, plant needs, nutrients, and available carbon matter too. A short schedule cannot make an excessively bright fixture suitable for every tank.
Heads up
Do not light animals around the clock
Fish and other aquarium animals need a regular light and dark cycle. Avoid leaving display, blue, or moon lights on all night. Check the needs of the species you keep and provide appropriate cover and shaded areas.
Pick A Starting Schedule
For a typical freshwater planted tank, try eight continuous hours, such as noon to 8 p.m., so the lit period includes evening viewing. This is a starting point, not a universal prescription. The Ornamental Aquatic Trade Association’s planted aquarium guide recommends a timer and at least six to eight hours of light, with longer schedules when the light is ramped up and down. The RSPCA’s fish environment guidance suggests eight to ten hours of light for most fish, switched off at night. Consider both your plants and livestock when choosing a schedule.
Keep the room’s normal day and night in mind when placing the viewing window. The fixture being off does not make the tank dark if a room lamp shines into it all night. RSPCA Australia’s tropical fish guidance recommends at least eight hours of darkness for fish and turning off lights in the aquarium area at night. Block direct sun with a blind or curtain: it adds variable light and can heat the water. If the tank is near a window, check the water temperature as well as the light reaching it.
Split schedules can make morning and evening viewing possible, but they are not an algae cure. For example, 8 a.m. to noon and 4 p.m. to 8 p.m. add up to eight lit hours; the midday break is not a substitute for darkness at night. Start with one continuous block if you can; it is easier to monitor.
Set Up The Timer
- Choose the control. A simple plug-in timer can switch a compatible light on and off. Check that the timer is rated for the light and local supply, and follow both devices’ instructions. Some fixtures have their own controller or app. Check the fixture instructions before adding an external timer: some lights do not resume the expected setting when power returns, and an external timer may interfere with a built-in schedule. An inline low-voltage controller also needs the correct voltage, load rating, and connectors for the light.
- Set the clock and program. Set the current time, including a.m. or p.m. where applicable. Program the same on and off times for every day, and select automatic or timer mode rather than a permanent manual override. For a mechanical timer, follow its markings for the direction of the dial and the position of the segments.
- Set the light. If the fixture is dimmable, choose a moderate setting suited to your plants and record it; a percentage on one fixture is not directly comparable with another. Include sunrise and sunset ramps in the lit window. For example, noon to 12:30 p.m. ramping up, 12:30 to 7:30 p.m. steady, and 7:30 to 8 p.m. ramping down is an eight-hour window. It does not deliver the same total light as eight hours at full intensity. Ensure every channel, including blue or moonlight, is off overnight.
- Check the result. Make sure only the intended light is controlled, then observe an on and off transition; confirm the fixture returns to its intended setting when power is restored. Leave the filter and heater on their own continuous power unless their instructions say otherwise. If you use an app, save the program and confirm that the light is running it.
- Keep connections dry. Place the timer and plugs away from splashes and spills, use a drip loop, and follow local electrical requirements. See Heater, Thermometer, and Electrical Safety for outlet and maintenance precautions.
After a power outage or a daylight-saving time change, check the clock, mode, and actual on/off times. Recovery varies by device: Fluval’s controller FAQ describes models that reset their clock or need reconnection after an outage. Check your own manual and see the Power Outage Plan for the filter and livestock checks.
If the light does not switch as expected, check the clock and day selection, a.m./p.m., manual override, and any overlapping programs. If the timer switches but the light stays off, check whether the fixture needs its own button pressed after power returns. Use the fixture’s built-in schedule if its instructions do not support external switching. After correcting the settings, observe the next on and off transitions rather than assuming the program is running.
Timer Checklist
| Check | Why It Matters |
|---|---|
| On/off time and mode | Confirms the program runs at the intended time each day. |
| Total duration | Records how long the fixture is lit, including any ramps or separate blocks. |
| Dimming level | Helps match fixture output to the tank; record the setting for comparisons. |
| Direct sun | Adds variable light and can heat the water. |
| Night darkness | Supports a regular day and night for the animals. |
| Power and connections | Keeps life-support equipment running and electrical connections dry. |
Observe Before Adjusting
Write down the start and end times, intensity, and any direct sun. Take a photo of the same plants and glass at the start. Over the next two weeks, notice new plant growth, the rate at which algae returns after cleaning, and animal behavior. Old damaged leaves may not recover, so look at new growth too.
If algae is spreading, check whether the timer is actually working and whether sunlight or a very bright fixture is adding more light than expected. Consider a small reduction in duration or intensity, record the date, and compare again after one to two weeks. For example, shorten an unusually long schedule by one hour, or lower the dimmer one step; do not assume that a shorter day will fix every algae problem. If plants are struggling, do not assume more light is the answer: recent planting, shade, nutrients, and carbon can also matter. Make one routine adjustment at a time while continuing normal care. If animals are distressed or water quality is unsafe, address that promptly rather than waiting for the observation period. Algae Prevention Basics offers a broader checklist, and Plant Melt Recovery explains what to watch in newly introduced plants.
Common Mistakes
- Turning the light on manually whenever someone enters the room, then forgetting to turn it off.
- Leaving blue lights on all night or overlooking a programmed moonlight mode.
- Increasing the photoperiod while plants are melting from transition stress.
- Ignoring a window that adds hours of sunlight and may heat the tank.
- Changing duration and fertilizer together, then not knowing what helped.
- Putting the filter or heater on the light timer by accident.
Related Fondsites Path
- Light Balance for Aquatic Plants for the broader light equation.
- Plant Light Matcher for matching plants to the setup.
- Power Outage Plan for Planted Aquariums for checking equipment after an interruption.
Try This Next
Set the aquarium light to a consistent schedule today. Write the start time, end time, and intensity in your tank log, check that the timer actually switches, and compare plant growth and algae over the next two weeks.