Shrimp Tank Basics for Planted Aquariums
Plan a planted shrimp tank around stable water, mature biofilm, gentle filtration, mineral needs, hiding places, and cautious stocking.
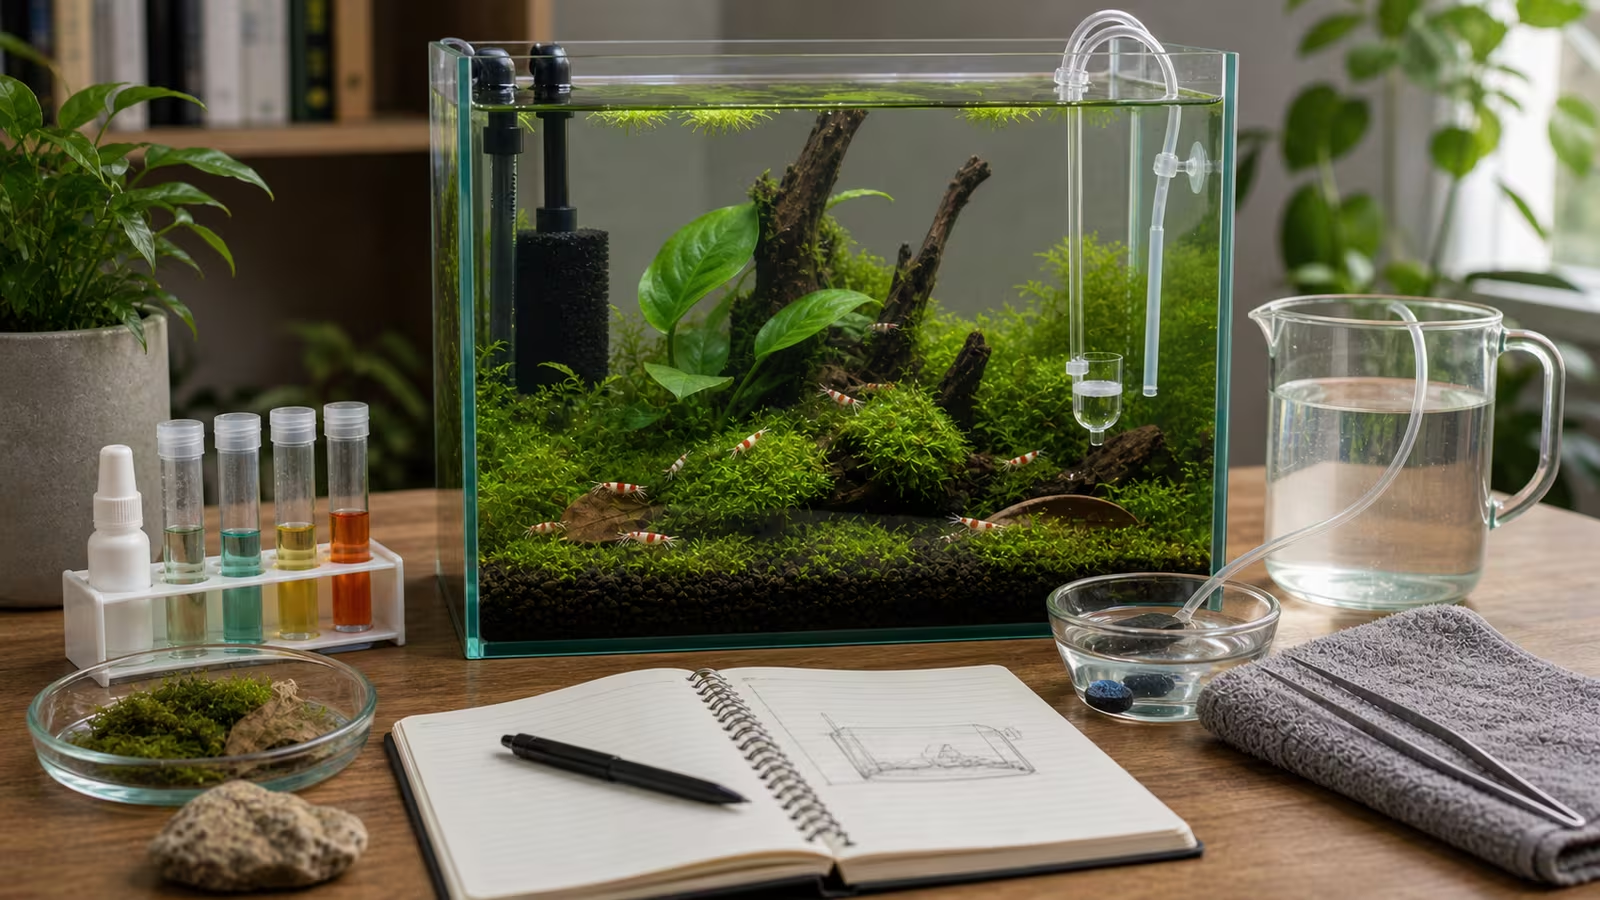
Freshwater shrimp can be wonderful in a planted aquarium. They graze through moss, climb hardscape, and make a small tank feel busy. They are livestock, though, not a substitute for cleaning or water changes. Their needs vary by species, and sudden changes in water or exposure to copper can harm them.
Plan for stable, suitable water before choosing decorations. A cycled filter, established grazing surfaces, gentle flow, hiding places, and a manageable maintenance routine all matter.
Heads up
Shrimp welfare boundary
Research the exact shrimp species before buying. Neocaridina, Caridina, and other shrimp can have different mineral, temperature, and water needs. Check medications and other products for invertebrate safety, and choose tankmates carefully.
Choose The Shrimp Before The Water
Ask for the scientific name and the temperature, pH, GH, and KH in which the shrimp have been kept. Compare those conditions with your source water and the needs of the particular species. Cherry shrimp are commonly sold as Neocaridina davidi; crystal and bee shrimp are different shrimp with different needs. Even within Caridina, requirements vary: do not apply one “Caridina” recipe to every species. The Aqueon freshwater shrimp care sheet describes some of these differences.
GH measures calcium and magnesium hardness; KH indicates carbonate buffering. Both matter more to a mineral plan than pH alone. A TDS meter measures overall conductivity as an estimate of dissolved solids, but cannot tell you which minerals are present and does not replace GH or KH tests. See KH, GH, and pH in Planted Tanks .
Test tap water and the prepared tank before buying. Tap water may suit some shrimp after treatment for chlorine or chloramine; others need a different mineral mix. If using reverse-osmosis or distilled water for water changes, remineralize it for the chosen species and test the prepared water before adding it. Active aquarium soils can change water chemistry, so check what the substrate does over time. Do not chase a number with repeated additives without understanding the cause of a mismatch.
Set Up And Mature The Tank
A larger tank generally changes more slowly than a very small one, although any size needs monitoring. Choose a stable stand, a lid or cover to reduce escape risk, a thermometer, and a heater if the room cannot keep the species in its suitable temperature range. Provide oxygen and surface movement without making the entire tank a strong current.
| Choice | Shrimp-Friendly Thinking |
|---|---|
| Filter | Use a sponge filter or a fine sponge guard over the intake so small shrimp cannot be drawn in. Keep flow and oxygenation adequate. |
| Plants | Moss, floaters, epiphytes, and fine textures offer cover and grazing surfaces. Keep enough open water for circulation. |
| Hardscape | Secure wood and stone so they cannot shift or trap animals. Shrimp also use crevices for shelter after molting; aquarium-safe leaf litter can add cover and grazing surface. |
| Substrate | Match the shrimp and water plan; some substrates alter pH and hardness. |
| Tankmates | Many fish may eat young shrimp even if adults seem safe. A shrimp-only tank makes observation and breeding easier. |
Cycle the filter before introducing animals: ammonia and nitrite should both test zero, and the filter should be able to process the expected waste load. A clear tank is not proof of a completed cycle. Allow time for biofilm to develop on plants and hardscape as the aquarium establishes, but do not assume biofilm alone will feed every shrimp. Follow Cycling a Planted Aquarium and Biofilm on New Hardscape .
Bring Shrimp Home Carefully
Buy a small group appropriate to the species and tank rather than stocking heavily at once. Before purchase, compare the seller’s water and temperature with your tank; if they differ substantially, resolve the mismatch before moving the animals. The Ornamental Aquatic Trade Association’s care sheet recommends introducing shrimp gradually and checking that ammonia and nitrite are zero.
Bring the shrimp home promptly, avoiding temperature extremes. With the aquarium lights off, float the closed bag to equalize temperature, then open it and gradually add small amounts of tank water over at least 30 minutes, following the supplier’s advice for the species. Keep the container secure and the animals submerged. Transfer the shrimp gently with a suitable net or container while adding as little transport water to the aquarium as possible. Do not leave them indefinitely in a small, unheated container. Observe them closely and test water during the first week. A separate cycled quarantine tank with appropriate water can help observation; see Quarantine and Acclimation Basics .
Feeding And Maintenance
Shrimp graze on biofilm and suitable food on surfaces, but they still need an appropriate diet. Offer a small amount of shrimp food, watch whether the animals can reach it, and remove uneaten food before it decays. A dish makes leftovers easier to find. Adjust the amount and frequency to the species, colony, and available grazing; do not starve shrimp to make them clean algae. Filter-feeding shrimp have different feeding needs from grazing dwarf shrimp.
Test ammonia, nitrite, nitrate, pH, GH, and KH regularly, especially after stocking or a change in source water. Record temperature and results so a trend is easier to spot. For routine maintenance, use partial water changes with dechlorinated replacement water close to the tank’s temperature and suitable mineral conditions. Add it gently and check for tiny shrimp before emptying siphoned water. Rinse a clogged sponge in removed tank water, not untreated tap water, and avoid replacing all filter media at once.
Evaporation removes water but leaves most dissolved minerals behind. Replace evaporated water with a suitable low-mineral source, such as RO or distilled water, rather than repeatedly adding mineral-rich tap water; this top-off does not replace a water change. See Evaporation, Top-Off, and Minerals .
Molting, Medication, And Trouble Signs
A transparent empty shell can be a normal shed molt. Leave it in place if it is not fouling the water, and provide cover for newly molted shrimp. A failed molt or death has several possible causes; do not assume it proves a calcium deficiency or add minerals without testing and reviewing the species’ needs.
Unusual inactivity, frantic swimming, repeated deaths, or shrimp gathering near the surface warrant a prompt check. Test ammonia and nitrite first, check temperature and filtration, and consider recent water changes, treatments, or contamination. Remove dead animals and seek advice from an aquatic veterinarian or knowledgeable aquatic specialist if problems continue. If ammonia or nitrite is detectable, use a partial water change with prepared, temperature-matched water and address the cause; an urgent water-quality problem should not be ignored out of fear of any water change.
Copper can harm shrimp. Check medications and other products for invertebrate compatibility, and investigate possible copper in source water or plumbing if exposure is suspected. Do not dose a fish treatment in a shrimp tank merely because it is safe for fish; ask an aquatic veterinarian about a suitable treatment plan.
Common Mistakes
- Adding shrimp to a brand-new, uncycled tank.
- Assuming all shrimp need the same water or that TDS identifies mineral content.
- Using unguarded filter intakes or neglecting oxygen and flow.
- Making sudden, unnecessary water-chemistry changes or skipping water changes entirely.
- Treating shrimp as cleanup tools for neglected tanks.
- Adding medication without checking whether it is safe for invertebrates.
Related Fondsites Path
- Nano Tank Reality Check for small-system stability.
- Water Testing for Aquascapes for tracking trends.
- Mosses for Nano Aquascapes for grazing structure.
- Feeding Without Polluting the Tank for observing portions and leftovers.
Try This Next
Before buying shrimp, write down the species, seller’s water conditions, suitable temperature, GH and KH, source water, filter guard, and acclimation plan. Test the prepared tank and record ammonia and nitrite at zero. If the species’ needs and your tank conditions do not match, settle the water plan before bringing animals home.