Water Damage and Leak Prevention
Reduce aquarium leak and water-damage risk with placement, stand checks, hose control, spill habits, alarms, and maintenance boundaries.
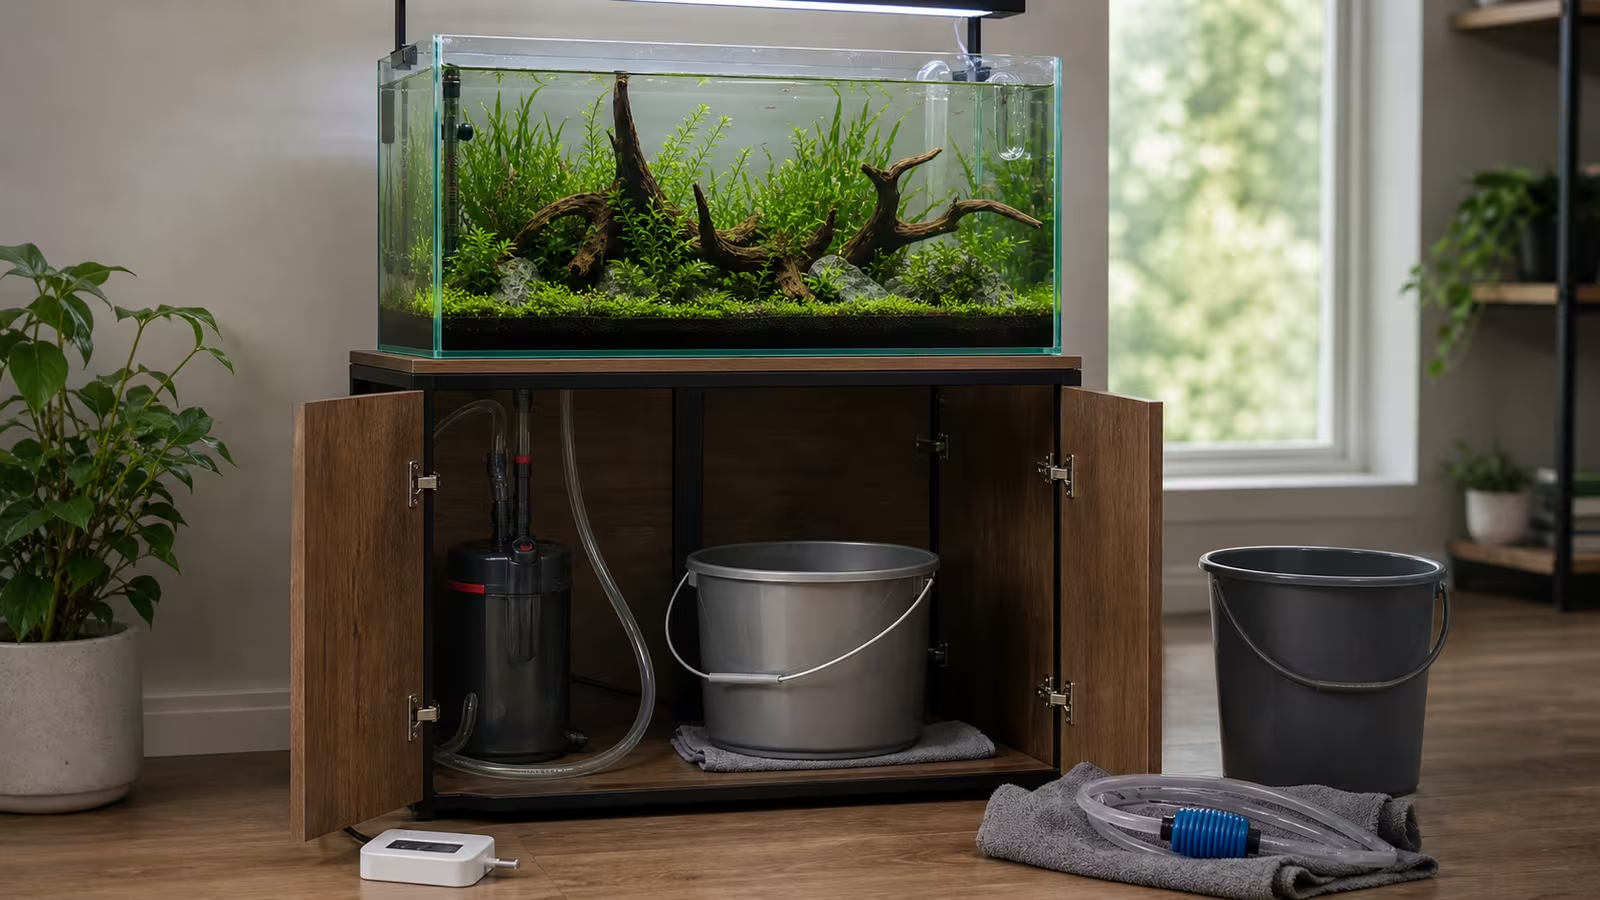
Aquariums are heavy containers of water inside a home. Even a small planted tank can damage furniture, floors, outlets, and nearby belongings if maintenance is careless or equipment fails. Leak prevention should be planned before the first fill.
This is not meant to make the hobby scary. It is meant to make routine safety visible.
Heads up
Home safety boundary
This guide is not structural, insurance, or electrical advice. Large tanks, questionable floors, damaged stands, and unsafe outlets require qualified help. Do not place an aquarium where failure would create unacceptable risk.
Start With Placement
Use a stand made for the tank’s loaded weight and footprint, following the tank and stand manufacturers’ support instructions. Include water, glass, substrate, hardscape, equipment, and anything stored in the stand when considering the load. Check level front-to-back and side-to-side before filling. If the floor or stand is in doubt, get qualified help before adding water; do not try to move or level a filled tank.
Keep the tank away from edges, unstable furniture, direct sun that can add heat, and places where cords or hoses will be kicked. Leave room to inspect and work behind and around it. Do not assume a decorative shelf can hold an aquarium because it looks sturdy. See Aquarium Location, Stand, and Floor Safety for the placement checklist.
Inspect The Paths Water Can Take
During routine maintenance, use a light to check the tank seams, bottom edge, stand, filter body, hose connections, and the floor behind and beneath the setup. Look for fresh moisture, mineral deposits, swollen cabinet material, loose fittings, cracked tubing, or a new change in the waterline. A slowly falling waterline can be evaporation, but check the surrounding surfaces before assuming that is the cause. The evaporation guide explains the difference between topping off and changing water.
If the area is electrically safe, wipe accessible wet surfaces dry and check again for fresh moisture. Trace it upward along hoses, fittings, and the outside of the glass; splashes or condensation can leave water outside the tank too. Mark the waterline on the outside of the glass and note the time and top-offs to see how quickly it changes. A dry floor does not rule out a leak hidden under a stand, and a rapidly falling waterline or renewed wetness needs prompt attention, not repeated top-offs.
Check hoses and seals according to the equipment instructions, especially after opening a filter for cleaning. Make sure connections are fully seated and secured as the manufacturer specifies, with no strain or sharp kinks. Replace worn or damaged parts with compatible ones and use only lubricants recommended for the equipment. After restarting, watch the filter and connections for leaks, then check again later. For example, Fluval’s 07-series guidance discusses aging hose connectors, seals, and the model’s installation limits; consult the instructions for your own equipment.
Maintenance Spill Control
Prepare towels and a stable bucket before water leaves the tank. Secure both ends of a siphon, watch the bucket level, and stop the flow before moving a hose. Never leave a draining or filling hose unattended: a siphon can continue after a pump stops. Use manageable bucket loads and keep the route clear. Wipe drips immediately so they do not travel toward outlets or under flooring.
Before putting hands in the tank, disconnect aquarium electrical appliances safely with dry hands. Follow heater cooling and restart instructions, then check filter flow and connections after refilling. The maintenance checklist gives the full sequence.
Early Warning Tools
Place a leak sensor where escaping water is likely to collect, such as near the filter or the lowest accessible part of the stand, following its instructions. Test the alarm and maintain its battery or power supply; a remote alert is useful only if someone can respond. A tray under equipment can catch small drips, but check and empty it and do not count on it to contain a tank failure. Keep the sensor and inspection areas accessible rather than hidden behind stored belongings.
Keep outlets and power strips dry and off the floor, and arrange drip loops so water running down a cord can drip off before reaching a connection. Use GFCI or RCD protection as appropriate to local requirements; it does not replace dry connections. The electrical safety guide covers these precautions and what to do with wet equipment.
Before an emergency, identify a clean, aquarium-safe temporary container large enough for the inhabitants and a safe place for it. Avoid containers that have held soap or chemicals. Keep an aquarium-only bucket, towels, water conditioner, and an aeration option accessible, along with the number of a local aquarium service and the building manager or landlord. Plan how to maintain a suitable temperature and prevent animals from jumping out while allowing air exchange if the tank must be emptied.
If You Find Water
- Make the electrical area safe first. Do not touch wet plugs, outlets, equipment, or water that may be energized. Shut off the circuit at the breaker only if you can reach it safely from a dry location; otherwise keep clear and call an electrician. Have water-damaged electrical equipment assessed before reuse. The Electrical Safety Foundation explains why drying alone may not make it safe.
- Stop the source if you can do so safely. Stop a water change or isolate a leaking filter using its instructions. Dry accessible surfaces, then watch connections and tank edges for fresh water. Water can travel along a rim, hose, or stand before it drips, so a wet spot does not necessarily identify the source.
- Act on a continuing leak. If a seam or pane appears to be leaking, or the source cannot be stopped, arrange a suitable temporary aquarium or clean, aquarium-safe container. If it is safe to approach, transfer livestock with suitable, uncontaminated tank water and provide aeration and temperature control as needed. If more water is needed, use conditioned replacement water matched to the animals’ needs and temperature. Keep established filter media wet in aquarium water; if the filter can be run safely in the temporary setup, follow its instructions. Test ammonia and nitrite daily and respond promptly to detectable readings, as described in the water-change guide . Seek aquarium professional help promptly; do not rely on a patch applied to a filled tank. Never lift or move a filled aquarium. If the stand or floor is unstable, keep clear and seek qualified help before attempting a transfer.
- Dry and check the home. Remove water and dry affected surfaces promptly, including beneath flooring or inside the stand where water may be trapped. The U.S. EPA recommends drying damp materials within 24–48 hours and fixing the moisture source; extensive damage or water that is not clean calls for professional help. Photograph damage and contact the landlord or insurer as appropriate.
Common Mistakes
- Filling a tank on furniture not designed for aquariums.
- Letting water-change hoses run unattended.
- Keeping power strips on the floor below the tank.
- Ignoring slow salt or mineral creep around seams and fittings.
- Assuming a tray or alarm will contain or stop a leak.
- Storing absorbent valuables under the stand.
Related Fondsites Path
- Aquarium Location, Stand, and Floor Safety for the first placement decision.
- Heater, Thermometer, and Electrical Safety for power habits.
- Maintenance Day Checklist for a repeatable inspection and water-change routine.
- When to Call a Specialist for electrical, structural, and animal-care escalation.
- Keepers Guild for household maintenance and inspection routines.
Try This Next
Walk around the tank with a towel in hand and look for the first place water would go during a spill. Move cords, sensors, and stored items before that path becomes real.
Sources
- Fluval 07 Series FAQ covers model-specific hose connectors, gaskets, leaks, and installation limits.
- Electrical Safety Foundation: Water-Damaged Electrical Equipment explains why water-damaged electrical equipment needs qualified assessment.
- U.S. EPA: The Key to Mold Control is Moisture Control recommends fixing moisture sources and drying wet materials promptly.