Chocolate tasting is not about scoring bars or proving you can name obscure flavors. It’s about learning the signals chocolate gives you—aroma, texture, structure, and finish—so you can recognize what you like and choose it again on purpose.
Once you have a simple method, the experience changes quickly. You start noticing why one bar tastes like raspberry and another tastes like toasted hazelnut, even if they’re both “70%”. You notice how roast can turn fruit into cocoa, how sugar can either lift a bar or flatten it, and how texture tells you as much as flavor does.
Set up a tasting that works
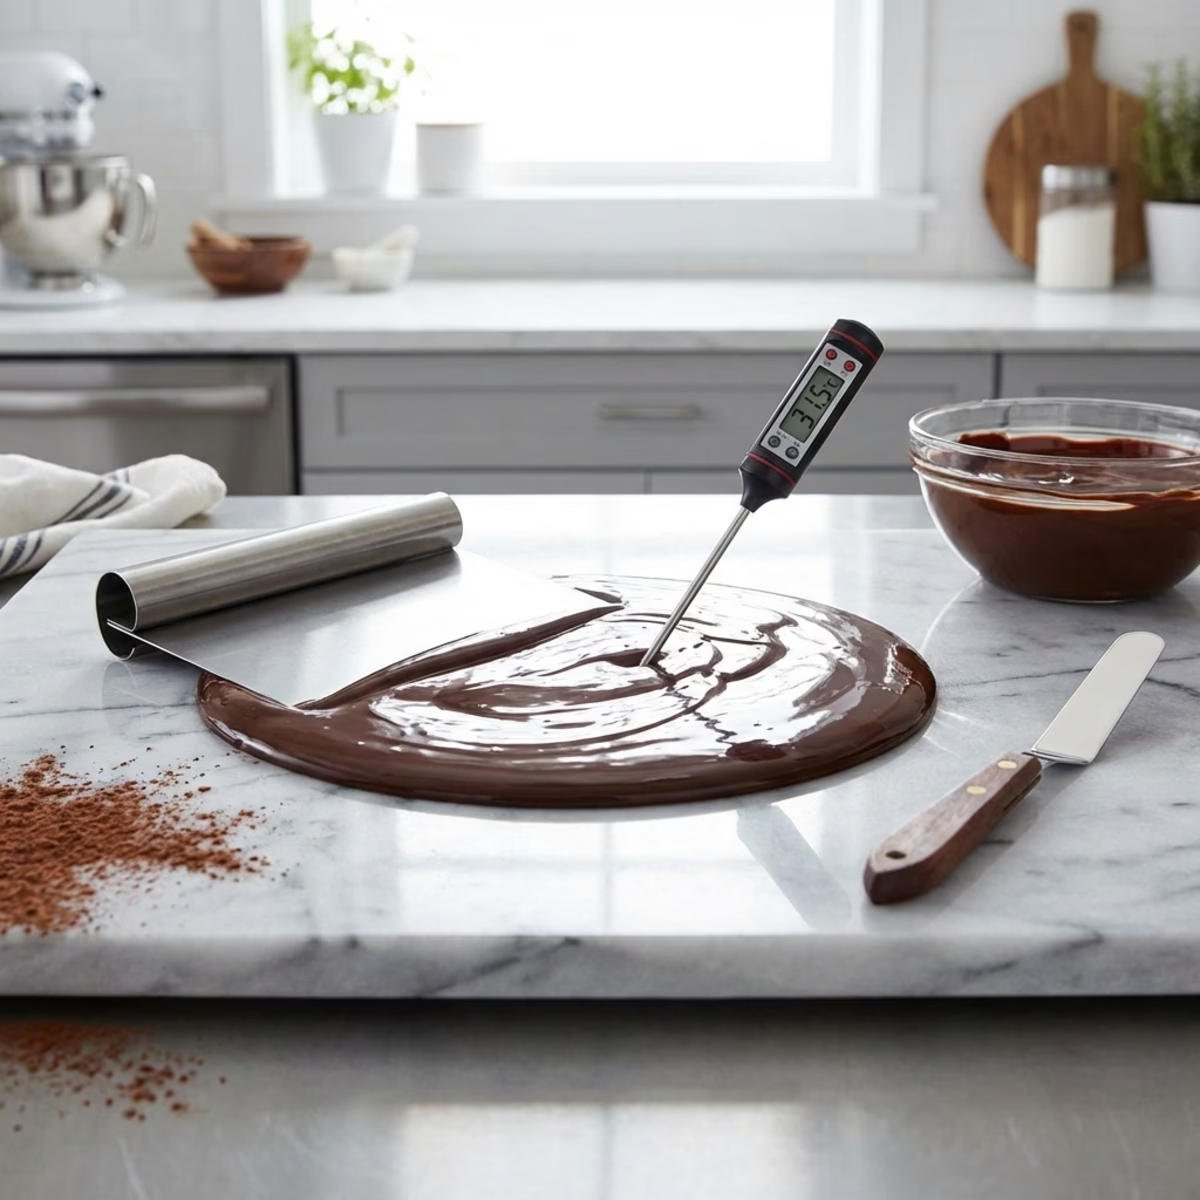
Chocolate becomes quiet when it’s cold and noisy when it’s too warm. Aim for a cool room temperature, then let the bar rest before you open it. If the bar is glossy and snaps cleanly, you’re already learning something: the maker has control over crystallization and finishing.
When you taste multiple bars, keep the environment boring on purpose. Strong perfume, candles, and flavored coffee turn the whole exercise into a blur. Water is enough. A neutral cracker can help, but the best palate reset is time: wait thirty seconds and breathe.
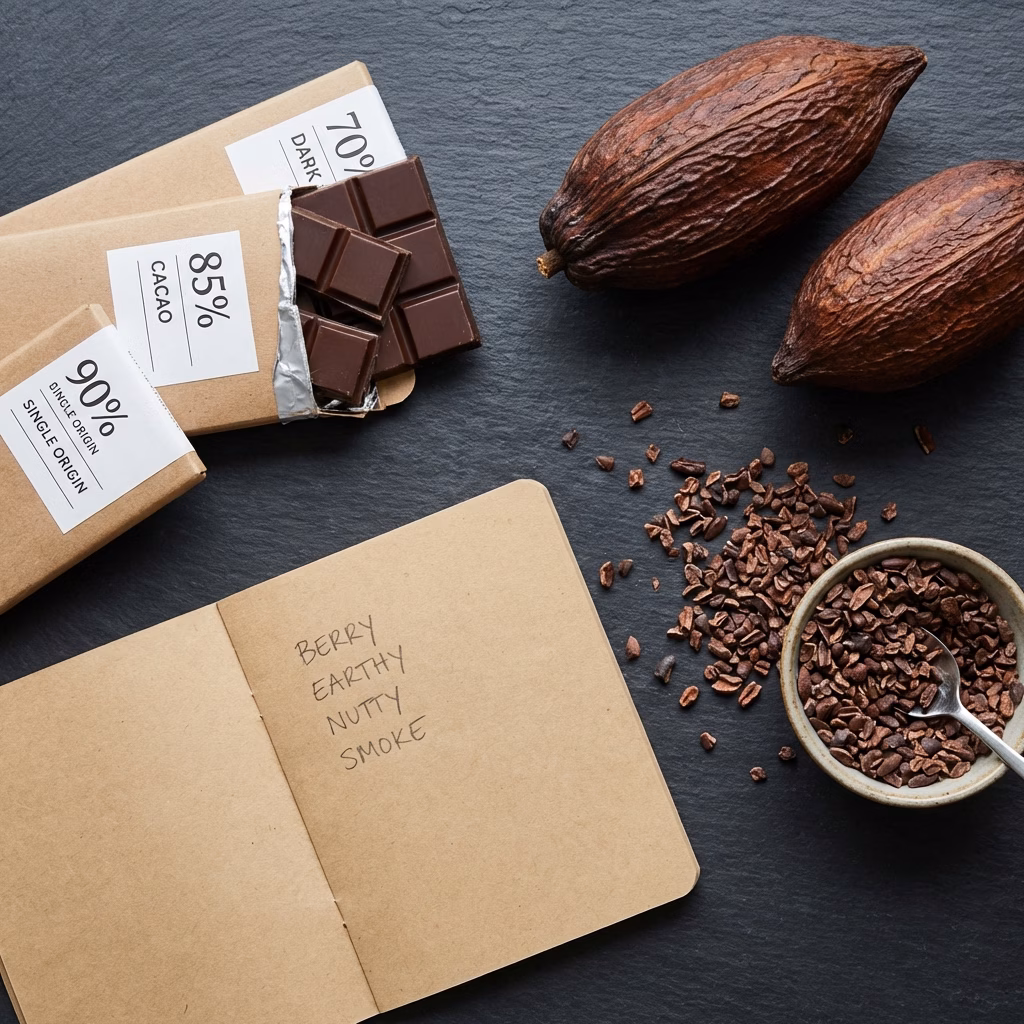
If you want a “tasting that teaches,” don’t chase variety for its own sake. Choose three bars that create clear contrast: one bright and fruit-forward, one nutty or caramel-leaning, and one deep and roasty. Keep the percentage range close. That single constraint makes it much easier to identify what’s changing.
What the label tells you (and what it doesn’t)
Percentage is not quality. It’s a ratio of cocoa solids to sugar, and it predicts intensity more than excellence. Two 70% bars can taste like different foods because origin, fermentation, roast, and refining decisions dominate the outcome.
Ingredient lists, however, are real. A clean list—cacao, sugar, cocoa butter, and possibly milk—makes it easier to compare makers. Emulsifiers and flavors aren’t inherently wrong, but they do change texture and aroma, which means they change the experience you’re trying to evaluate.
The tasting sequence
Think of tasting as three passes: a first read, a texture read, and a finish read. You can do the whole method in under a minute per bar once you’ve practiced.
1) Look for structure and finish quality
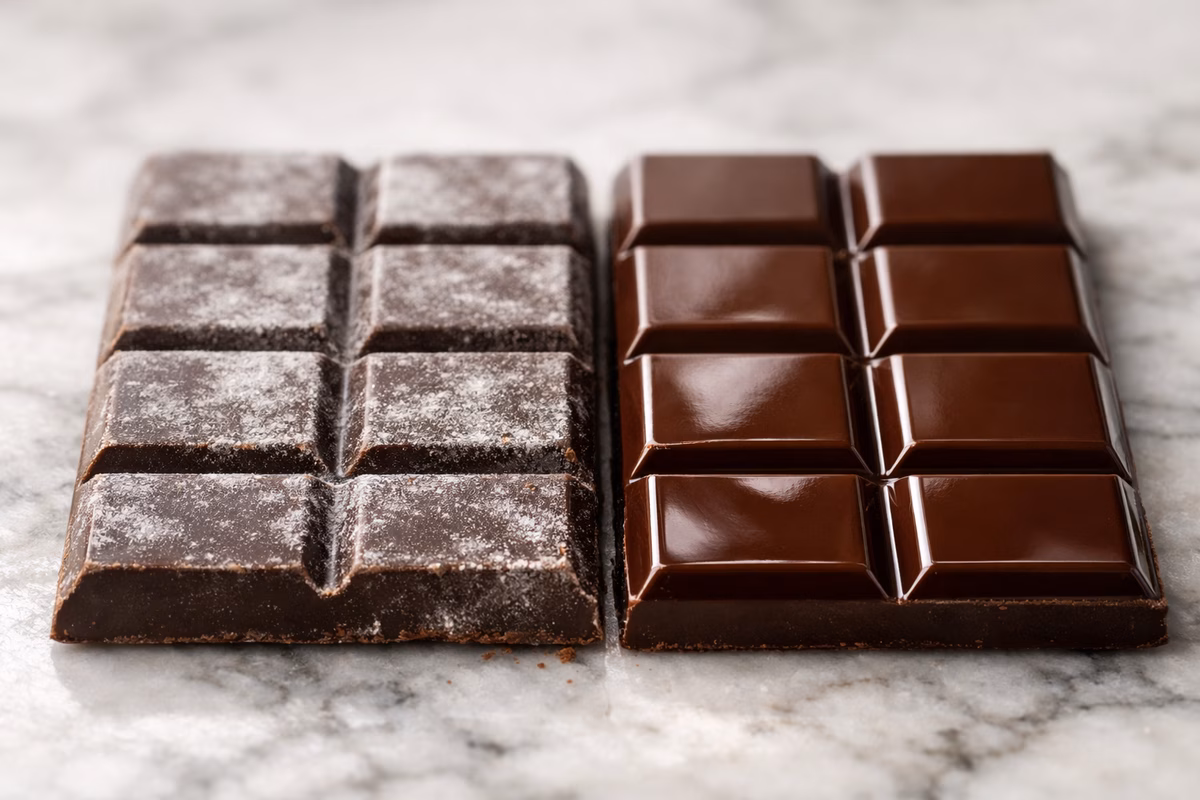
Look at the surface. A uniform sheen suggests good temper. A dull, dusty look can mean bloom or poor temper, though matte bars can also be intentional when inclusions are heavy.
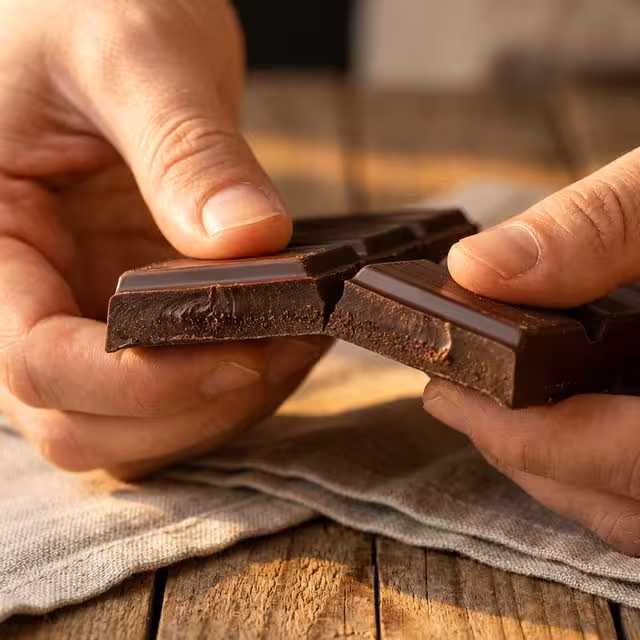
Now break a piece and listen. Dark chocolate that snaps sharply often has good temper and a stable crystal structure. Milk chocolate may be quieter because milk fat changes snap. If a bar bends softly, it can still be delicious, but you should expect a different texture and a different melt.
2) Smell first, before you melt
Smell the chocolate before it warms in your hand. This is where you catch the loudest story. If the aroma reads as fruit and flowers, you’re often tasting a combination of origin and fermentation choices. If the aroma reads as roast and cocoa, roast and conche decisions may be foregrounded.
Then smell again after you hold it for a few seconds. Heat unlocks volatility. Some bars open beautifully; others turn flat or overly vanilla. That shift is information.
3) Melt slowly and map the mouthfeel
Let the chocolate melt rather than chewing immediately. Your tongue is a temperature sensor as much as a taste sensor. As it melts, notice how quickly it goes liquid, whether it feels waxy or silky, and whether it leaves fine grit behind.
Texture is a major quality signal, but it’s not a moral one. A bar can be rustic and still exceptional, especially if it’s intentionally minimally refined. The key is coherence: does the texture match the bar’s intention, or does it feel like an accident?
4) Taste in layers: attack, mid‑palate, finish
The beginning of the bite (the “attack”) often carries sugar and the loudest top notes. The mid‑palate is where balance lives: acid, roast, cocoa depth, and dairy (if present). The finish is where origin character and fermentation notes linger.
If you want one shortcut that works across almost every bar, ask one question at each stage. At the beginning, is this bright, round, or heavy? In the middle, is it integrated or fighting itself? At the end, do you want another bite or do you feel fatigue?
The three confusions that make people feel “bad at tasting”
Most tasting anxiety comes from mislabeling sensations. If you can separate these three pairs, chocolate becomes much easier to read.
Acidity vs. bitterness: acidity feels like lift and brightness (often in the cheeks), while bitterness feels like a darker edge (often on the back of the tongue). A bright Madagascar bar can feel intense without being bitter; a roast-forward bar can feel bitter without being “high quality.”
Roast vs. cocoa: roast tastes like coffee, toast, smoke, or brownie crust. Cocoa tastes like deeper chocolatey richness. A bar can be very “cocoa-forward” and still lightly roasted, and a bar can be heavily roasted and taste less like nuanced cocoa.
Tannin vs. “dryness from cold”: tannin dries the mouth as you finish. Cold chocolate can feel waxy and muted and can make a finish feel dull. If a bar feels dry, bring it to cool room temperature and taste again before you decide it’s tannic.
A simple vocabulary that stays honest
You don’t need poetic metaphors. You need categories that let you compare bars.
Use structure words first. Acid feels like brightness and lift; tannin feels drying; sweetness can feel clean or cloying; roast can feel warm and cocoa‑forward or burnt and bitter. Once you have those anchors, flavor words become easier and more accurate.
If you want a fast mapping that stays accurate, treat each “notice” as a clue with a plausible cause, then test it on your next bar. Bright citrus or berry lift often points toward a high-acid origin or fruit-forward fermentation; compare it to something roastier and you’ll feel the difference in your cheeks. Cocoa, brownie, and deep roast usually signal a roast-forward style (or heavier fermentation); set it against a floral bar and see how quickly “cocoa” can become “place.” Nutty caramel and toffee often come from roast and conche choices, sometimes reinforced by origin; try it with a hard cheese or a nut-forward coffee and watch the toasted notes link arms. A drying finish is commonly cocoa solids, tannin, or under-refining; nudge the percentage down and notice whether the finish becomes cleaner. A waxy melt is frequently added fat, high cocoa butter, or simply a bar that’s too cold; warm it to cool room temperature and taste again before you judge it.
Common defects you should recognize
Not every “weird” note is a flaw; some are simply intense fermentation or a strong origin signature. But there are a few patterns worth learning so you don’t confuse problems with personality.
Sugar bloom looks like a dusty, grainy whiteness and often comes with a rough mouthfeel. It usually happens when chocolate experiences moisture and then dries. Fat bloom looks like a pale film or streaking and often feels softer; it can come from temperature cycling or temper issues.
A harsh burnt bitterness can signal over-roasting. A sharp, unpleasant acidity can signal fermentation problems or poor drying. A muddy, flat profile can happen when the bar is old, poorly stored, or heavily over-conched in a way that sands down nuance.
If you’re unsure whether you’re tasting a “defect” or a strong origin personality, compare. Taste the bar next to something in a similar percentage range that you already like. Defects tend to feel jagged or unintegrated across the whole bite; personality tends to feel coherent even when it’s intense.
Build a flight that teaches you fast
If you want to learn quickly, don’t taste ten bars. Taste three bars with intention. Choose one that is bright and fruit-forward, one that is nutty or caramel‑leaning, and one that is deep and roasty. Keep the percentage range close so you’re comparing style and origin rather than just sugar.
Taste them in that order. Bright first, then round, then deep. This keeps your palate from being overwhelmed early, and it makes the differences obvious.
Notes that actually help (and don’t feel like homework)
Write less than you want to. The point of notes is recall, not performance.
For each bar, write three short lines: one aroma word, one texture word, and one finish word. Then add one sentence you can test later: “This is brighter than I expected for 70%,” or “This tastes roast-forward even though it’s single-origin.” Those sentences become your personal map the next time you’re choosing a bar.
When you’re ready, use the Chocolate database to pick contrasting profiles, then reinforce your recall with the Chocolate games.