The Art of Brewing Coffee
Great coffee starts with great beans, but brewing is where potential becomes voice. A bag of beans is a promise; the brew is what decides whether that promise arrives bright and articulate, or muffled and weary. This guide walks through the major methods—pour over, French press, espresso, cold brew, AeroPress, moka pot—with the kind of practical detail that turns “I tried” into “I can repeat this on purpose.”
Understanding Extraction
Brewing coffee is extraction: water dissolving and carrying away soluble compounds from ground beans—acids, sugars, aromatics, bitters—each arriving on its own schedule. If you stop too soon, the cup can taste sharp and hollow, like a citrus note left alone on stage. If you push too far, bitterness and a drying astringency creep in, and suddenly the coffee feels scolded rather than brewed. The goal is the middle path: balanced, sweet, full, where the coffee tastes intentional.
The good news is that extraction isn’t mysterious. You control it with a handful of levers, and they behave predictably. Grind size sets the pace (finer is faster, coarser is slower). Water temperature sets the urgency (hotter extracts more quickly; 195–205°F is a reliable neighborhood). Brew time determines how long water gets to work. Ratio determines strength and balance, because the amount of coffee relative to water changes both intensity and how extraction presents. And agitation—stirring, swirling, turbulent pouring—changes contact and can nudge a brew from timid to overzealous.
Pour Over Coffee
Overview
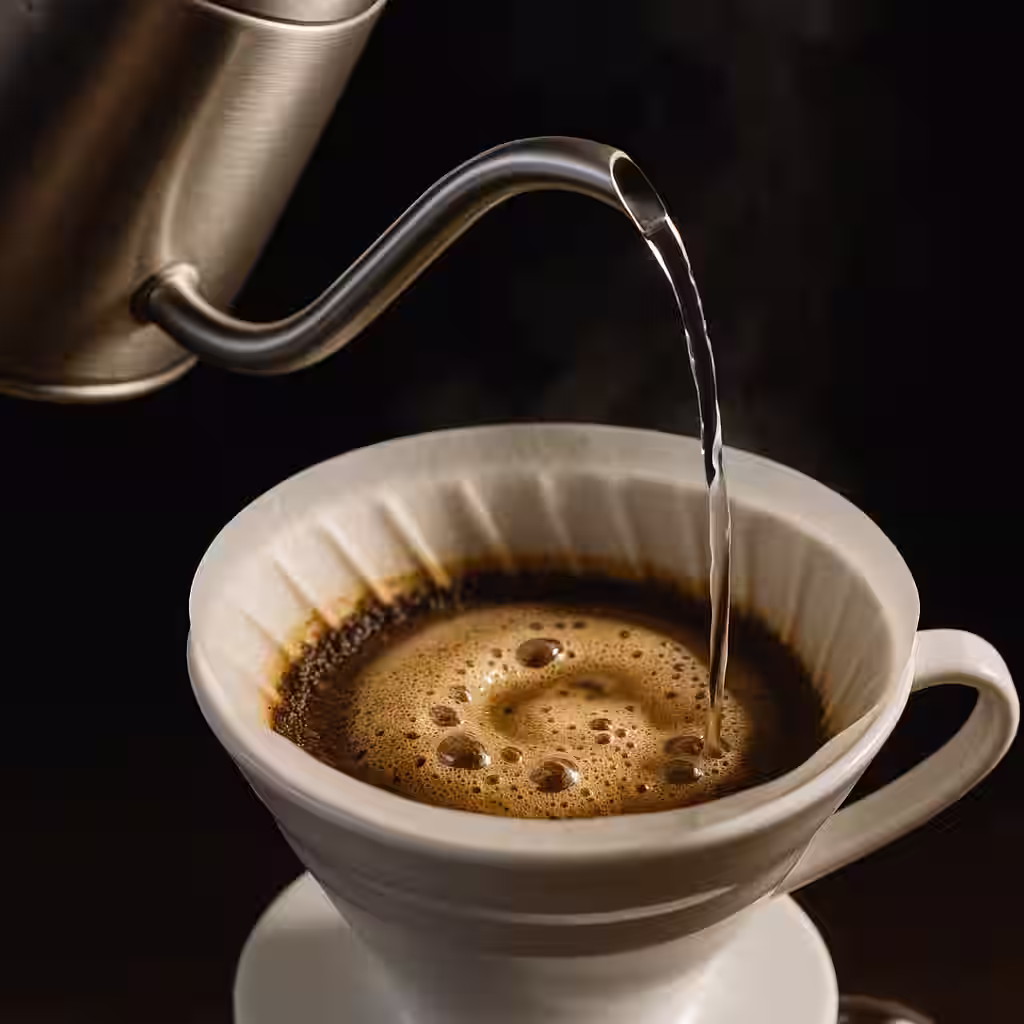
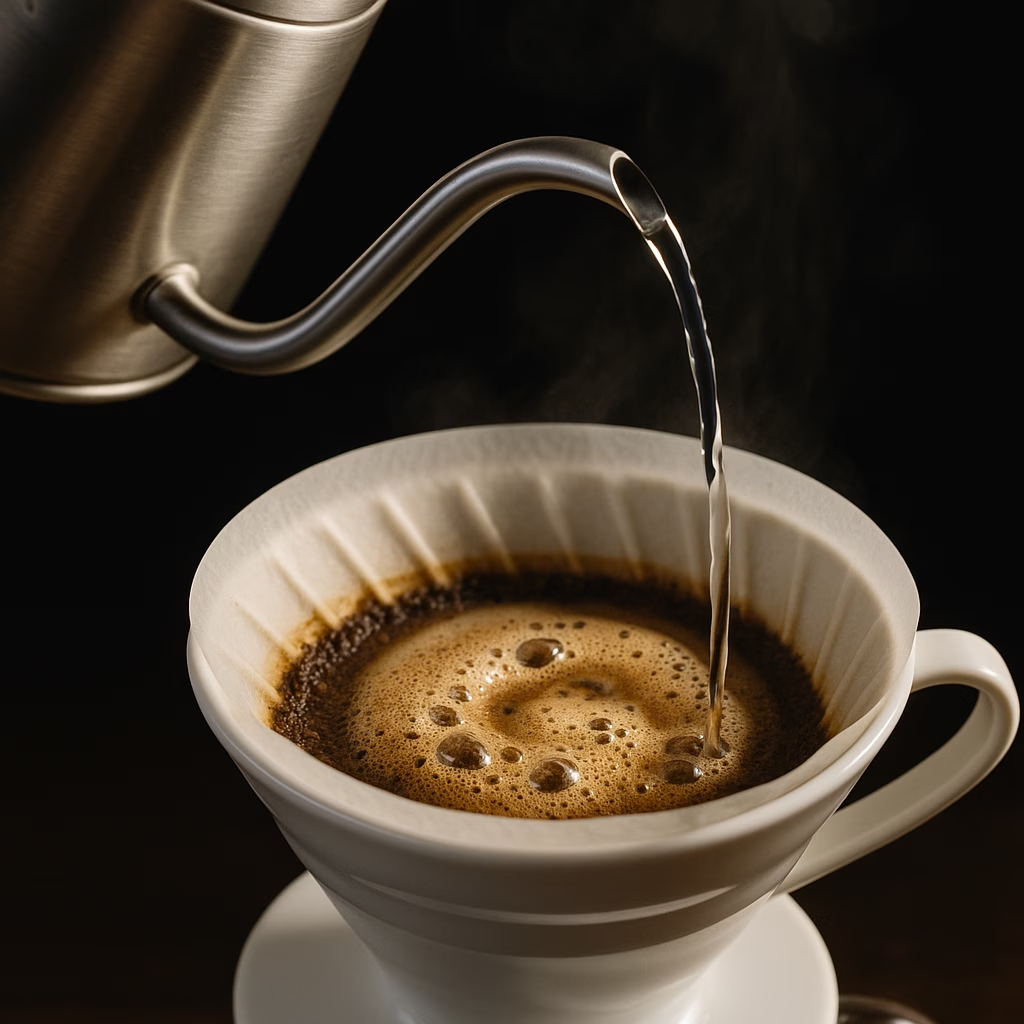
Pour over is the method for people who enjoy small, repeatable acts of care. Hot water is poured over coffee grounds held in a paper filter, and gravity—with a little technique—does the rest. When it’s right, the result is clean and bright, with clear flavor separation, a light-to-medium body, and a kind of clarity that makes bean origin and roast character easy to taste.
The devices are variations on a theme, each with its own temperament. The V60 (Hario) is conical and honest—one large hole, lots of feedback, and a cup that rewards steadiness. The Chemex is elegant and exceptionally clean, thanks to thick filters that remove more oils and fine sediment. The Kalita Wave is flatter-bottomed and forgiving; it tends to smooth out mistakes and produce consistency. And the Melitta is the sturdy ancestor—simple, reliable, and quietly excellent.
V60 Brewing Guide
To brew a V60 well, think “calm control.” Gather a V60 dripper and filters, a gooseneck kettle, a grinder, a scale accurate to 0.1g, and a timer. Aim for water around 205°F. You don’t need to worship the number, but you do want consistency.
For a strong starting recipe, use 20g of coffee at a medium-fine grind—like sea salt—and pour 300g of water (a 1:15 ratio). Your total time from first pour to final drip should land around 2:30–3:00.
Start by rinsing the filter with hot water. This removes paper taste and preheats everything the coffee will touch. Discard the rinse water, add your grounds, and gently shake or tap to level the bed. Then begin the bloom: start your timer and pour 40–50g of water in a small circular motion to saturate every particle. Let it sit 30–45 seconds. If the coffee is fresh, you’ll see bubbling—CO₂ escaping, making room for extraction.
After the bloom, pour in a slow, steady spiral, moving from center outward and back again, trying to keep the slurry’s water level relatively stable instead of letting it surge and drain in dramatic waves. As a simple pacing guide, aim to reach 150g by 1:15, and reach 300g by 2:00. Then stop pouring and let the drawdown finish. A good V60 often ends with a fairly flat bed—an understated sign that flow was even.
Once it’s done, discard the filter, swirl the carafe or cup to mix the layers, and drink promptly while aromatics are lively.
Troubleshooting:
| Problem | Cause | Solution |
|---|---|---|
| Sour, weak | Under-extracted | Grind finer, increase temp, pour slower |
| Bitter, harsh | Over-extracted | Grind coarser, lower temp, pour faster |
| Drains too fast | Grind too coarse | Grind finer |
| Drains too slow | Grind too fine or uneven pouring | Grind coarser, improve technique |
Chemex Brewing
A Chemex is pour over with a softer voice and a cleaner finish. The filters are thicker than most, and that thickness matters: it slows drawdown and removes more oils, producing a cup that feels exceptionally crisp and polished. The payoff is clarity; the cost is patience.
A good anchor recipe for 3 cups is 42g coffee at a medium grind with 700g water (a 1:16.7 ratio), aiming for 4:00–4:30 total.
The workflow rhymes with the V60. Rinse the thick filter thoroughly, add grounds, and bloom with 80–100g water for about 45 seconds. Then pour in gentle stages—often three pours—bringing the total to roughly 300g, then 500g, then 700g. Expect a longer drawdown; that’s not failure, it’s design.
French Press (Press Pot)
Overview
French press is immersion brewing: coffee and water steep together, then a metal filter presses the grounds down and frees the brew. Because there’s no paper filter, oils remain in the cup, giving a richer mouthfeel and a fuller body—sometimes with a little sediment, like a reminder that this method is alive and unpretending. It’s simple, forgiving, and excellent for multiple servings.
French Press Brewing Guide
You’ll want a French press (Bodum, Espro, or similar), coarse-ground coffee, a kettle around 200°F, plus scale and timer. For a reliable 500ml (about 4 cups) brew, use 30g coffee and 500g water (a 1:16.7 ratio), and plan on 4:00 total steep.
Preheat the press by swirling hot water inside and discarding it; this keeps temperature steadier during extraction. Add the coffee, start the timer, and pour all the water in confidently, ensuring no dry pockets remain. At 0:30, stir gently to break the crust and encourage even extraction—think “wake it up,” not “whip it.” Then place the lid on with the plunger raised and let it steep undisturbed until 4:00.
When time is up, press slowly over 20–30 seconds. Pour and serve immediately. Leaving coffee in the press is a quiet way to invite over-extraction. If you want a cleaner cup, don’t force the plunger all the way to the bottom; that last bit is where silt likes to gather.
Pro Tips: Some presses (like Espro) use dual filtration for a cleaner cup. Decanting immediately prevents continued extraction. And if you want more clarity, skim foam and oils from the top just before pressing.
Common Mistakes: Too fine a grind leads to muddy bitterness and a hard press. Water that’s too hot pushes harshness. Pressing aggressively stirs sediment into suspension. And leaving the coffee sitting on the grounds turns “rich” into “bitter” faster than most people expect.
Espresso
Overview
Espresso is concentration built on pressure: a small volume of intensely flavored coffee extracted quickly (often 25–30 seconds) at around 9 bars, typically at a 1:2 ratio. When it’s good, it’s syrupy, aromatic, crowned with crema, and sturdy enough to carry milk in cappuccinos and lattes without disappearing.

Espresso also demands equipment that can produce repeatable pressure and fine, consistent grind distribution. Entry-level machines often start around $200–500, mid-range setups span $500–1,500, and high-end machines can climb into $1,500–3,000+ territory. Just as important is the grinder—often $200–500—because espresso is less forgiving than any other method about particle consistency.
Espresso Brewing Guide
A classic starting recipe is 18g in the basket, yielding 36g out (a 1:2 ratio) in 25–30 seconds, usually near 200°F (93°C) at about 9 bars.
Begin with heat. Give your machine and portafilter time to warm thoroughly—espresso hates cold metal. Flush the grouphead and, if possible, run a blank shot to stabilize temperature. Then grind 18g into the portafilter and distribute evenly—clumps and uneven density are how channeling begins. Tamp firmly and level (often described as ~30 lbs), then polish gently with a small twist for a smooth surface.
Lock in, place your cup, and start immediately. Watch the extraction: early drops are darker and slower, then the flow often turns honey-like, then it lightens and speeds near the end. Stop at 36g output or when time hits the target range. Then taste. A good shot is sweet and balanced; if it’s sour and thin, you’re under-extracted. If it’s bitter and drying, you’ve likely gone too far.
Dialing In:
Dialing in is simply adjusting one variable at a time and listening to the cup. If your shot runs too fast (under 20 seconds), your most common fix is to grind finer; if needed, increase dose slightly. If it runs too slow (over 35 seconds), grind coarser or reduce dose a touch.
If the shot tastes sour, you’re often still under-extracting: grind finer to lengthen contact time, and raise temperature if your machine allows. If the shot tastes bitter, shorten extraction by grinding coarser, and lower temperature if that’s an option.
Milk Drinks
Steaming milk is both sound and feel: stretch first, then texture. Purge the wand, fill your pitcher about a third full with cold milk, and position the tip just under the surface to introduce air gently. Once the milk expands, lower the tip slightly to create a vortex that folds the foam into the liquid, turning bubbles into microfoam. Aim for 140–150°F; beyond that, sweetness fades and scalding notes appear. Finish by tapping out remaining bubbles and swirling until the milk looks glossy.
Milk drinks are espresso in different clothing. An Americano is espresso loosened with hot water (often 1:2 to 1:4 water-to-espresso). A macchiato marks espresso with a small amount of foam. A cappuccino balances espresso, steamed milk, and foam into a smaller, structured drink. A latte moves milk forward with a thinner foam cap. A flat white aims for velvety microfoam in a smaller volume, where milk and espresso feel fused rather than layered.
Cold Brew
Overview
Cold brew is time doing the work heat would normally do. Coffee steeps in cold water for 12–24 hours, producing a smooth concentrate that often tastes naturally sweet, with lower perceived acidity and less sharpness than hot brews. It’s made for ice, batches, and convenience: stored refrigerated, concentrate often lasts 1–2 weeks.

Cold Brew Guide
You need very little: a large jar or cold brew maker, coarse coffee, filtered water, and a way to strain (fine-mesh, cheesecloth, or paper filter for extra clarity). A reliable concentrate recipe is 100g coffee to 700g water (a 1:7 ratio), steeped 16–24 hours.
Combine coffee and water, stir until fully saturated, cover, and choose your pace. Brewing in the fridge extracts more slowly and can taste a touch brighter; room temperature extracts faster and can feel rounder. Once time is up, strain thoroughly, discard the grounds, and store concentrate in the fridge.
To serve, dilute 1:1 or 1:2 with water or milk, pour over ice, and adjust to taste. And if you want to play: keep it classic with water, go latte-style with milk, try nitro for a creamy texture, or steep a cinnamon stick or vanilla alongside the grounds for gentle flavoring.
AeroPress
Overview
The AeroPress is a small, sturdy brewer with a wide range: it can make something concentrated and bold, or something closer to a clean filter cup, and it does it quickly—often in 1–2 minutes. It’s portable, durable, and unusually forgiving, with cleanup that feels like a magic trick.
AeroPress Standard Recipe
For a standard brew, use an AeroPress, a paper or metal filter, 15–18g coffee at a medium-fine grind, and 200–250g water between 185–205°F depending on how intense you like it.
In the standard method, rinse the filter, assemble the AeroPress over a mug, add about 17g coffee, then start your timer as you pour roughly 220g water. Stir for about 10 seconds, insert the plunger to create a seal, and let it sit briefly. Around 1:00, press gently for 30 seconds, stopping when you hear the hiss of air. If it’s too strong, dilute with hot water.
In the inverted method, insert the plunger slightly and set the brewer upside down, add coffee and water, steep 1–2 minutes, attach the cap, then flip carefully onto your mug and press. The main benefit is less drip-through during the steep, giving a more immersion-like extraction.
Moka Pot (Stovetop Espresso)
Overview
A moka pot is strong coffee with old-world drama: steam pressure forces water up through coffee and into the top chamber, producing a rich, full-bodied brew in 4–6 minutes—not true espresso, but deeply satisfying, especially with milk or sugar.
Moka Pot Brewing Guide
Use a moka pot (3-, 6-, or 9-cup), medium-fine coffee, and a stovetop heat source. For a 6-cup pot, start with 20–22g coffee and fill the lower chamber with water up to the safety valve—never above it.
Hot water in the base can reduce bitterness by shortening time on heat. Fill the basket with coffee, level it without tamping, wipe the rim clean, and assemble the pot tightly. Heat on medium-low with the lid open and watch the stream. You want something steady and honey-like. When sputtering and hissing begin, remove from heat; those last aggressive bubbles tend to bring bitterness. Let it finish off heat, then stir the upper chamber before serving to blend the stronger early brew with the lighter later brew.
Most mistakes are heat and grind in disguise: too much heat burns the brew; espresso-fine grind turns muddy and can stall flow; packing the basket chokes extraction; and leaving the pot to sputter to the bitter end is the fastest way to ruin an otherwise good coffee.
Comparison Chart
Grind Size Guide
| Method | Grind Size | Visual Comparison |
|---|---|---|
| Cold Brew | Extra Coarse | Peppercorns |
| French Press | Coarse | Breadcrumbs, sea salt |
| Pour Over (Chemex) | Medium-Coarse | Coarse sand |
| Pour Over (V60) | Medium | Regular sand |
| Drip Machine | Medium | Regular sand |
| AeroPress | Medium-Fine | Table salt |
| Espresso | Fine | Powdered sugar |
| Turkish | Extra Fine | Flour |
Water Quality
Why It Matters:
Coffee is 98% water. That means water isn’t background—it’s the stage. Minerals help extraction; off-flavors shout over everything.
Ideal Water: Filtered tap or bottled spring water that tastes clean on its own is a great place to live. Many brewers aim around 100–150 ppm TDS with a near-neutral pH, but the simplest test is still your tongue: water that tastes good tends to brew better coffee.
Avoid: Distilled water is too pure and can make coffee taste flat and lifeless. Softened water can under-extract oddly. And heavily chlorinated or unpleasant tap water will stamp its signature onto every cup, no matter how good your beans are.
Troubleshooting Common Issues
Sour Coffee: Sourness usually means under-extraction. Push toward more contact and more dissolution: grind a bit finer, raise water temperature (up to 205°F), extend brew time slightly, and make sure the coffee is fresh enough to behave predictably.
Bitter Coffee: Bitterness often comes from over-extraction. Pull back with a coarser grind, a lower temperature (down toward 195°F), or a shorter brew time. Also check roast age—stale coffee can tilt bitter even with good technique.
Weak/Watery: If the cup feels thin, increase the coffee dose first. You can also grind slightly finer and ensure full saturation so water doesn’t slip through without doing its work.
Muddy/Grainy Texture: Grit is usually grind size or filtration. Coarsen the grind for French press and cold brew, and confirm your filters and pour technique for pour overs.
Next Steps
- Explore Coffee Bean Origins to understand what you’re brewing
- Learn about Equipment to upgrade your setup
- Try our Brew Ratio Calculator to dial in your perfect cup
- Browse the Coffee Database for bean recommendations
Great coffee is a journey, not a destination. Master one method before moving to the next, and your taste will sharpen in quiet increments—cup by cup, morning by morning—until “good” starts to feel normal.

