
Brisket has a reputation for being frightening, and the fear is mostly about stakes rather than skill. It is a large, expensive cut that takes the better part of a day, so a mistake feels costly in a way that a burger never does. But brisket does not require magic. It requires a realistic plan, honest expectations, and the willingness to cook by temperature and feel rather than by the clock. This guide walks through the whole arc, from buying and trimming to the stall, the wrap, the rest, and the slice, with the goal of removing the panic and leaving you with a repeatable process.

Brisket is not the entry fee to barbecue
It is worth saying plainly that brisket does not have to be your first big cook, and treating it as a rite of passage sets people up to be disappointed. It is large, pricey, oddly shaped, and hungry for time, which is a lot to manage while you are still learning to hold a steady fire. Pork shoulder is far more forgiving, ribs give you faster feedback, and both build the exact skills brisket demands, from running a smoker at a stable temperature to reading tenderness by feel. If you want to arrive at your first brisket already confident, cook a couple of those first. When you do reach for brisket, you will be spending your attention on the cut’s quirks rather than on the basics of the fire.
Understanding the point and the flat
A whole packer brisket is really two different muscles joined together, and most of the confusion around brisket comes from treating it as one. The flat is the long, lean muscle that produces the neat, photogenic slices, and because it is lean it dries out more readily and punishes overcooking. The point sits on top, thicker and marbled with fat, which makes it more forgiving and is why it becomes chopped brisket or burnt ends. Because these two muscles have different thicknesses and fat contents, they do not finish at the same moment and they do not read the same on a thermometer. A single probe reading cannot describe the whole brisket. You have to probe both areas, and lean more on how the probe feels going in than on any one number, since the meat is truly ready when the probe slides through with little resistance and the connective tissue has softened.
The stall, the wrap, and the rest
Somewhere in the middle of the cook the internal temperature will seem to stop climbing for hours. This is the stall, and it is the single most common cause of first-timer panic. It is completely normal. As the surface releases moisture, evaporative cooling counteracts the heat going in, and the temperature plateaus until that balance shifts. Nothing is wrong, and the worst thing you can do is crank the fire or start second-guessing your setup because a number stopped moving.
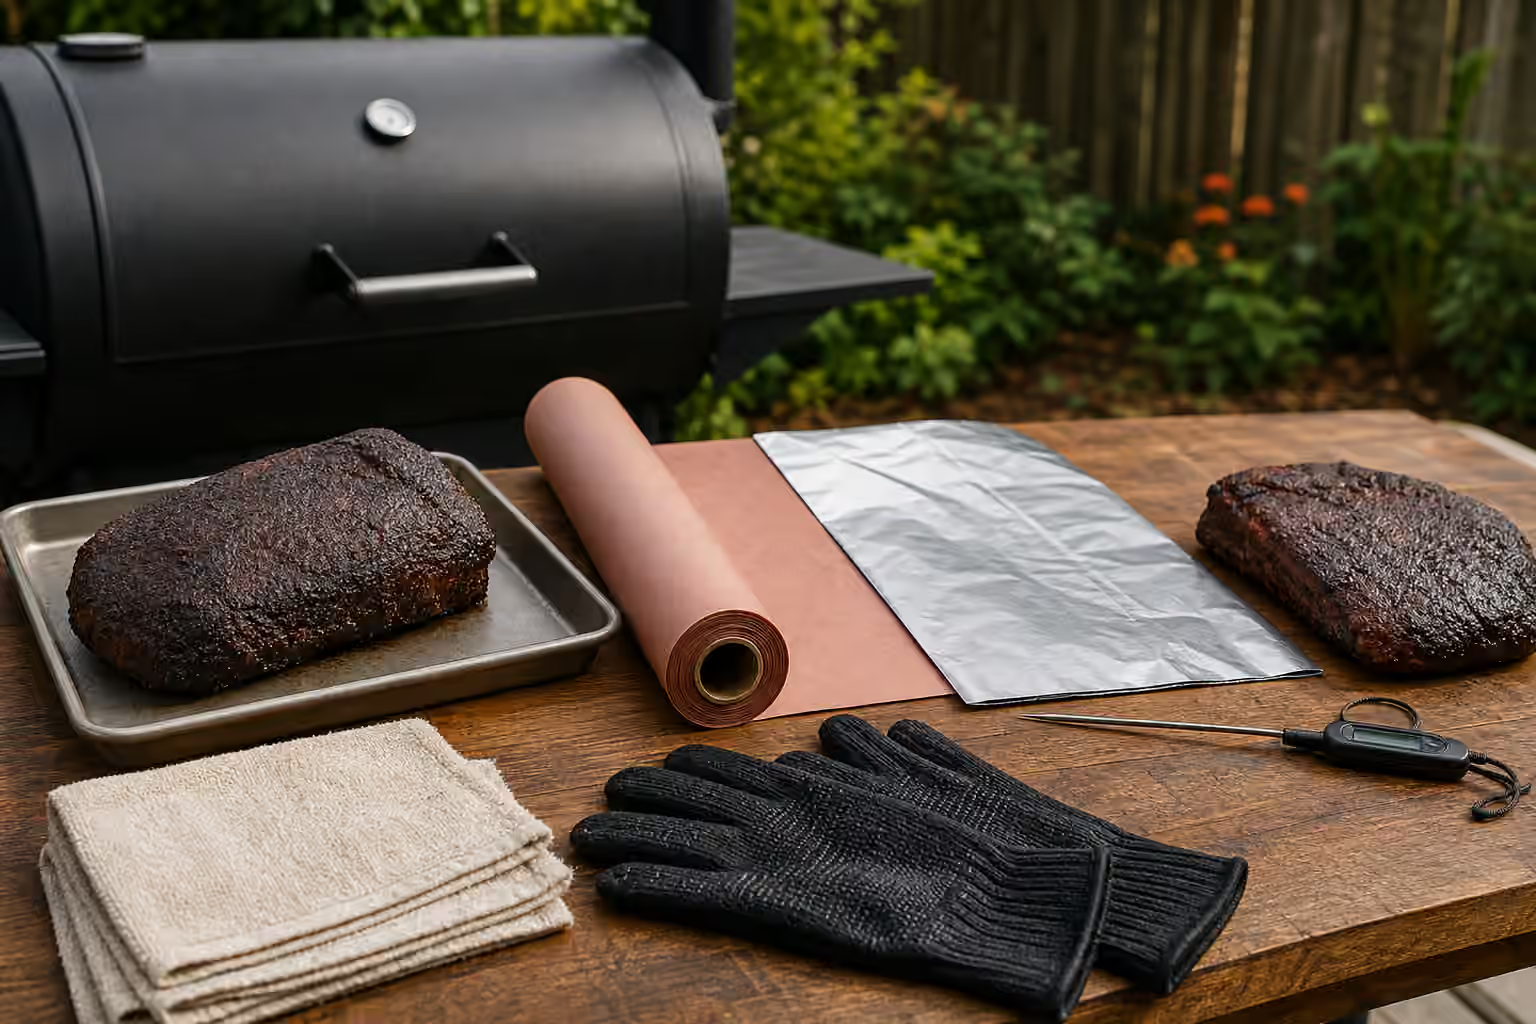
You have a choice at the stall. You can wait it out for maximum bark, or you can wrap the brisket in butcher paper or foil to push through it faster and protect moisture. Wrapping speeds things up and guards against drying, but it softens the bark you have built, so the decision is a trade between bark and time. Paper breathes and preserves more crust than foil, which is why many cooks favor it. Neither choice is wrong; the point is to make it on purpose, based on how your bark looks and how your schedule is running, rather than out of fear.
The rest is not idle time you can trim to save the schedule. It is part of the cook. A long, controlled rest lets the meat settle and the juices redistribute, and it is a major reason good brisket eats juicy instead of tight and dry. Hold the wrapped brisket somewhere warm and give it real time before you slice.
When the schedule slips
Brisket runs on its own clock, and it will not care that guests are arriving. The cure is buffer time and a backup plan, not a rushed knife. If the brisket finishes early, that is a gift, because a well-insulated hold keeps it in beautiful shape for hours. If it finishes late, rest it as long as you can and slice only when you are genuinely ready to serve, and in the meantime put out sides, sausages, chicken, or another protein so nobody is standing around hungry. Never slice a half-done brisket just because the clock feels rude. Under-rested, undercooked slices are the one outcome you truly cannot recover, and a padded schedule with a backup menu makes sure you never have to.
Trimming, slicing, and finishing right
A little trimming helps the brisket cook evenly, so pare down the thickest fat and square up ragged edges, but do not chase perfection or strip away the fat that keeps the flat moist. Season simply; salt and coarse pepper are a classic base for good reason. When it is finally done and rested, the slice matters as much as the cook. Cut across the grain, and be aware that the grain direction changes between the point and the flat, so you will need to turn the brisket as you work rather than cutting the whole thing in one direction. Slicing with the grain, instead of across it, will make even a perfectly cooked brisket chew like rope.
Keep the safety habits steady through the long day. Use thermometer-based doneness for meat, poultry, seafood, leftovers, and reheating. Keep raw and cooked foods separate, wash hands and tools after raw contact, and move perishables and leftover slices toward chilling promptly instead of leaving them in the outdoor danger zone while everyone lingers over the meal. For current official reference, keep FoodSafety.gov’s safe minimum internal temperatures and clean, separate, cook, chill guidance close by, and USDA FSIS keeps a grilling food safely resource that covers smoking, holding, and leftovers directly.
If you are building toward brisket, Smoking for Beginners grounds the fire skills, BBQ Bark, Smoke Rings, and Texture explains what to look and feel for on the finished cut, and Resting, Holding, and Serving covers the hold that makes or breaks the slice. For putting leftovers to work, Boy Kibble Kitchen has ideas for brisket bowls, while Wine Explorer and Beer Explorer help you pour something that stands up to smoked beef.