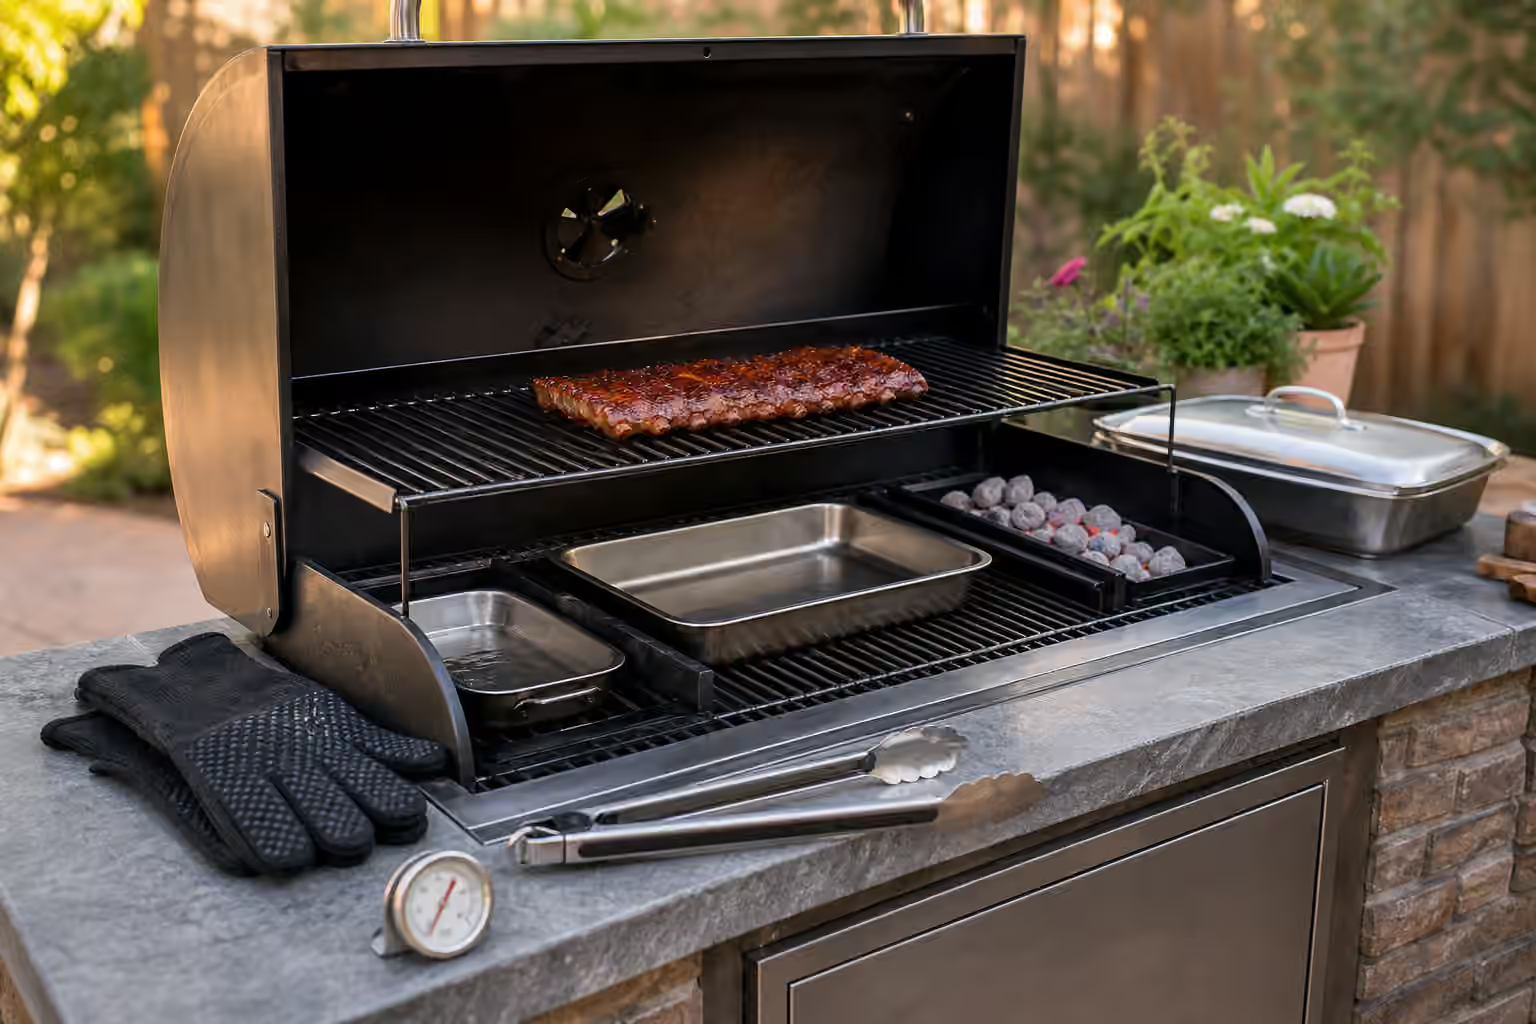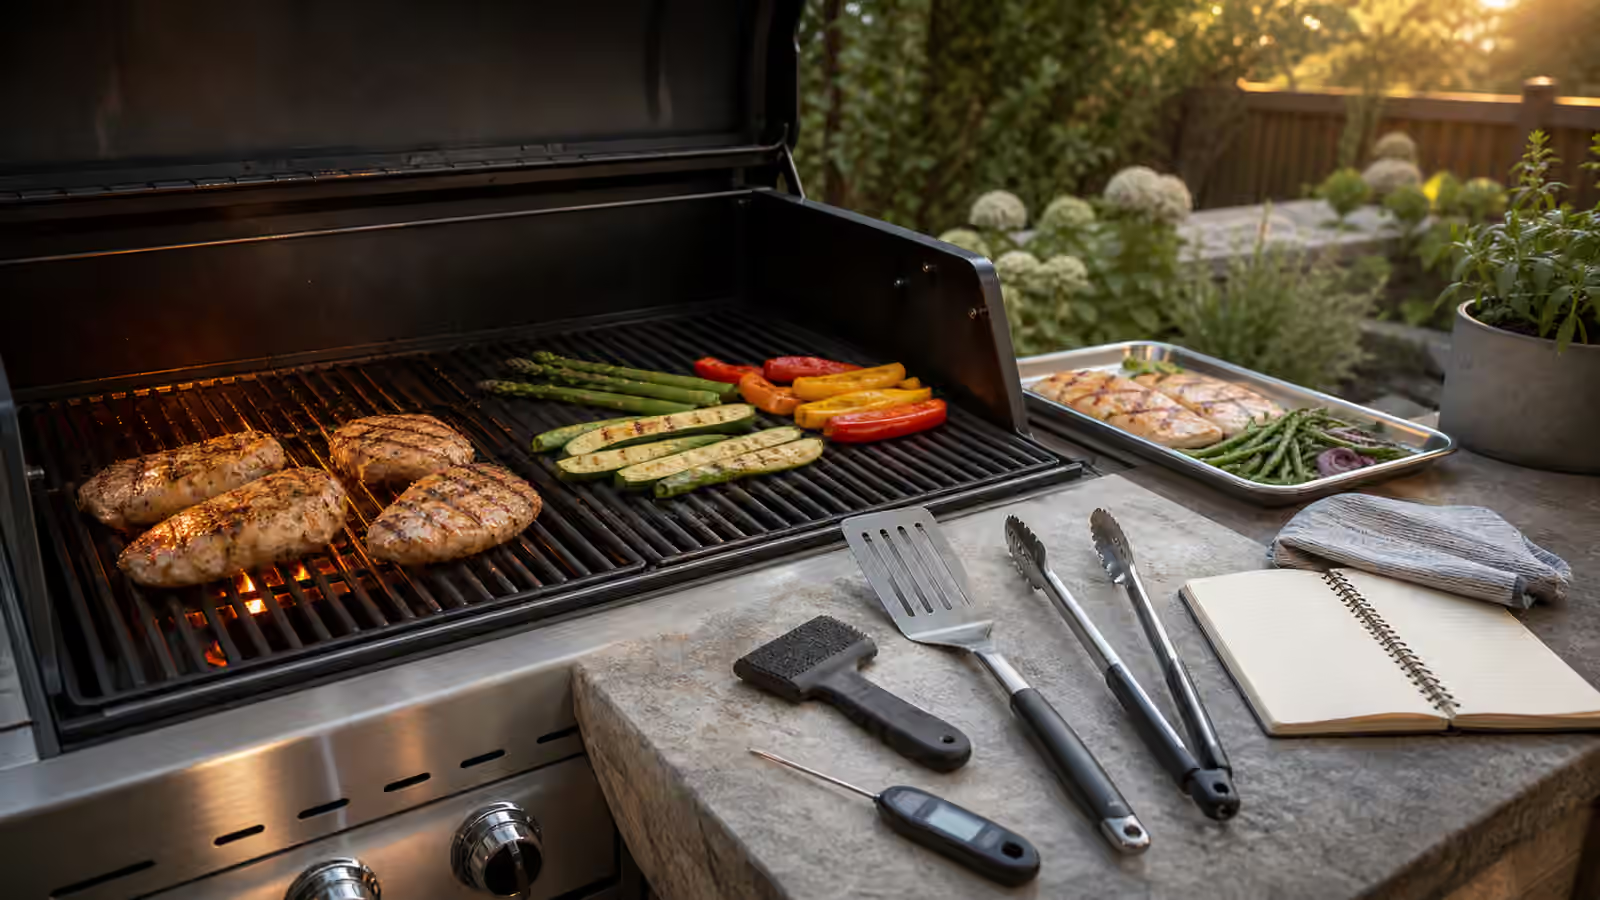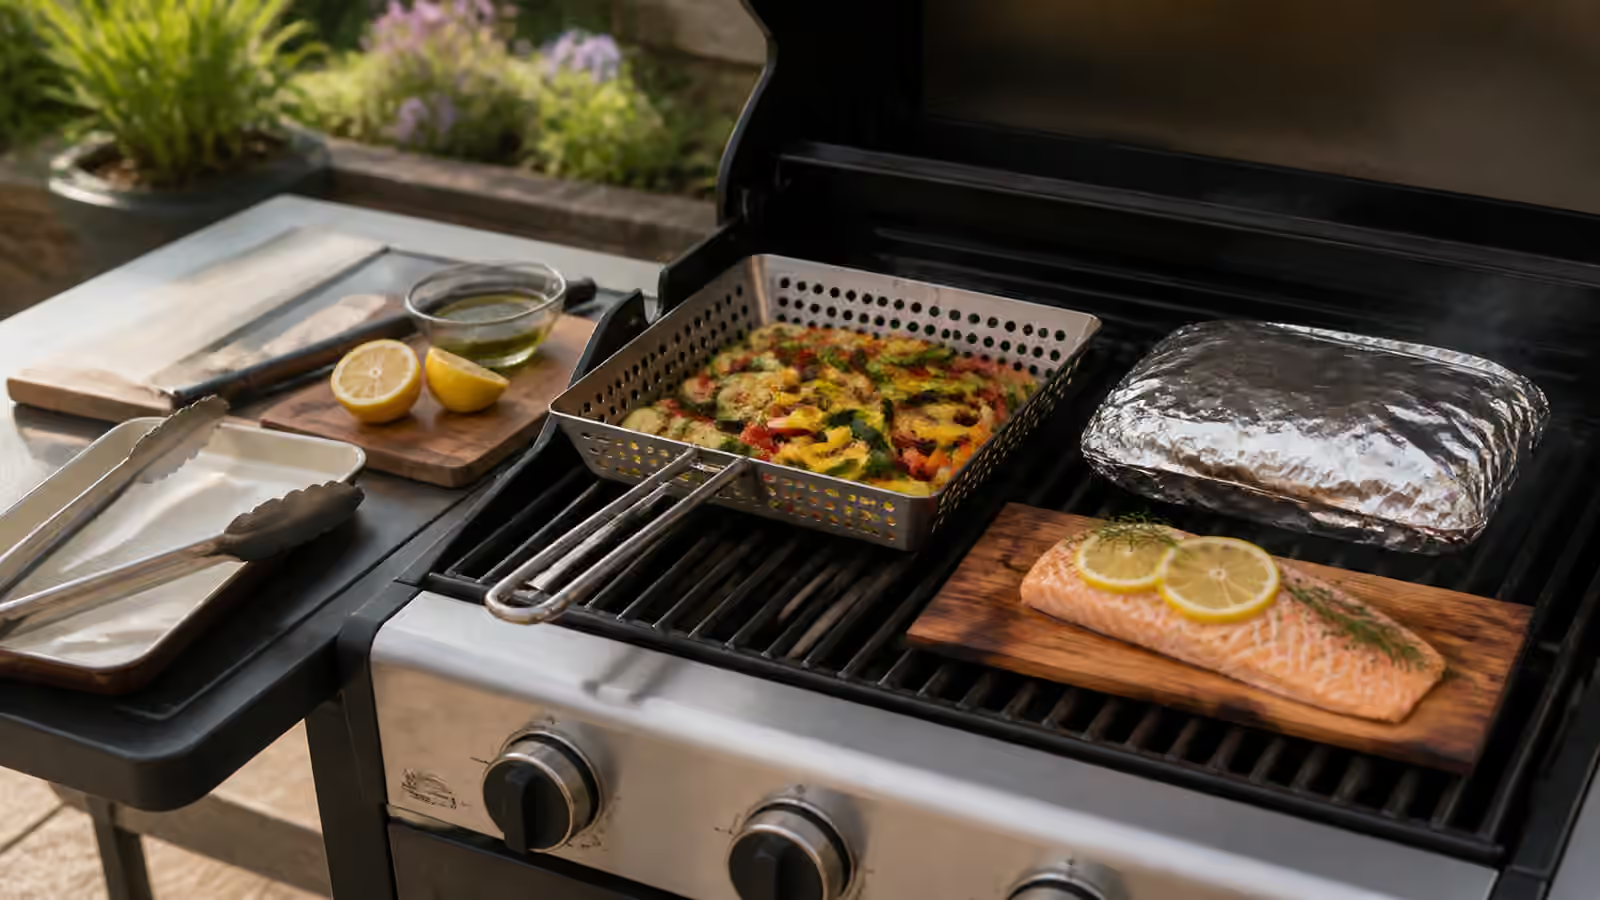

Diamond grill marks are the photograph everyone wants, but they are a poor measure of how food actually tastes. Those dark crosshatched lines are simply the places where the metal bars pressed hard enough and long enough to char the surface. The pale bands between them never touched anything hot. When you bite through a steak marked that way, most of the surface is the flat, steamed gray of an underbrowned cut, and only the thin ridges carry the roasted, savory flavor you were chasing. Learning to see past the pattern is the first real step toward food that tastes as good as it looks.

Browning is a chemical event, not a decoration
The flavor you associate with a good sear comes from browning reactions that begin when a dry surface gets hot enough, roughly in the range where proteins and sugars start transforming into hundreds of new aromatic compounds. That transformation needs three things: contact, heat, and a surface dry enough that the energy goes into browning rather than boiling off water. A grill grate gives you contact only along narrow lines, which is exactly why marks form where they do and why the gaps stay pale. If you want more of the surface to develop that deep roasted character, you need to give more of the surface real contact with real heat, not just rotate the food to lay down a prettier grid.
This is where a lot of cooks get stuck. They flip a steak forty-five degrees to make the crosshatch, feel proud of the geometry, and never notice that they have spent their high-heat window decorating instead of browning. A cleaner approach is to let a face sit undisturbed until a broad, even crust forms, then flip once and repeat. The marks will be less tidy, but the eating experience is far better because a much larger fraction of the surface has actually browned.
When bars are not enough, borrow a solid surface
There is a hard ceiling on how much crust open bars can build, because they simply cannot touch the whole surface. This is why a cast-iron pan, a griddle plate, or a plancha laid over the fire changes the game for certain foods. A thin steak, a smash burger, scallops, or diced vegetables develop a continuous browned face on solid metal that no grate can match. You lose the smoke-kissed bar lines, but you gain wall-to-wall crust. Keeping a piece of cast iron in the rotation is one of the simplest upgrades an outdoor cook can make, and it pairs naturally with the ideas in Searing Without Scorching .
Sticking is a symptom, not bad luck
Food welds itself to the grate for reasons that are almost always fixable. A cold or dirty grate has nowhere for the surface to release. A wet surface spends its first minute steaming and bonding rather than browning. And food moved too early tears because the crust that would have let it lift cleanly has not formed yet. The fix is patient rather than forceful: preheat until the grate is genuinely hot, scrub it clean, blot the food dry, oil the food lightly instead of drowning the grate, and then leave it alone. When a proper crust has set, most food releases on its own with a gentle nudge. Delicate items like skin-off fish fillets earn extra help from a basket, a soaked plank, or a foil bed, because they will never build enough structural crust to survive a spatula on bare bars.
Every food teaches the same lesson differently
A steak wants a dry, salted surface and a long, undisturbed sear so the crust can go deep before the interior overcooks. Vegetables want space and enough oil to conduct heat without dripping into flames; crowd them and they steam into a limp, gray pile instead of taking on edges. Fish wants cleanliness and a gentle hand, because its crust is fragile and its flesh unforgiving of prodding. Chicken poses the trickiest version of the puzzle, since its skin and any sugary sauce will blacken long before the thick center is safe, which is why sauce goes on late and the finish happens over gentler heat. The common thread is that browning and doneness run on separate clocks, and good cooks manage both instead of assuming one proves the other.
Crust that burns is telling you something
A crust that turns bitter and black is not more browning; it is scorching, and it usually means sugar, sauce, or a spice-heavy rub met heat that was too direct for too long. The answer is to move the food to an indirect zone once the surface has color, and to hold sweet glazes until the final minutes so they set rather than carbonize. Bitter char reads as burnt because it is; genuine crust reads as savory and roasted. Judging by aroma helps here. Toasty and nutty is the goal; acrid and smoky-sharp is the warning.
Because a dark exterior can hide an underdone middle, crust is never a doneness signal. Check meat, poultry, seafood, and reheated leftovers with a thermometer at the thickest point, keep raw and cooked foods on separate plates, and move perishables toward chilling rather than letting them sit in the outdoor warmth while everyone admires the marks. For current reference, keep FoodSafety.gov’s safe minimum internal temperatures and its clean, separate, cook, chill guidance nearby, along with the USDA FSIS grilling food safely resource.
Finish for texture, not just color
The last decision that separates a browned crust from a soggy one happens off the fire. Set the food on a rack or an unglazed plate rather than a sealed lid, so steam escapes instead of softening the crust you worked to build. A sprinkle of a coarse finishing salt at the table adds a crackle of texture and seasoning that mid-cook salting cannot; the ideas in Salt Works apply directly, and the melt-and-crust thinking in Cheese Atlas transfers cleanly to grilled halloumi and grilled cheese.
If you take one idea from this guide, let it be this: stop grading a cook by its stripes. Ask instead how much of the surface actually browned, whether the crust is savory rather than scorched, and whether it stayed crisp on the way to the plate. When those answers are good, the marks take care of themselves. From here, Steak on the Grill puts the crust ideas to work on a single cut, and Vegetables, Fruit, and Plant-Forward Grilling shows how browning behaves when there is no fat to render.