
A good sear is the difference between food that tastes grilled and food that merely got hot outdoors. It is the deep brown crust on a steak, the crackling edge on a burger, the toasted skin on a chicken thigh, and it carries most of the flavor people associate with cooking over fire. The frustrating part for beginners is that the same intense heat that builds that crust will happily turn it black and bitter if you look away, and it will scorch a sugary rub or sauce in seconds. Searing without scorching is really about understanding what browning is, giving the surface what it needs, and knowing when to pull back before flavor tips into char.

What a sear actually is
A sear is surface chemistry, not a seal. The old story that searing locks in juices has been tested and set aside; a seared steak and an unseared one lose roughly the same moisture, and the crust is not a waterproof wall. What searing actually does is drive the browning reactions that happen when proteins and sugars on a food’s surface hit high, dry heat, producing hundreds of new aromatic compounds and that savory, roasted flavor. Understanding this reframes the whole task. You are not trying to trap water inside; you are trying to transform the outside. That means the surface, not the center, is where your attention belongs during the sear itself, and it means the enemy of a good crust is anything that keeps that surface cool and wet.
Dryness comes first
The single biggest lever a beginner can pull is surface dryness. A wet steak or a burger dripping with marinade cannot brown until it has boiled off its own surface moisture, and while it does that it steams grayly instead of browning. Those first minutes are wasted, the food overcooks a little deeper before any crust forms, and the result tastes flat. So pat food dry with a paper towel before it goes on, and if you marinated it, let the excess drip off and blot the surface. A light salt applied ahead of time actually helps here, because it draws surface moisture out and then reabsorbs it, leaving a tackier, drier exterior that browns faster. Dryness is free, it takes seconds, and it does more for a crust than almost anything else.
A hot, clean grate and a little oil
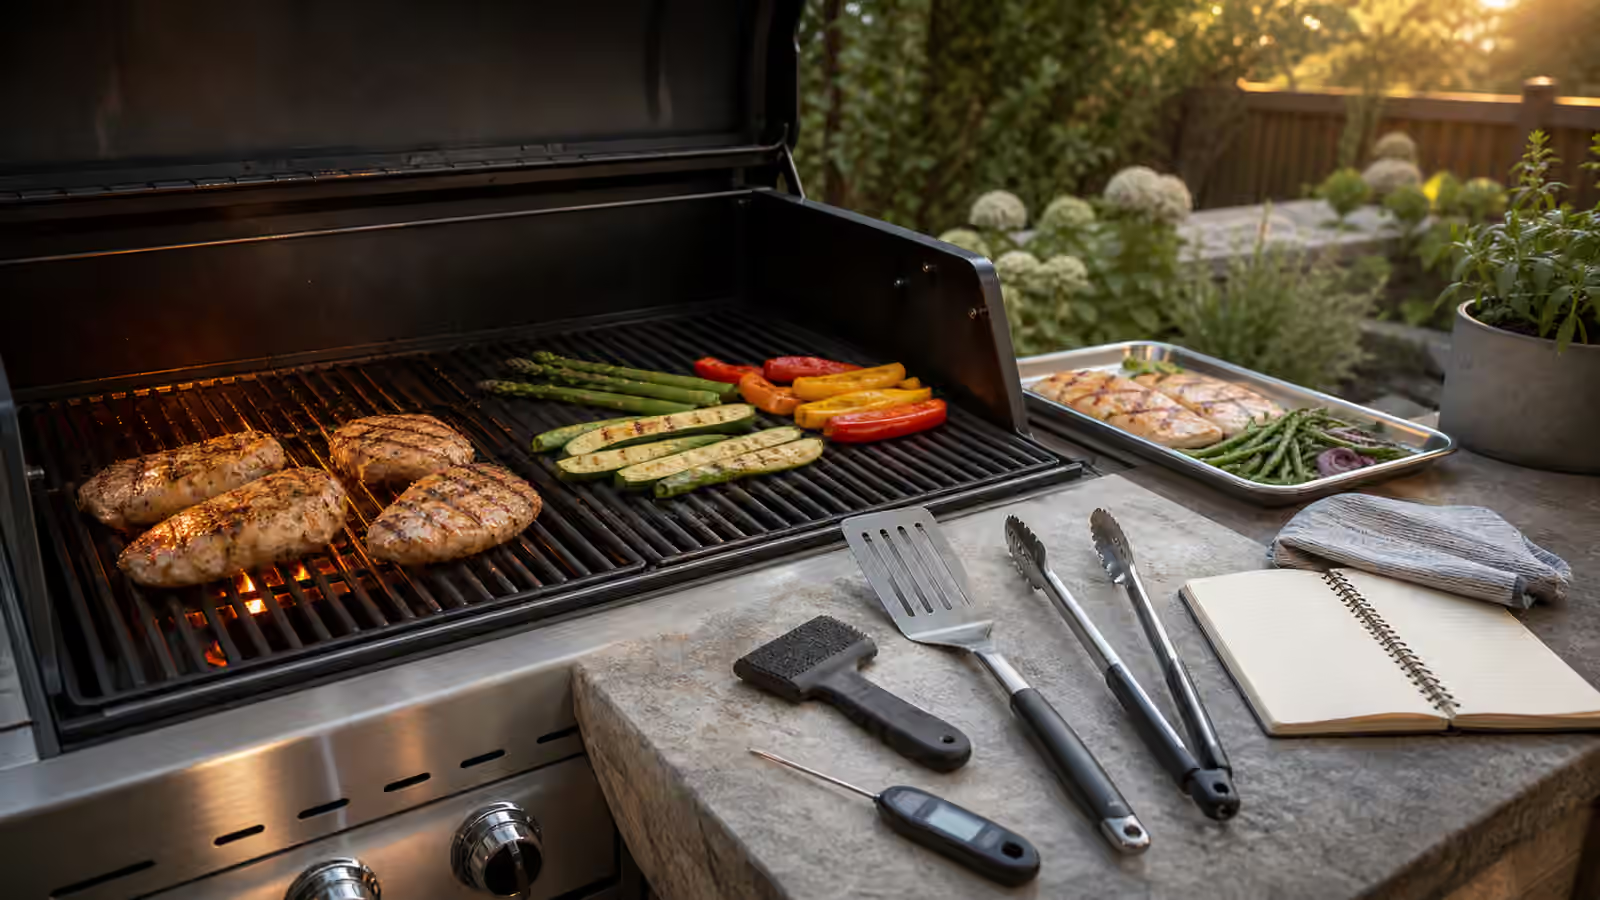
Browning needs real heat and good contact, so preheat the grate until it is genuinely hot, and scrape it clean, because food sticks to a dirty or cold grate and tears when you try to flip it. Oil belongs on the food, not poured across the bars in a flammable slick, so a light film brushed or wiped onto the food is enough to improve contact and release. Then comes the part beginners find hardest: leave the food alone. A crust forms through sustained contact, and flipping every few seconds interrupts that contact so browning never gets going. Set the food down, let it sit until it releases cleanly and shows real color, and only then turn it. If it is stuck, it usually is not ready to move yet.
The trap of thickness
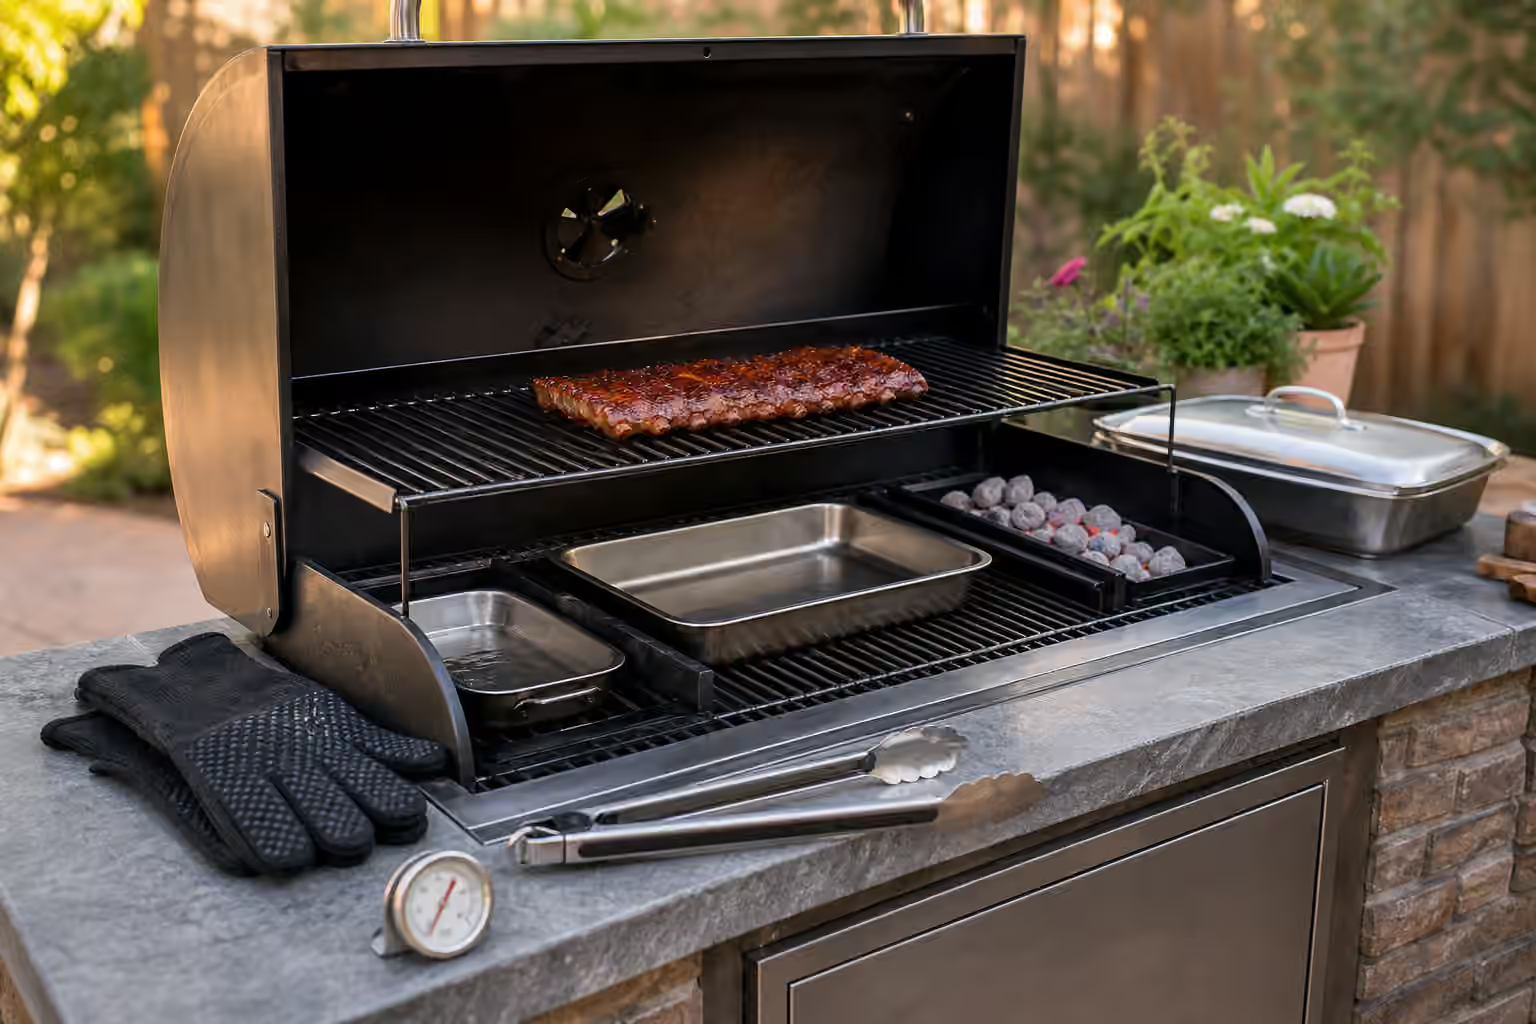
Direct high heat is wonderful for thin food that reaches the center quickly, but it is a trap for thick cuts. A thick steak, a bone-in chicken piece, or a fat sausage will blacken on the outside long before the inside is safe or pleasant if you try to cook it entirely over a hard sear. The answer is to separate the two jobs. Build internal doneness gently over indirect heat or a cooler zone, then move the food over the hot zone for a short, focused sear at the end, or do it in reverse and sear first before finishing gently. Reverse-searing a steak, easing sausages up to temperature before browning, and finishing chicken indirectly all follow the same logic: cook the inside calmly, brown the outside briefly. Keeping a two-zone fire ready gives you an escape route the moment the crust threatens to outrun the center, and the two-zone grilling and steak on the grill guides walk through the setup.
Sugar and sauce are the real scorch risk
Plain meat browns forgivingly, but sugar burns fast and turns acrid, and that is where most scorching actually happens. Honey, brown sugar, many barbecue rubs, tomato-based sauces, and sweet glazes can go from glossy to black in the span of a distracted minute, and the bitterness lands well before you smell trouble. The fix is timing and placement. Put sweet sauce on late, near the end of the cook, and move the food to a gentler part of the grate so the glaze sets and tacks up instead of welding to the bars and carbonizing. If you want a little char on the sauce for character, make it deliberate and brief rather than accidental. A rub heavy in sugar deserves the same caution: it wants controlled heat, not a roaring sear. The BBQ sauces and glazes guide covers when to apply what.
Reading the crust and knowing when to stop
Learn to read the food rather than the clock. A proper sear develops a continuous brown, not a leopard pattern of black spots, and those black spots are usually a sign the grate is too hot, the food too wet, or a flare-up licking the surface. Nose matters too: a rich, toasty smell is the sound of success, while a sharp, acrid smell means char has arrived and it is time to move. Because the sear is about the surface and not the center, doneness is a separate question answered with a thermometer, not by how dark the crust looks. Once the crust is where you want it, get the food off the hard heat, either to a cooler zone or to rest, before the browning tips over into burning. The habit that ties all of this together is building your escape routes before you need them: a clean grate, a cool zone, a thermometer within reach, and sauce held back until the end.
Where to go next
Searing sits underneath a lot of grilling, so the same instincts carry into grill marks, browning, and crust and into nearly every specific-food guide on the site. For current official reference, keep FoodSafety.gov’s safe minimum internal temperatures and clean, separate, cook, chill guidance close by. USDA FSIS also maintains a grilling food safely resource that is especially relevant for outdoor cooking, smoking, holding, leftovers, and reheating.