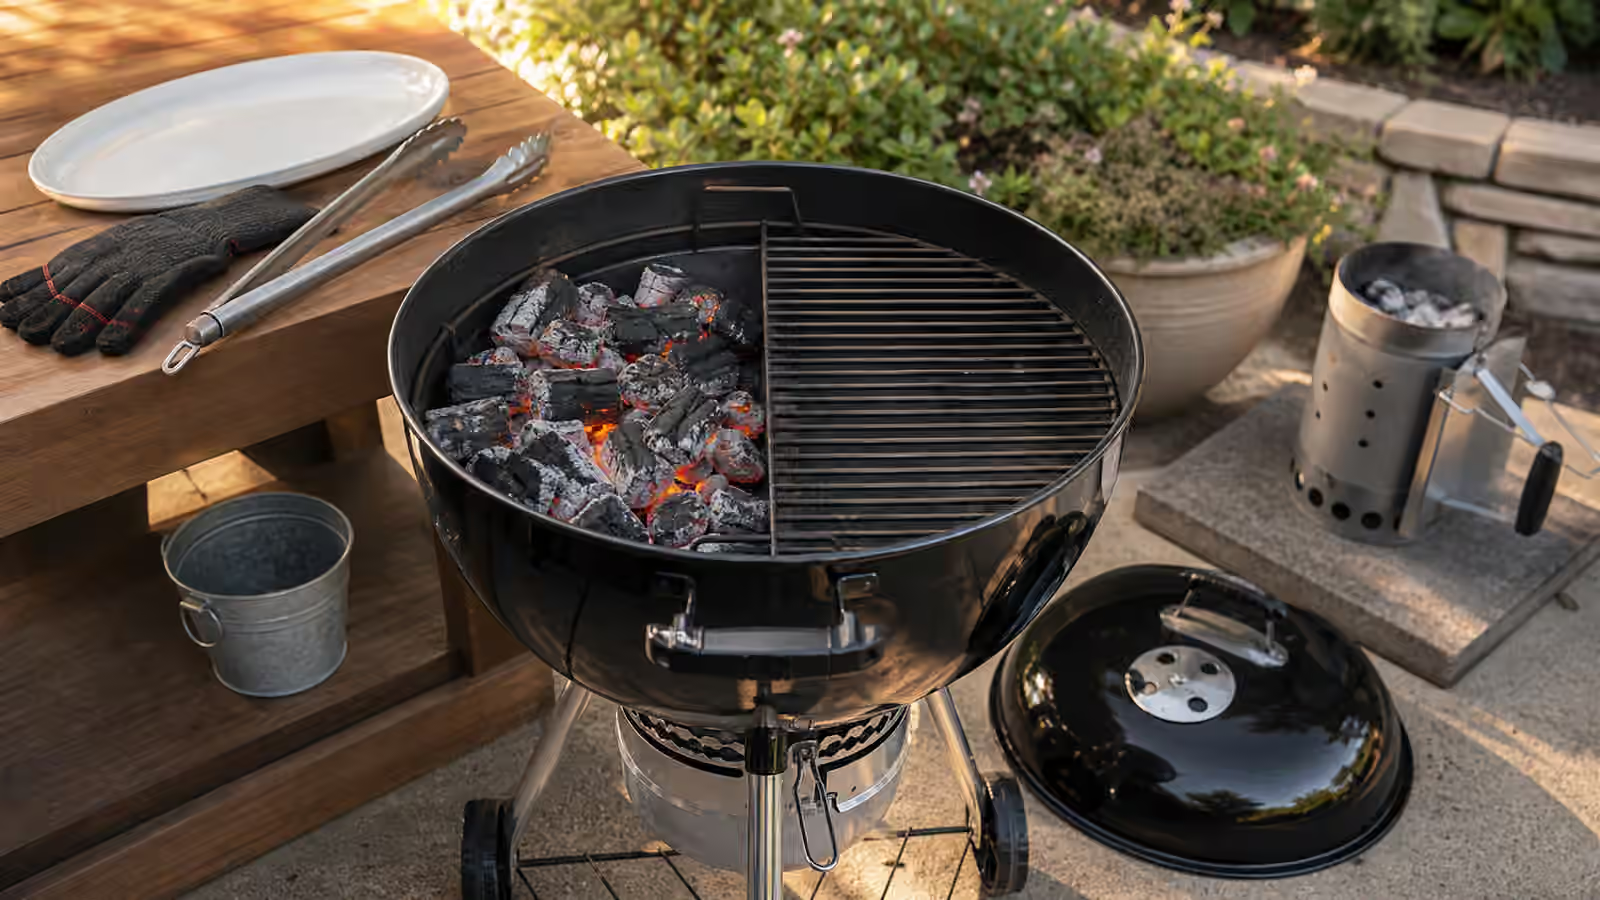

Smoking looks intimidating from the outside, all specialized rigs and overnight vigils and cooks who talk about their brisket the way other people talk about their children. Strip away the mystique, though, and low-and-slow cooking is one of the calmest, most forgiving ways to cook, precisely because it moves so slowly. Nothing happens fast enough to catch you off guard, small mistakes have hours to average out, and the main skill you are building is patience rather than reflexes. This guide is a gentle on-ramp: what low-and-slow actually is, which cuts to start with, how to think about smoke and temperature, and how to keep the whole thing safe without turning it into a chore.

What low-and-slow really means
Smoking is indirect cooking with wood smoke present, held at a moderate cooker temperature for a long stretch of time. The magic that separates it from ordinary grilling is what that long, gentle heat does to tough cuts. Meat that would be chewy and dry if cooked fast, full of collagen and hard fat, instead spends hours warm enough to melt its connective tissue into gelatin and render its fat soft, ending up tender and rich. Along the way the surface dries and darkens into bark, and the food picks up smoke flavor. So low-and-slow is not simply grilling with extra wood thrown on; it is a different process aimed at transformation over time. That said, a smoker is still a cooker, the fire still needs to burn cleanly, the temperature still needs to hold reasonably steady, and the food still needs honest safety and tenderness checks rather than blind faith in the clock.
Start with forgiving cuts
The single best decision a beginner can make is to start with a cut that shrugs off small errors, and to save the expensive, unforgiving showpieces for later. Chicken thighs are cheap, fatty, and nearly impossible to ruin, which makes them a wonderful first smoke. Pork shoulder is the classic teacher: large, heavily marbled, and so tolerant that even a wobbly temperature and an imperfect fire tend to come out delicious, and it happens to make pulled pork. A whole chuck roast, some sausages, a turkey breast, or a rack of ribs all belong in the same friendly early group. Brisket, by contrast, is where many beginners crash, because it is big, costly, lean in places and fatty in others, and demands real feel for your cooker; starting there stacks the deck against you. Learn smoke, rub, temperature, and rest on a forgiving cut first, then graduate to brisket once your smoker holds no surprises. The ribs for beginners and pork shoulder and pulled pork guides are good next steps.
Smoking is not a contest to make the most smoke
The most common beginner instinct, and the most reliable way to spoil a smoke, is to assume more wood equals more barbecue. It does not. A good smoke session tastes seasoned and warm, not fogged and bitter, and the difference comes down to how the wood burns. Too much wood, damp fuel, choked airflow, and a smoldering fire all produce the heavy, sooty smoke that turns food acrid. Treat wood as a seasoning layer applied mostly early in the cook, while the surface is still moist and receptive, and go lighter than your ego wants. Once the bark has set, additional smoke has less to grab onto and more capacity to turn harsh, so the returns fall off quickly. If bitterness has ever caught you out, the smoke flavor without bitterness guide explains exactly why it happens.
Temperature, on both sides of the grate
Two temperatures matter in smoking, and beginners often track only one. The first is the cooker temperature, the ambient heat inside the chamber, which you want to hold steady in a moderate range; a probe or the cooker’s own gauge lets you see it, and the goal is a stable trend, not a perfectly frozen number. The second is the food temperature, measured with a separate food thermometer pushed into the thickest part of the meat, which is how you judge both safety and, for many cuts, doneness. Keep these straight, because a beautiful bark tells you nothing about whether the inside is done. Follow current official safe internal temperature guidance for meat, poultry, seafood, leftovers, and reheating, and remember that for barbecue, tenderness is often reached above the minimum safe temperature, since collagen keeps breaking down as the meat climbs higher, but tenderness cues never replace the safety number. Chasing every tiny swing in cooker temperature is a beginner reflex worth unlearning; a smoker breathes and drifts, and small corrections beat frantic ones.
Running the cook and keeping it safe
Before you light anything, set yourself up: a clean cooker, dry fuel, thermometers within reach, a drip plan for the fat that will render out, and a clear idea of the safe internal target for whatever you are cooking. Stabilize the fire before the food goes on, so you are not loading meat into thick startup smoke or a temperature that has not settled. Through the first hour, hold the heat steady with modest smoke and resist the powerful urge to keep lifting the lid, because every peek dumps heat and lengthens the cook. In the middle stretch, watch the temperature trend and the surface color without micromanaging. As the food approaches done, probe for both the safe temperature and, for tender cuts, that soft, yielding feel, then give it a rest before serving. Throughout, keep raw and cooked foods and their tools separate, wash hands after handling raw meat, and either hold finished food safely warm or move it toward chilling promptly rather than leaving it out in the outdoor danger zone while everyone lingers. Visual cues help with quality but do not replace official food-safety guidance.
Building the habit
Smoking rewards repetition more than talent, so after each cook, jot down what you did: the weather, how much fuel and wood you used, how the temperature behaved, when you wrapped if you wrapped, and how it turned out. Those notes turn your next smoke from a fresh gamble into a small, deliberate adjustment, and within a few cooks your own smoker stops feeling like a stranger. When you are ready to widen out, the wood for smoke and BBQ bark, smoke rings, and texture guides deepen the flavor side of the craft.
For current official reference, keep FoodSafety.gov’s safe minimum internal temperatures and clean, separate, cook, chill guidance close by. USDA FSIS also maintains a grilling food safely resource that is especially relevant for outdoor cooking, smoking, holding, leftovers, and reheating.