A two-zone fire is the single change that turns a temperamental grill into a cooperative one. Instead of spreading heat evenly across the whole grate and then fighting whatever it does to your food, you deliberately build one region that is hot and open, and one region that is gentle and sheltered. That geography gives you a decision to make at every moment: keep browning, or step back and let the inside catch up. Almost every frustrating grill session I have watched came down to a cook who had only one setting available, and it was always too hot for the thick part of whatever they were cooking.
Why one temperature is never enough
The trouble with a single, uniform fire is that food is not uniform. A bone-in chicken thigh has skin that browns in a couple of minutes and a joint that needs many more. A thick pork chop, a whole bell pepper, a sausage, a chicken leg quarter: each one presents a fast-cooking exterior wrapped around a slow-cooking center. When the grate is hot everywhere, you can only keep the surface over that heat until the middle is done, and by then the outside has gone from browned to charred to acrid. People read that as a doneness problem and turn the fire down, which just makes everything slow and pale. It was never a doneness problem. It was a lack of anywhere to go.
Two zones solve this by separating the two jobs that browning and cooking-through actually are. The hot side handles the Maillard work, the sear, the crisping skin, the char on a pepper. The cool side handles the patient part, driving heat gently into the center of the food with the lid down so the whole grill behaves like a low oven. You move between them on purpose. That is the entire skill, and it is not hard once you stop thinking of the cool side as a waiting room.
The cool side is a tool, not a timeout
Beginners tend to treat the unlit half of the grill as the place where nothing happens, somewhere to park food that is not really cooking. It is worth flipping that idea completely. The indirect zone, with the lid closed, is often where the real cooking happens, and the hot zone is just for finishing touches. Bank your coals to one side, set a chicken thigh skin-down over the fire only long enough to render and color the skin, then slide it to the cool side, close the lid, and let convection do the rest. The thigh comes off with crisp skin and juicy, fully cooked meat because you gave each part of the job the conditions it needed.
The cool side is also your escape lane. When fat drips onto coals and a flare-up licks up, food on the cool side is already out of the flames while you decide what to do. When a batch of sausages finishes before the buns are toasted, the cool side holds them warm without pushing them past done. When someone is late, the cool side keeps dinner honest instead of drying it into leather over direct heat.
Building the fire on charcoal
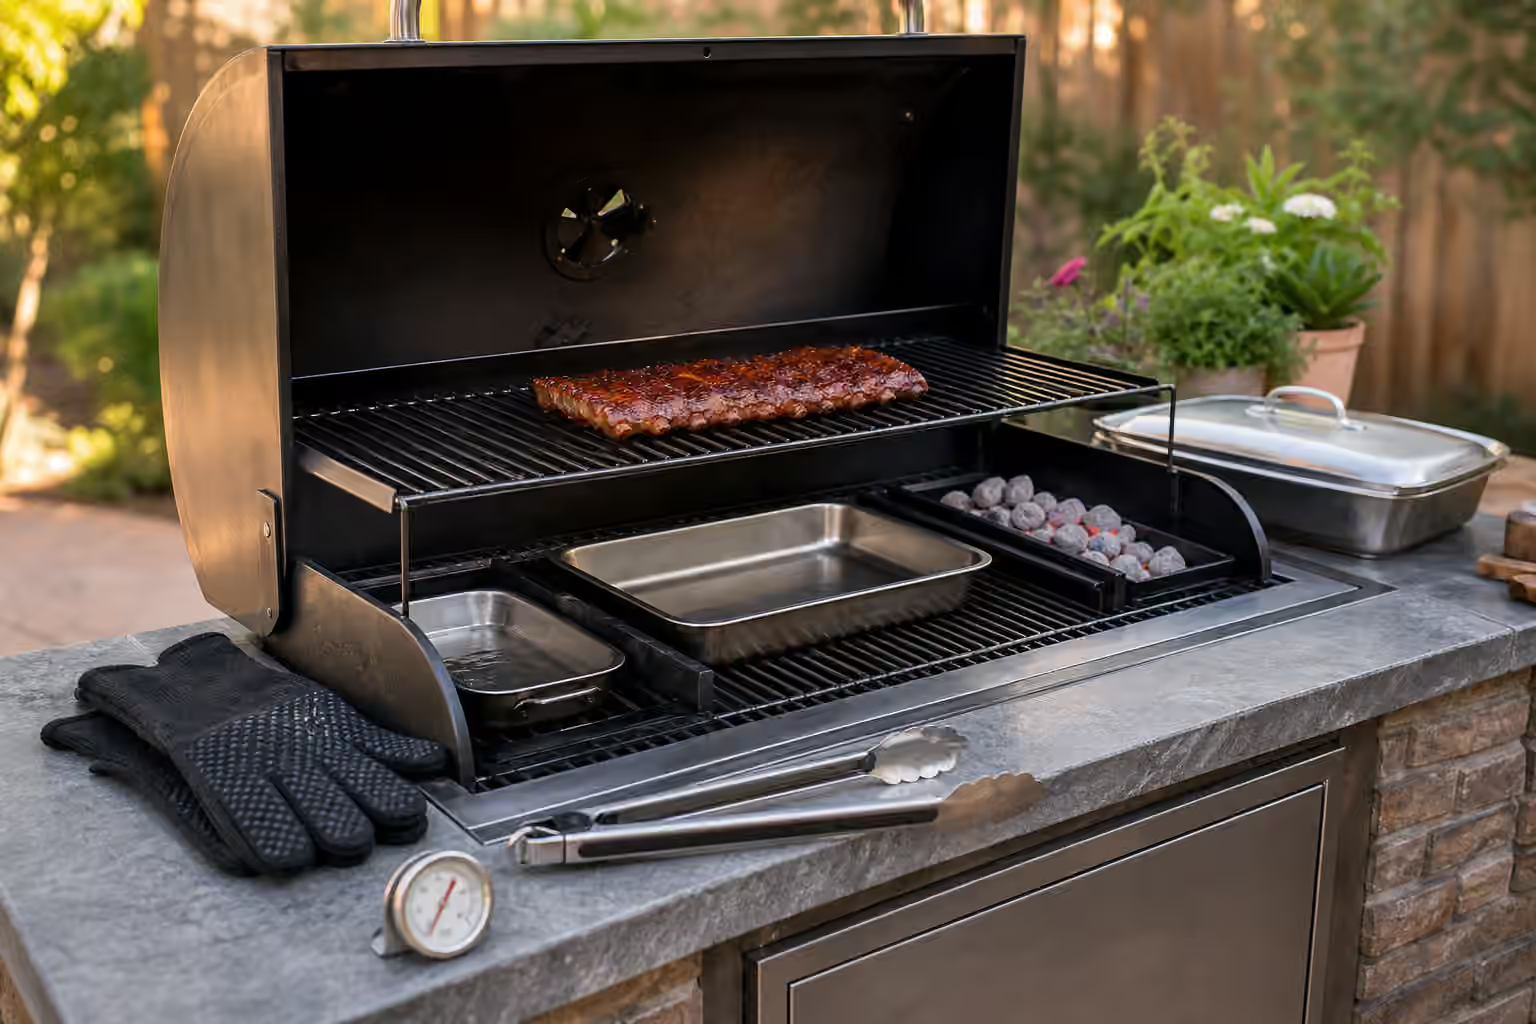
On a kettle or any charcoal grill, the cleanest way to build two zones is to light a chimney of coals, let them ash over, and pour them against one side of the grate. Leave the other half bare, or set a small drip pan there to catch fat and steady the temperature. Seat the cooking grate, and you have a hot side directly over the coals and a cool side over the empty half. Open the bottom vent for a steady fire and use the lid’s top vent to steer the draft: position that exhaust vent over the cool, food-bearing side so heat and smoke are pulled across the food rather than straight up and out over the coals. For anything longer than a quick sear, start with fewer lit coals than you think you need and feed the fire deliberately, because it is far easier to add heat than to bleed it off.
Building the fire on gas
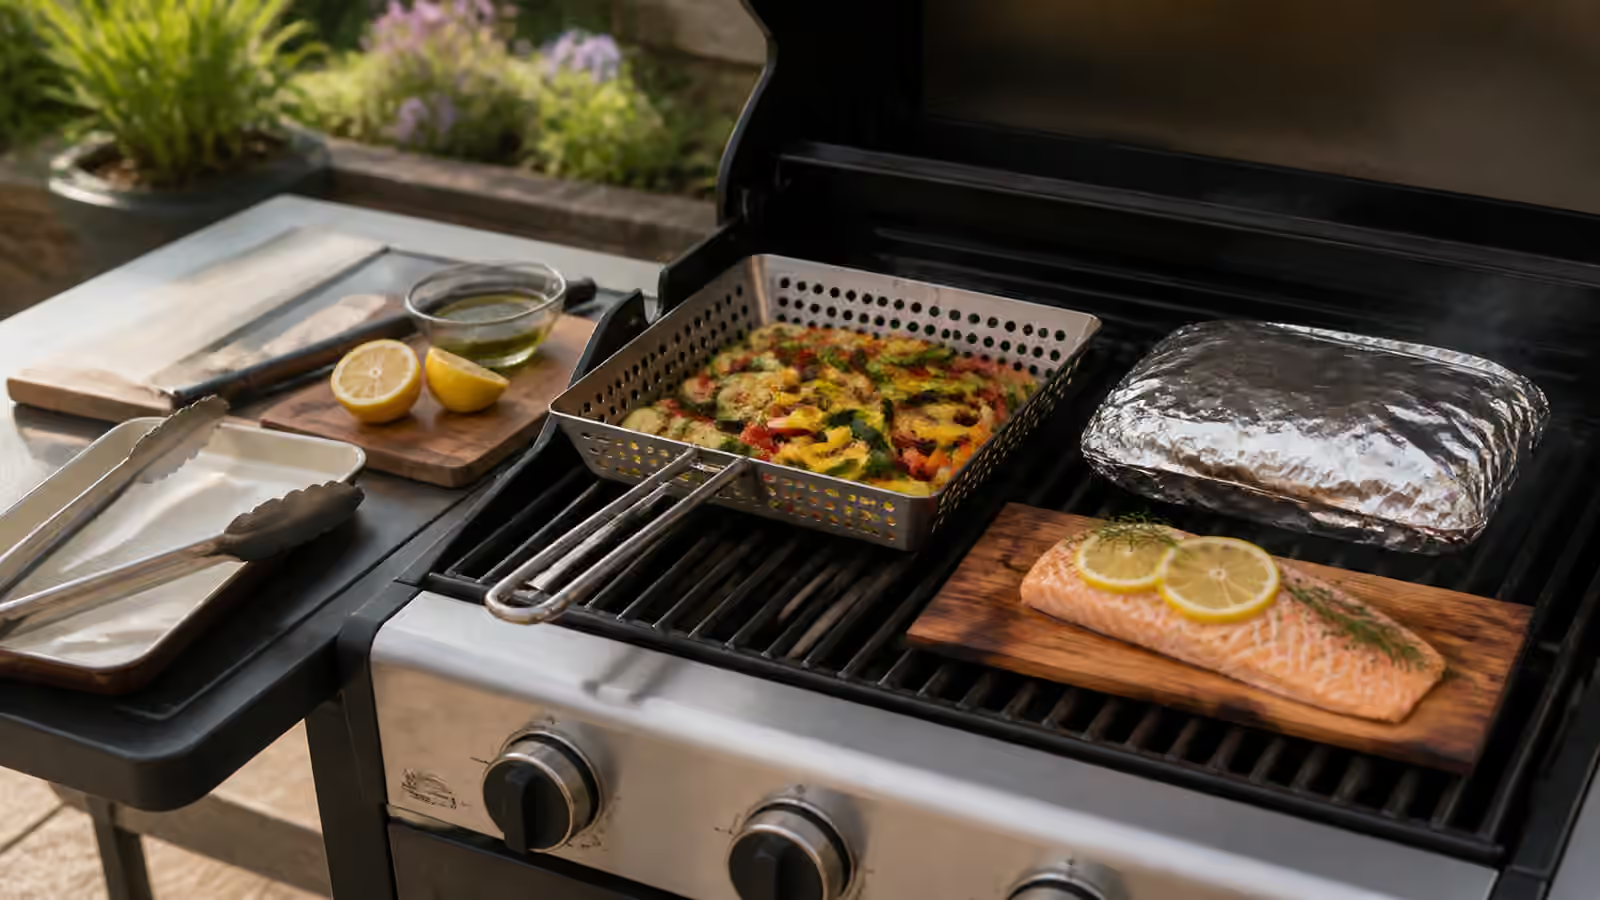
Gas makes two zones almost effortless, which is one of its underrated virtues. Preheat with all burners running so the grate is clean and hot, then commit to the split: run one burner high and turn the others to low or fully off. Food over the lit burner gets direct heat for searing. Food over the dark burners, with the lid down, cooks by indirect convection. On a three-burner grill you have options worth knowing. Leaving only the center burner off gives you two hot lanes flanking a gentle middle, which is ideal for roasting something in the center while grilling quicker items on the sides. Or shut down one whole end and treat the grill as a simple hot-half, cool-half arrangement, which is easier to keep track of when you are learning.
When the grill wants to be an oven
Pellet grills and many ceramic kamados do not offer a classic side-by-side split, because they are built to run as convection ovens with even chamber temperatures. You can still work in zones, just vertically and by position rather than left-to-right. The area nearest the fire pot or firebox runs hotter, upper racks run cooler, and the edges are gentler than the center. Sear grates or a section of cast iron give you a genuine hot spot on demand. A common and reliable move is to cook something low and even on a pellet grill, then finish it with a short, hot sear over a cast-iron surface or a searing grate. The principle never changes across equipment: give food a hotter place to brown and a gentler place to finish, and decide which one it needs right now.
A worked example with chicken thighs
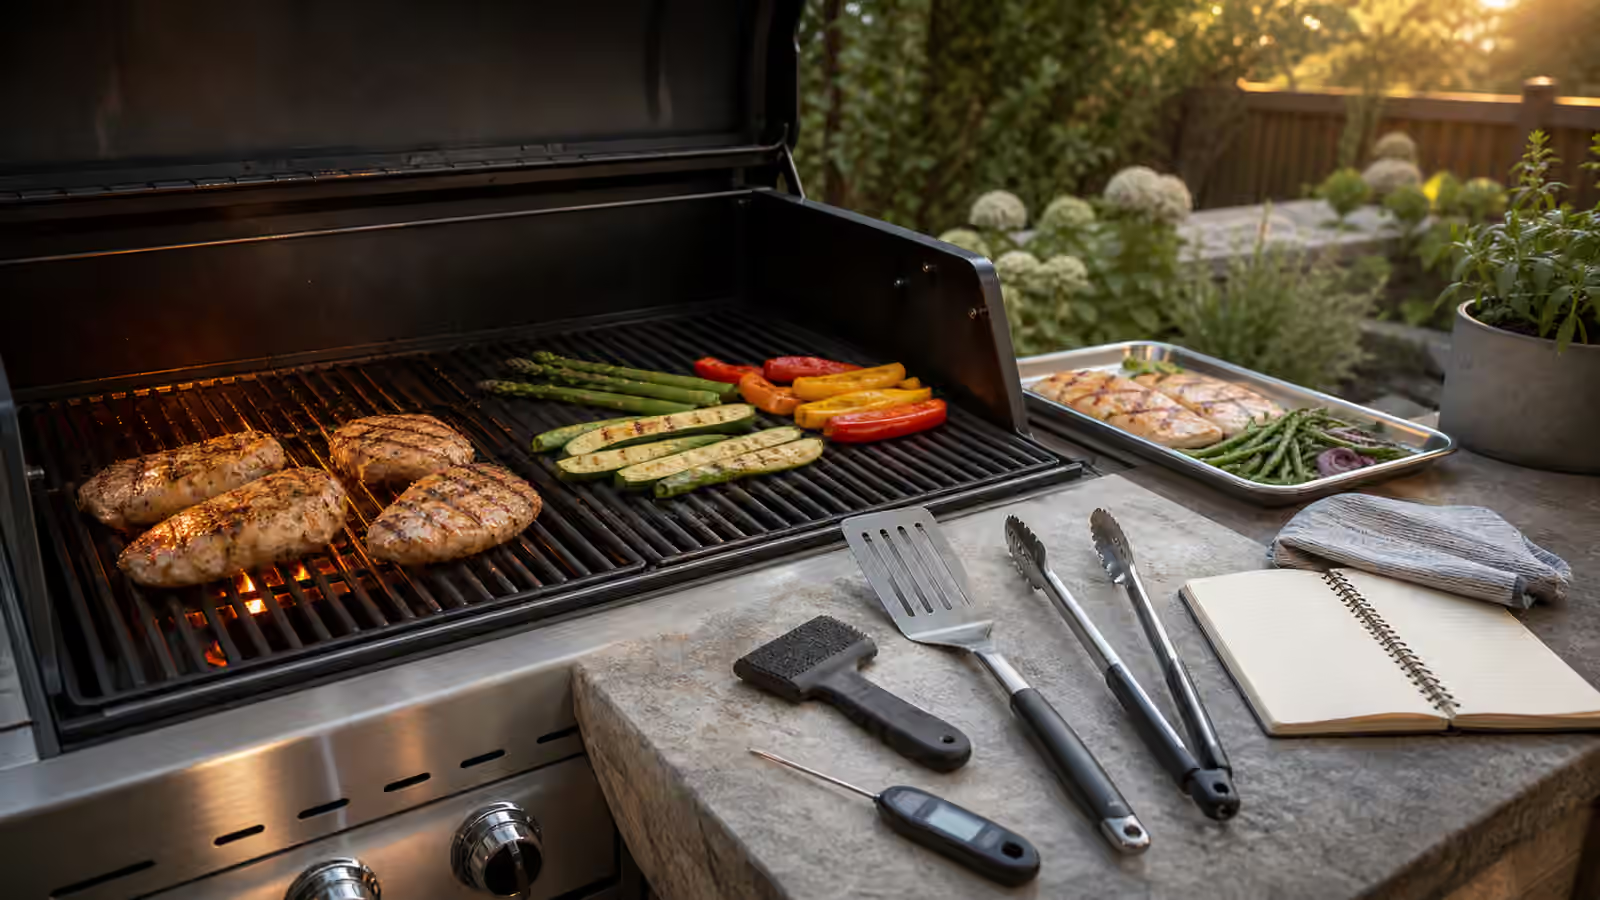
Chicken thighs are the best teacher for this technique because they punish a one-zone fire and reward a two-zone one. Build your zones first, before the chicken ever touches the grate, and set a clean tray nearby for the cooked pieces. Lay the thighs skin-side down over the direct heat and let the skin render and color. If dripping fat starts to flare, that is your cue to slide the affected pieces toward the cool side rather than to stand there fanning flames. Once the skin looks the way you want, move every thigh to the indirect side and close the lid so the joints cook through gently. Probe the thickest part against current safe-temperature guidance rather than guessing by color or clock. If you are saucing, brush it on near the very end and give it only a brief return to direct heat, because the sugars in most barbecue sauces scorch fast. Rest the thighs a few minutes on a clean platter before serving.
Building the habit
The reason to build both zones before you have a problem, rather than scrambling once one appears, is that a calm cook makes good decisions and a panicking cook makes hot ones. Set the geography up front. Brown on the hot side, finish thick food on the cool side, and return to the hot side only if the surface needs a final crisp before serving. After a couple of sessions, jot down what actually happened: the weather, how much fuel you used, how crowded the grate was, when you sauced, where you probed, and how long you rested. Those notes are what turn the next cook from a fresh guess into a small, deliberate adjustment, and that shift from guessing to adjusting is where confidence quietly comes from.
Serving and food-safety habits
Lean on a thermometer for doneness on meat, poultry, seafood, leftovers, and anything you reheat, rather than on the look of the exterior, which two-zone cooking deliberately decouples from the interior. Keep raw and cooked foods on separate boards and platters, wash hands and tools after they touch raw food, and move perishables toward chilling instead of letting them sit out in the warm air while everyone lingers. Visual cues are useful for judging quality and browning, but they do not replace official food-safety guidance.
For current official reference, keep FoodSafety.gov’s safe minimum internal temperatures and clean, separate, cook, chill guidance close by. USDA FSIS also maintains a grilling food safely resource that is especially relevant for outdoor cooking, smoking, holding, leftovers, and reheating.
The mistakes that hide the technique
The failures that make people distrust two-zone grilling are almost always small and reversible. Leaving the lid open while food sits on the indirect side defeats the whole point, because indirect cooking depends on trapped, circulating heat. Filling the entire grate with coals leaves you no escape lane when a flare-up starts. Parking sauced chicken over direct heat and walking away turns the sugars bitter in a minute or two. And moving food restlessly, poking and flipping every few seconds, prevents the sustained contact that browning requires. In every case the fix feels calmer than the mistake: move to indirect heat, slow the sauce down, clean the grate, check the thermometer, or simply reset the station and start the piece again. The whole reason to build escape routes before you need them is so that when something goes sideways, the calm option is already there waiting.
Good seasoning sets up a good two-zone cook, so it is worth reading Salt Works on salting meat and poultry ahead of time, and if you are pairing smoky chicken or sausage with a drink, Beer Explorer has sensible thoughts on matching styles to grilled food.
Once the two-zone habit clicks, the natural next steps are Direct vs. Indirect Heat to deepen the underlying idea, Chicken Without Drying It Out to apply it to the food that needs it most, and Searing Without Scorching for getting more out of the hot side without paying for it in char.