Mealybugs and scale are the two pests most people misidentify, mostly because neither one behaves the way a beginner expects a bug to behave. They do not scurry, they do not fly, and for long stretches they barely seem alive. That stillness is exactly why they get established. By the time a plant looks obviously infested, the insects have usually been feeding quietly for weeks, tucked into the seams of the plant where a casual glance never lands.
Learning to recognize what you are actually seeing
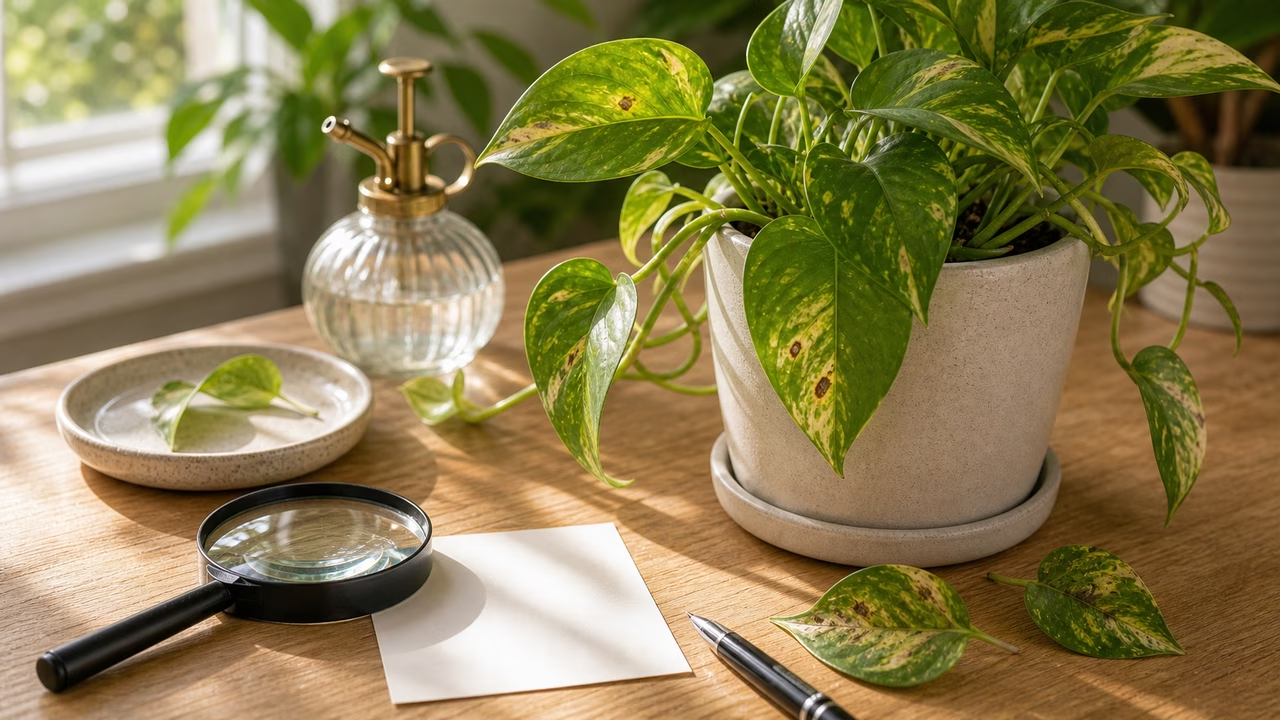
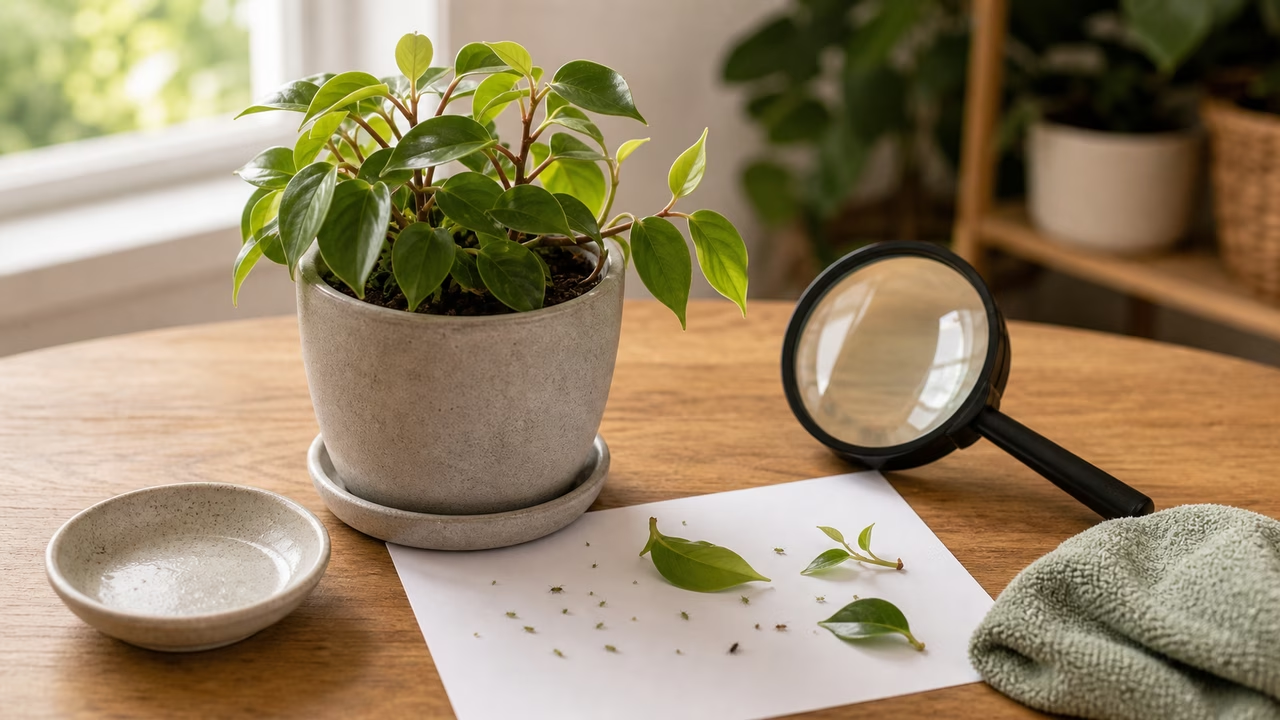
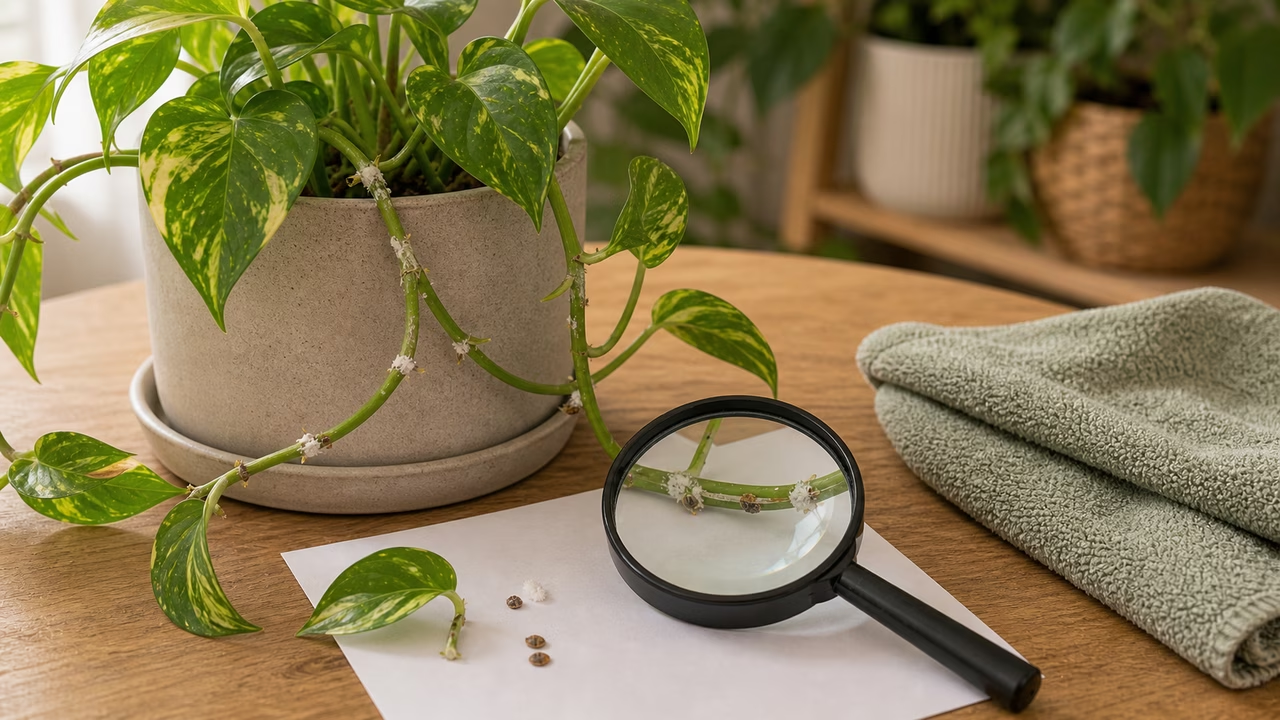
Mealybugs look like tiny scraps of cotton wool or a dusting of white lint, and they cluster where a leaf meets a stem, inside new unfurling growth, and along the joints of a plant. If you rub one, it smears rather than crumbles, which is a quick way to tell a mealybug from a fleck of perlite or a bit of dried mineral residue. Scale is the stranger of the pair. It presents as small brown, tan, or amber bumps that look like part of the plant itself, often lined up along a stem or clinging to the midrib on the underside of a leaf. Many people scrub at these bumps for weeks assuming they are corky bark or leftover fertilizer crust before they realize the bumps are living shells with an insect underneath.
The single most reliable clue that connects both pests is honeydew. Both mealybugs and scale feed on plant sap and excrete a clear, sticky sugar. If the leaves of your plant, the shelf beneath it, or the floor around it feels tacky, or if a black sooty film starts growing on that stickiness, you are almost certainly looking at a sap-feeding infestation even before you find the insects. Ants marching up and down the stems are another tell, because ants farm honeydew and will defend the pests that produce it.
Where to look before you decide anything
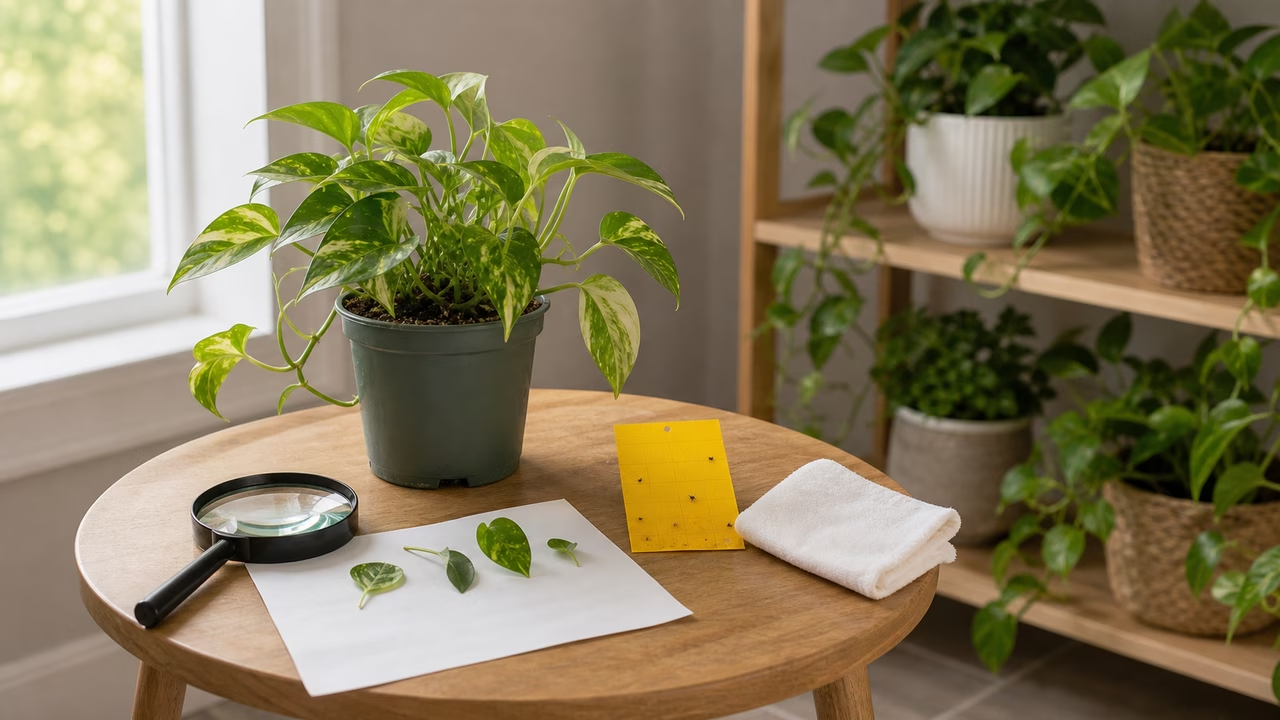
Turn the plant so the light rakes across it, and go slowly through the places these insects prefer. Check the crevices where petioles join the main stem. Open up the newest growth at the center, since mealybugs love the tender, sheltered tissue there. Run a finger along the undersides of leaves and the midribs, where scale hides in plain sight. Look at the very base of the plant where stems meet the soil, and lift the pot to check the rim and the drainage holes, because mealybugs will even feed on roots below the surface in stubborn cases. Give the same attention to any plant standing within leaf-touching distance, since both pests spread by simply walking across from one plant to the next.
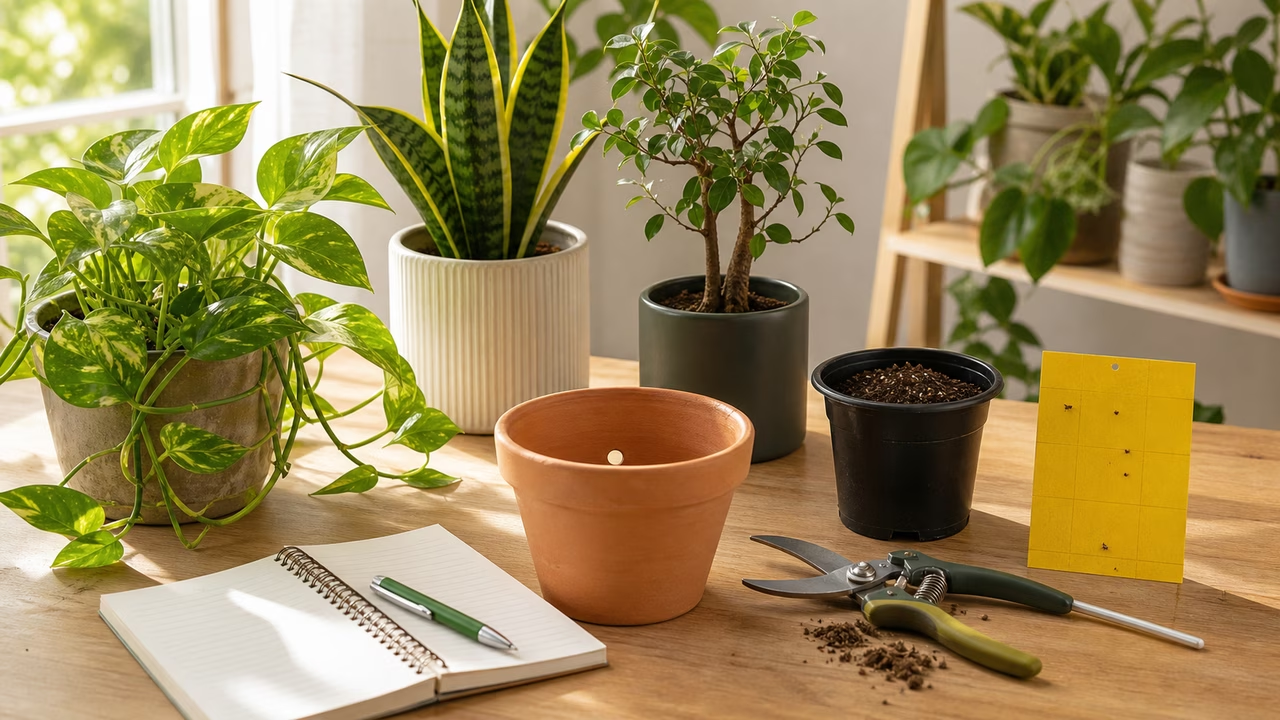
Write down what you find with a date attached. A note that says “six cottony spots in the new growth, sticky leaves, one neighboring pothos also has two spots” is worth far more than a vague memory a week later, because the whole point of treating these pests is watching whether your effort is actually reducing the population over time.
The first calm move is separation
Before any spraying or dabbing, carry the affected plant to a separate room, a bathroom, or at minimum an isolated corner well away from the rest of your collection. Isolation is not a minor step you can skip in a hurry. It is the difference between treating one plant and chasing the same pest across a dozen. While the plant is isolated, wipe down the shelf it came from with plain soapy water, because eggs and crawlers linger on surfaces.
For a light, early infestation, physical removal does more than beginners expect. A cotton swab dipped in ordinary isopropyl alcohol, touched directly to each mealybug, dissolves its waxy coat and kills it on contact. For scale, a fingernail or a soft old toothbrush can lift the shells off a stem, and wiping the area afterward removes the crawlers you cannot see. This hands-on approach is tedious, but it lets you treat exactly what you can find and gives you an honest count of how bad the situation is.
When you reach for a product, read it first
If the infestation is beyond hand-removal, insecticidal soap or a horticultural oil are the usual next steps, and both work by coating the insects rather than poisoning the plant systemically. Coverage is everything, which means spraying the undersides of leaves and the stem joints thoroughly, not just misting the top of the canopy. Repeat applications matter more than strength, because eggs hatch in waves and no single treatment catches every life stage. Whatever you use, follow the label exactly for dilution, frequency, and the plants it is rated for, and keep pets and children clear of treated plants until everything has dried. Some plants with soft or hairy leaves burn easily from oils and soaps, so testing on a single leaf first is a sensible habit.
What patience looks like here
These pests are beaten by repetition, not by one dramatic effort. Plan to inspect and re-treat the same plant every seven to ten days for several weeks, watching whether the fresh growth comes in clean. Clean new leaves are your real progress report; the old leaves that were already scarred or stippled will not repair themselves. If the count keeps dropping at each inspection, you are winning even if it feels slow. If it holds steady or climbs no matter how carefully you treat, that is a signal to consider whether the plant is worth the ongoing effort, or whether starting over from a healthy cutting or a new specimen is the kinder choice for the rest of your collection.
When to stop and get help
An indoor plant clinic can organize your observations and guide a calm response, but it has limits. Step away from the home experiment if a pet has chewed a treated plant, if anyone has been exposed to a pesticide, if you are dealing with heavy mold, severe allergies, or an infestation that keeps spreading through the home despite careful isolation. In those cases a veterinarian, clinician, or licensed pest-control professional is the right call, not a houseplant guide.
For related reading, see the clinic’s notes on fungus gnats , spider mites , and aphids, thrips, and mystery bugs indoors , along with the broader houseplant pest inspection routine that keeps new problems from taking hold.