Pothos is the plant most people learn to propagate on, and for good reason: it roots so willingly that success feels almost automatic. That very willingness, though, hides a few details that separate a cutting that thrives from one that sits in a glass doing nothing or slowly rotting. Almost every propagation failure with pothos comes down to one of a small handful of mistakes, and once you understand what the plant actually needs from a cutting, you can turn a single trailing vine into several new plants with very little fuss. This guide walks through the whole arc, from where to cut to when a rooted cutting is genuinely ready for a pot.
The node is everything
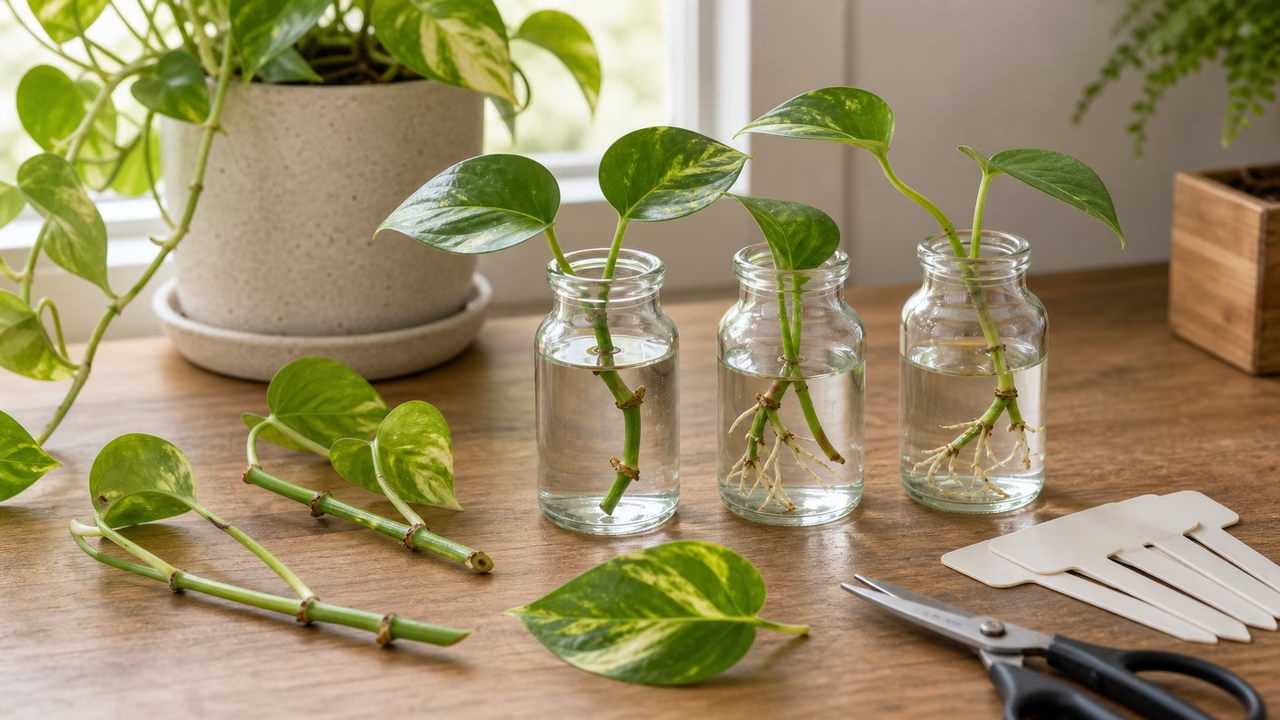
The one thing you cannot propagate pothos without is a node, and understanding it prevents the most common beginner mistake. A node is the small, slightly swollen bump on the stem where a leaf attaches to the vine, and it is often marked by a tiny brown nub, the beginning of an aerial root. That node is the only place new roots will emerge; the leaf itself cannot make roots. This is why a cutting of just a leaf and its stalk, with no piece of the main vine attached, will float in water indefinitely and never root, no matter how healthy it looks. When you plan your cuttings, look along the vine and identify the nodes first, then cut so that each piece includes at least one node. A cutting with one node and a leaf will root; a cutting with two or three nodes gives you more chances and often a stronger start. Getting this one concept right is most of the battle.
Taking clean cuttings
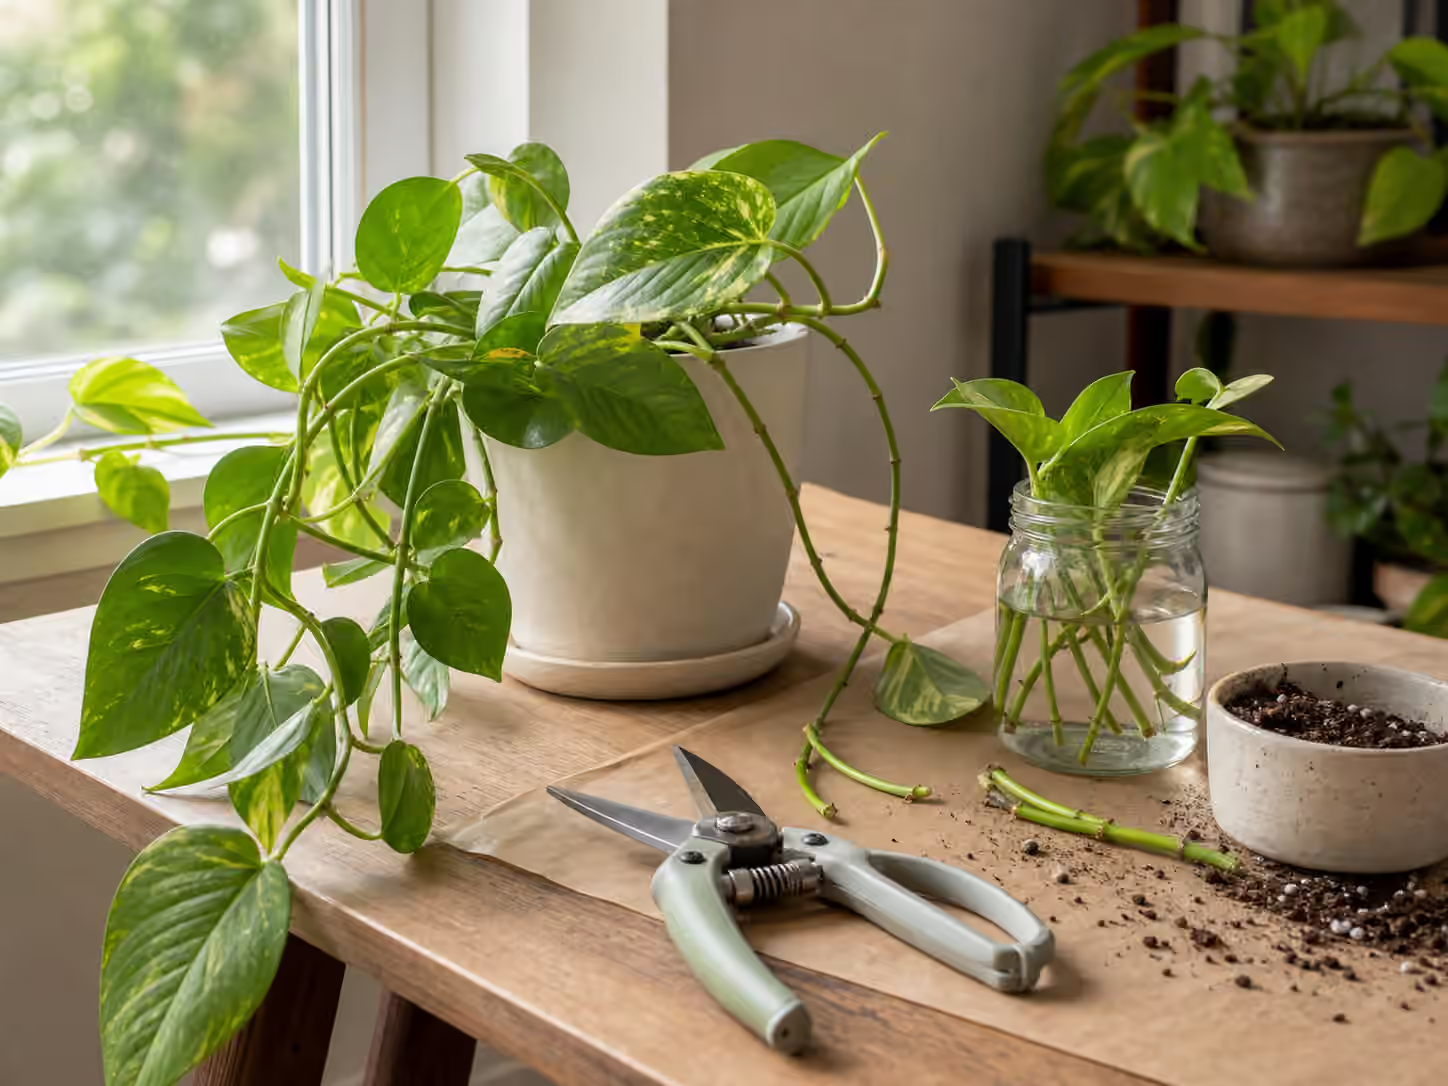
With the nodes located, cut with clean, sharp scissors or snips, making the cut on the vine roughly half an inch below a node so that node sits at the bottom of your cutting where it will go into water or soil. Choose healthy vine to cut from, avoiding stems that are yellowing, soft, or damaged, because a struggling piece of vine makes a struggling cutting. Clean tools matter more than people expect, since a dirty blade can introduce rot into the fresh wound, so a quick wipe of the scissors before you start is worth the second it takes. Taking cuttings is also a good moment to shape the parent plant, because the same trim that gives you propagation material encourages the original pothos to branch and grow fuller from where you cut; the pruning leggy houseplants guide covers that side, and pothos care for beginners gives the full care picture for both parent and offspring.
Water propagation, and its one rule
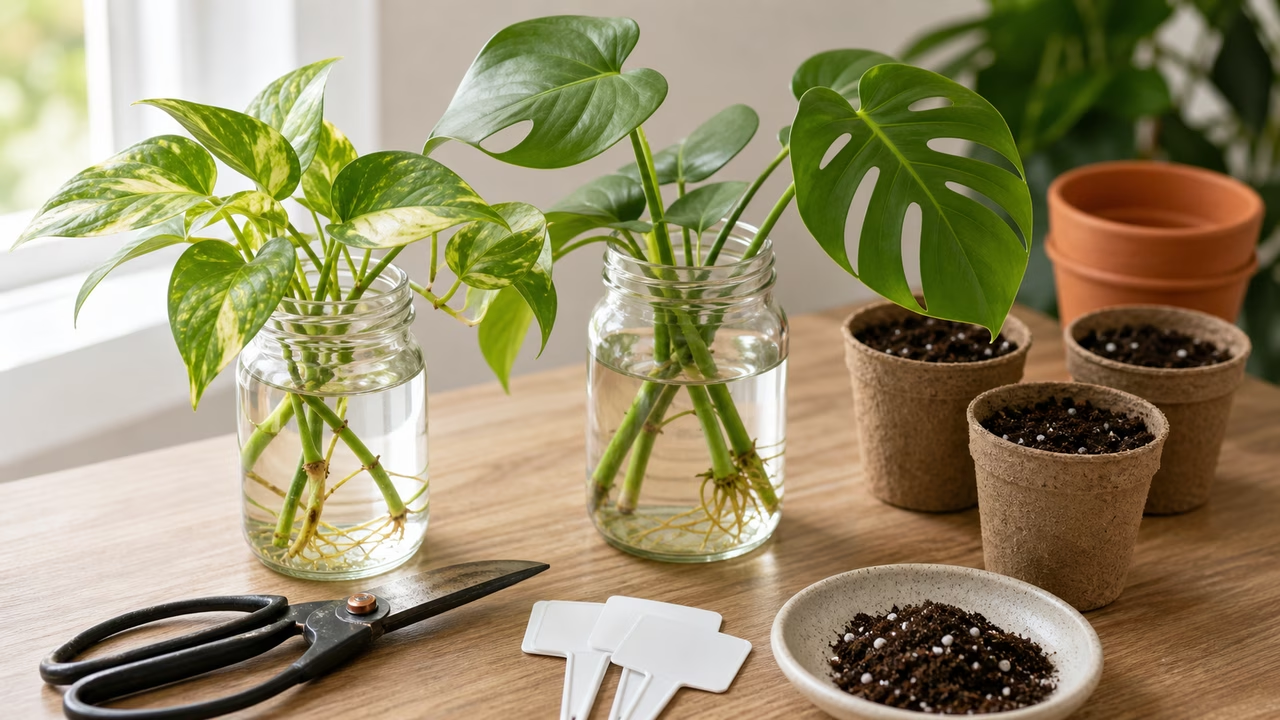
Water is the easiest medium for a beginner because you can watch the whole process unfold, and pothos takes to it readily. Place the cutting in a glass or jar so the node sits below the water line, and here is the rule that trips people up: keep the leaves above the water, not submerged. A node underwater grows roots; a leaf underwater rots and fouls the water for everything else in the glass. Set the jar somewhere with bright indirect light, since a cutting still needs light to fuel root growth even though it has no roots yet, and change the water every few days to keep it fresh and oxygenated. Within a week or two you should see white roots pushing out from the node, thin at first and then branching. This is a genuinely slow process by the standards of an impatient propagator, and the main skill is leaving the cutting alone rather than pulling it out to check every day, which only disturbs the fragile new roots.
Knowing when a cutting is ready to pot
The most common misstep after rooting is potting too early, so it helps to know what “ready” actually looks like. A single thin root an inch long is not enough; a cutting potted at that stage often stalls or fails because it cannot support itself in soil. Wait until the cutting has several roots that are a few inches long and have started to branch, forming a small root system rather than one lonely strand. That branched, developed root mass is what lets the cutting draw water and establish once it is in soil. Roots grown in water are also slightly different from roots grown in soil, so the longer and better developed they are when you transplant, the better the cutting handles the change. Patience at this stage pays off directly in survival, and there is no prize for rushing.
Moving to soil without a shock
When the roots are ready, pot the cutting into a small container with drainage holes and a light, well-draining potting mix, matching the pot to the modest size of the cutting rather than reaching for something large. A tiny cutting in a big pot sits surrounded by wet soil its few roots cannot use, which is the fast route to rot, so a small pot that the roots can fill and dry out is far safer; the reasoning behind that is laid out in pot size and plant stability . After potting, keep the soil a little more consistently moist than you would for an established pothos for the first couple of weeks, because water-grown roots need time to adjust to drawing moisture from soil, and then ease back into the normal soak-and-dry rhythm. Some water-rooted cuttings sulk briefly after transplanting, dropping a leaf or pausing, and that is a normal adjustment rather than a failure. For choosing the mix itself, potting mix for houseplants and the wider repotting without panic guide fill in the details.
The calm next action
Take a small number of node cuttings from healthy vine with clean scissors, keeping at least one node per cutting and the leaves clear of the water, then set them in bright indirect light and change the water regularly. Watch the roots develop without rushing, and pot only once each cutting has several branched roots a few inches long, moving it into a small draining container. Note the date you started so you are not tempted to disturb a cutting that simply needs more time. For the everyday care of the plants you create, return to pothos care for beginners and the clinic’s houseplant clinic for beginners foundation.
When to get help or stop
Propagating pothos is low-stakes and forgiving, but the same boundaries that apply to all home plant care apply here. Stop the home experiment and get qualified help when the situation involves pet chewing or ingestion, pesticide exposure, heavy mold, severe allergies, an unsafe infestation, or a plant that keeps declining after you have corrected the obvious. A houseplant guide can organize your observations and explain what a cutting needs, but it is not a substitute for a veterinarian, clinician, landlord, remediation professional, or licensed pest-control professional when the problem crosses into their territory.