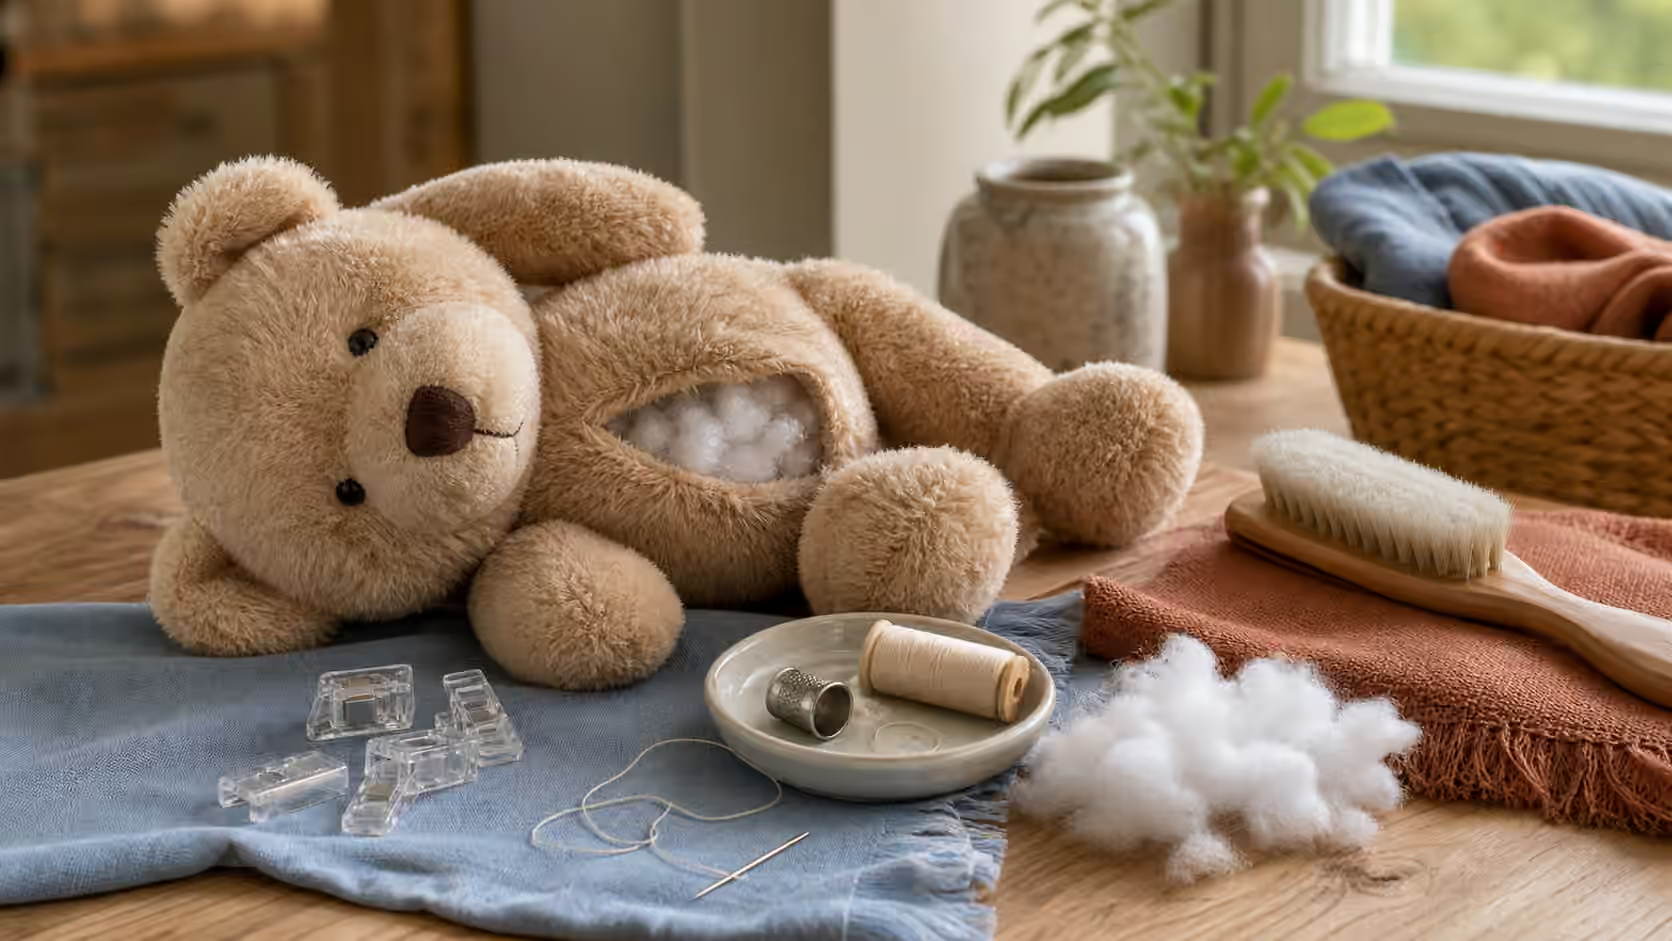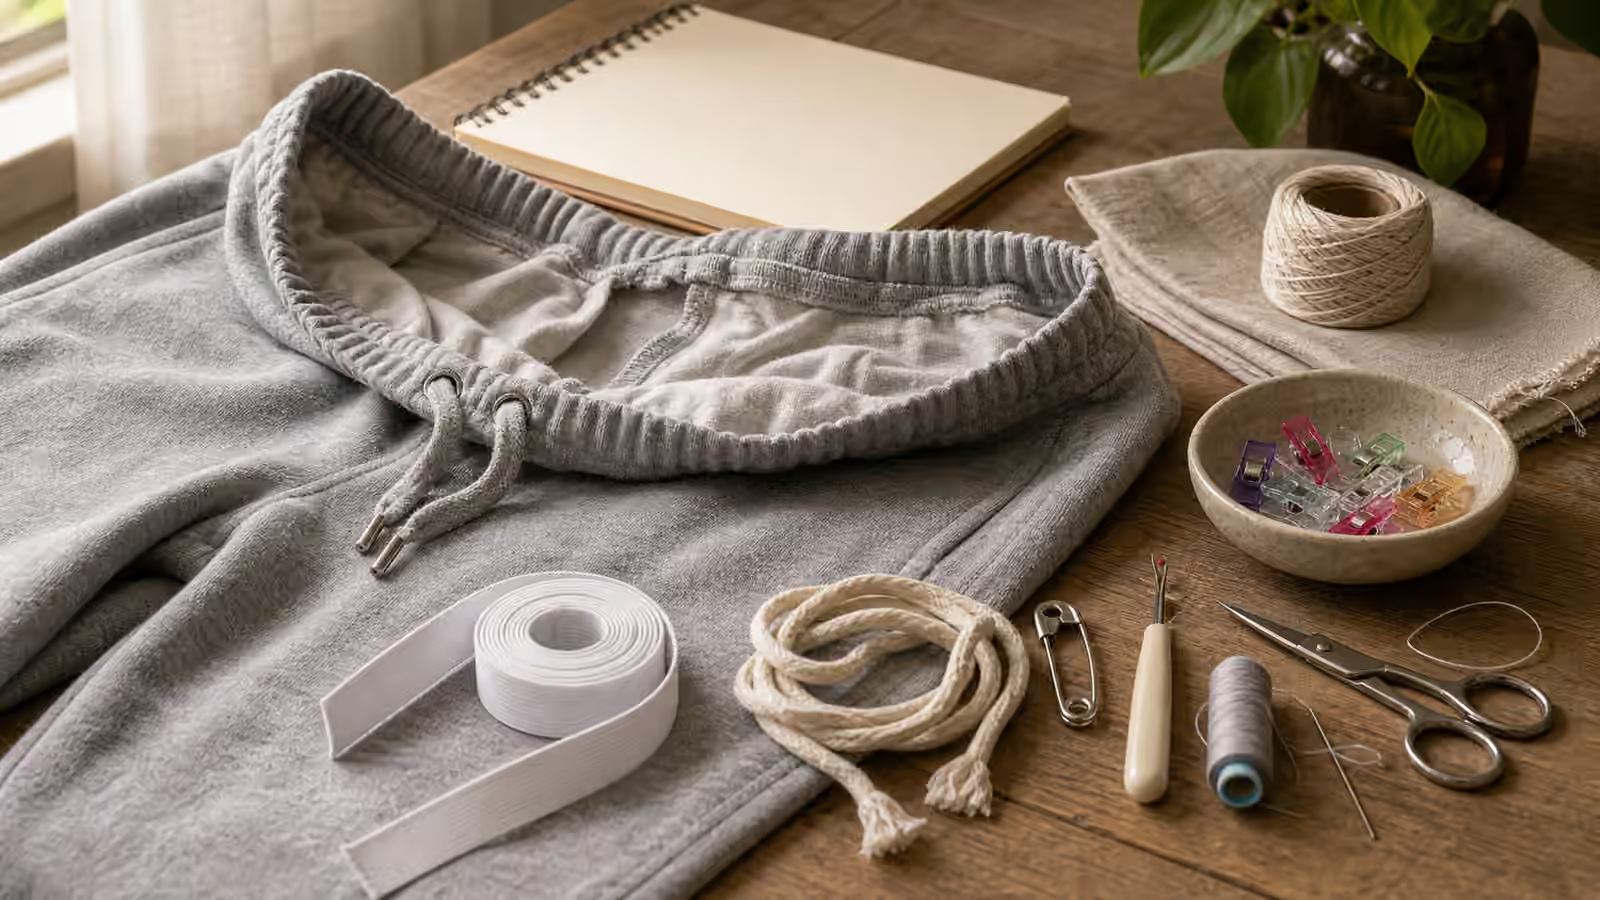
Most people who say they cannot sew have simply never been shown that the entire craft, at the repair level, comes down to three stitches and a couple of knots. You do not need a machine, a pattern, or any talent for fashion. You need to be able to close a small failure so it stays closed and does not look like a wound. That is a genuinely learnable skill, and once you have it, a startling number of garments stop being disposable. A split seam, a coming-loose hem, a small hole caught early, a patch that needs attaching: all of it is within reach of someone who watched a needle for an afternoon.
Start on scrap, not on the garment you care about
The single habit that separates a clean repair from a regretted one is practicing the stitch on a scrap of fabric first. It costs two minutes and it saves you from learning tension control on the shirt you actually want to save. Thread the needle, tie off the end, and run a few inches on the scrap until your stitches sit evenly and the cloth lies flat. Only then move to the real thing. This is not a lack of confidence; it is the same logic a keeper applies everywhere, which is to make the first move small and reversible before committing to the one that matters.
Reading the fabric before you begin also tells you which stitch you need. A woven cloth like a cotton shirt or denim behaves very differently from a knit like a t-shirt or sweater, which stretches and wants a repair that can move with it. Whether the damage sits on a seam, along an edge, or as a hole in the middle of a panel changes the approach entirely. And you should be honest about what the repair has to do: does it need to be strong, invisible, stretchy, or just fast enough to get you through the day? Naming that up front keeps you from over-building a repair that only needed to be quick, or under-building one that will take real stress.
The three stitches that do almost everything
The running stitch is the simplest: the needle weaves in and out along a line, leaving evenly spaced marks like a dashed line. It is quick and low-strain, ideal for basting two pieces together temporarily, gathering fabric, or holding a light, low-stress seam. It is not strong on its own, and that is fine, because it is not meant to be. Think of it as the stitch you use when speed matters more than durability.
The backstitch is the one to reach for when strength matters, and it is the workhorse of seam repair. Instead of always moving forward, each stitch doubles back to meet the end of the previous one, so the thread on the surface forms a continuous, unbroken line with no gaps. That overlap is what makes it hold; a backstitched seam is close to what a sewing machine produces and will take real stress. If you only ever master one stitch beyond the running stitch, make it this one, because it is what closes a burst side seam so it stays closed.
The whipstitch loops over an edge, wrapping the thread around and around the border of the fabric. It is what you use to close the open edge of a hole, to join two folded edges, or to attach a patch around its perimeter. Because it sits on the surface, it is visible, so it shows off neatness or sloppiness plainly, which is another good reason to warm up on scrap. Between these three, with a knot to start and a knot to finish, you can handle the large majority of everyday clothing repairs.
Tension, knots, and the small mistakes that ruin good work
The most common beginner error is pulling every stitch tight. Snug is the goal, not tight. When you haul each stitch down hard, the fabric bunches and puckers, and a puckered repair announces itself from across the room. Let the thread lie so the two pieces of cloth meet without gathering, and keep your stitch length even, because uneven spacing reads as untidy even when the tension is perfect. Anchor both the start and the finish properly; a repair that is not knotted off at both ends will quietly unpick itself in the wash within a couple of cycles. A few small stitches worked in place, or a couple of stitches passed through a loop and pulled snug, will hold the ends fast.
Choose the needle and thread to match the cloth. A needle that is too thick leaves visible holes and fights fine fabric; thread that is too heavy sits proud on a delicate shirt and looks clumsy unless the bold look is the point. Thread cut too long tangles and knots on itself with every pass, so shorter lengths, pulled through more often, are less frustrating than one heroic strand. And never sew over grit, a stain, or actively fraying edges without first trimming the loose threads and stabilizing the area, or you simply lock the mess in permanently.
Where hand-stitching stops being the answer
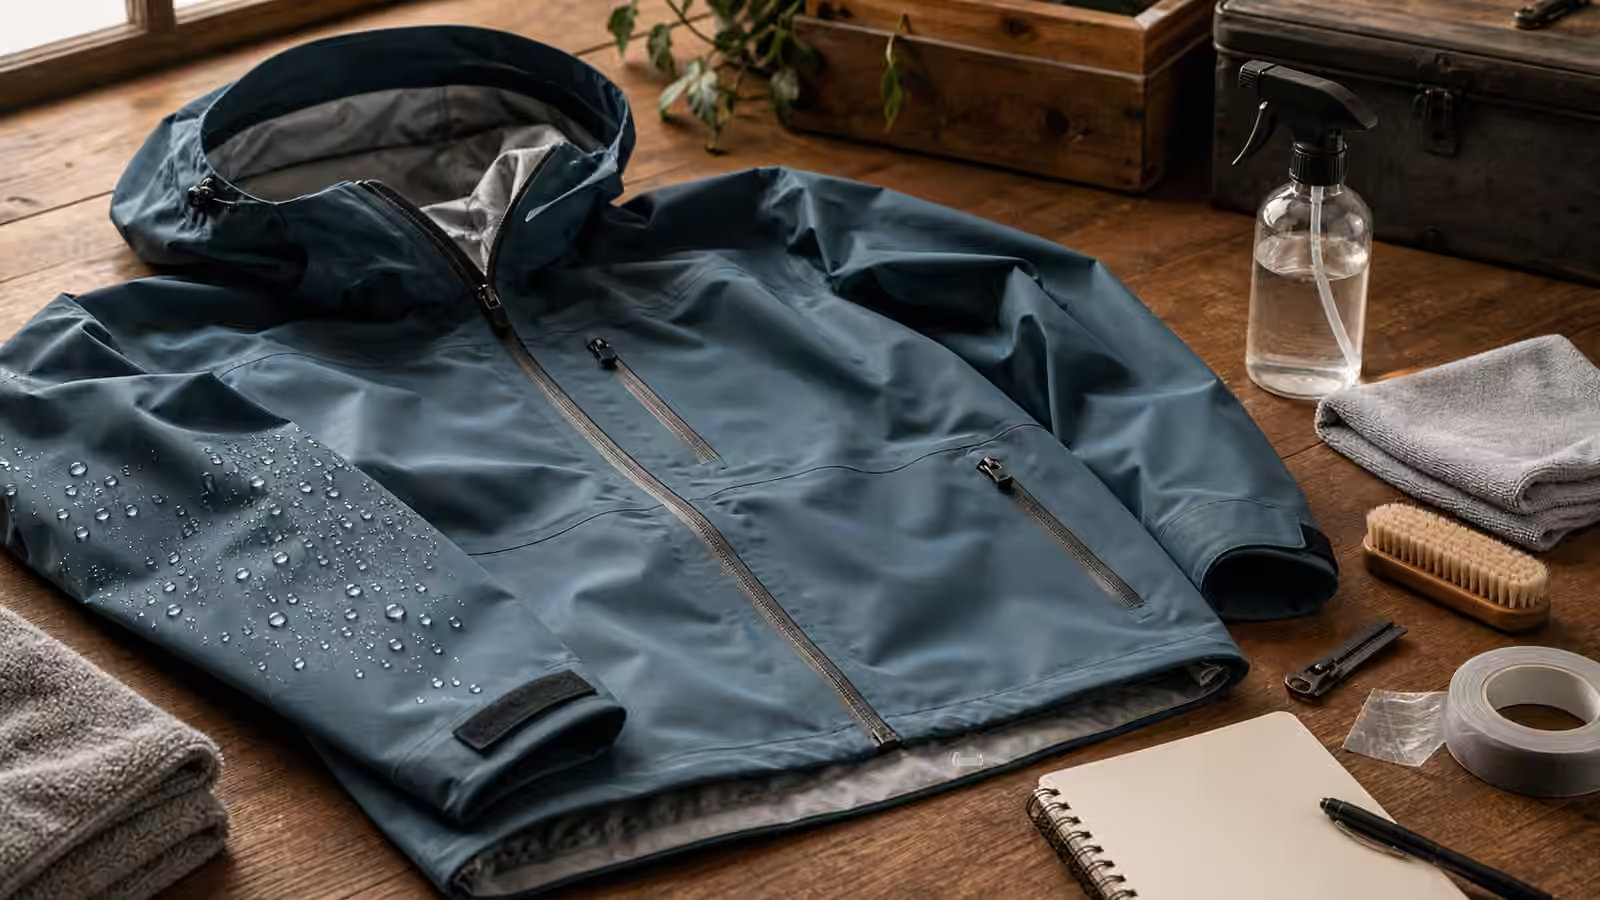
Hand-stitching is for low-stakes fabric repair, and it has honest limits. Expensive tailored pieces, complex stretch garments, anything lined or waterproofed, and above all any load-bearing or protective gear are places to stop and think rather than improvise. A hand-sewn seam is no substitute for a factory seam on a bag strap that carries weight or on equipment that keeps a person safe, and a tailor exists precisely for the garments where a wrong stitch is costly to undo. Knowing the boundary is part of the craft, not a retreat from it.
Build one tiny kit and keep going
You do not need a sewing box. A small card wound with black, white, navy, gray, and denim thread, plus a couple of needles and small scissors, covers the majority of clothing you own and fits in a drawer. A starter set of this kind is inexpensive, and the value it returns over a few years is out of all proportion to its cost. Keep it where you get dressed, so a loose hem gets caught in the two minutes you actually have rather than being ignored until it becomes a bigger tear.
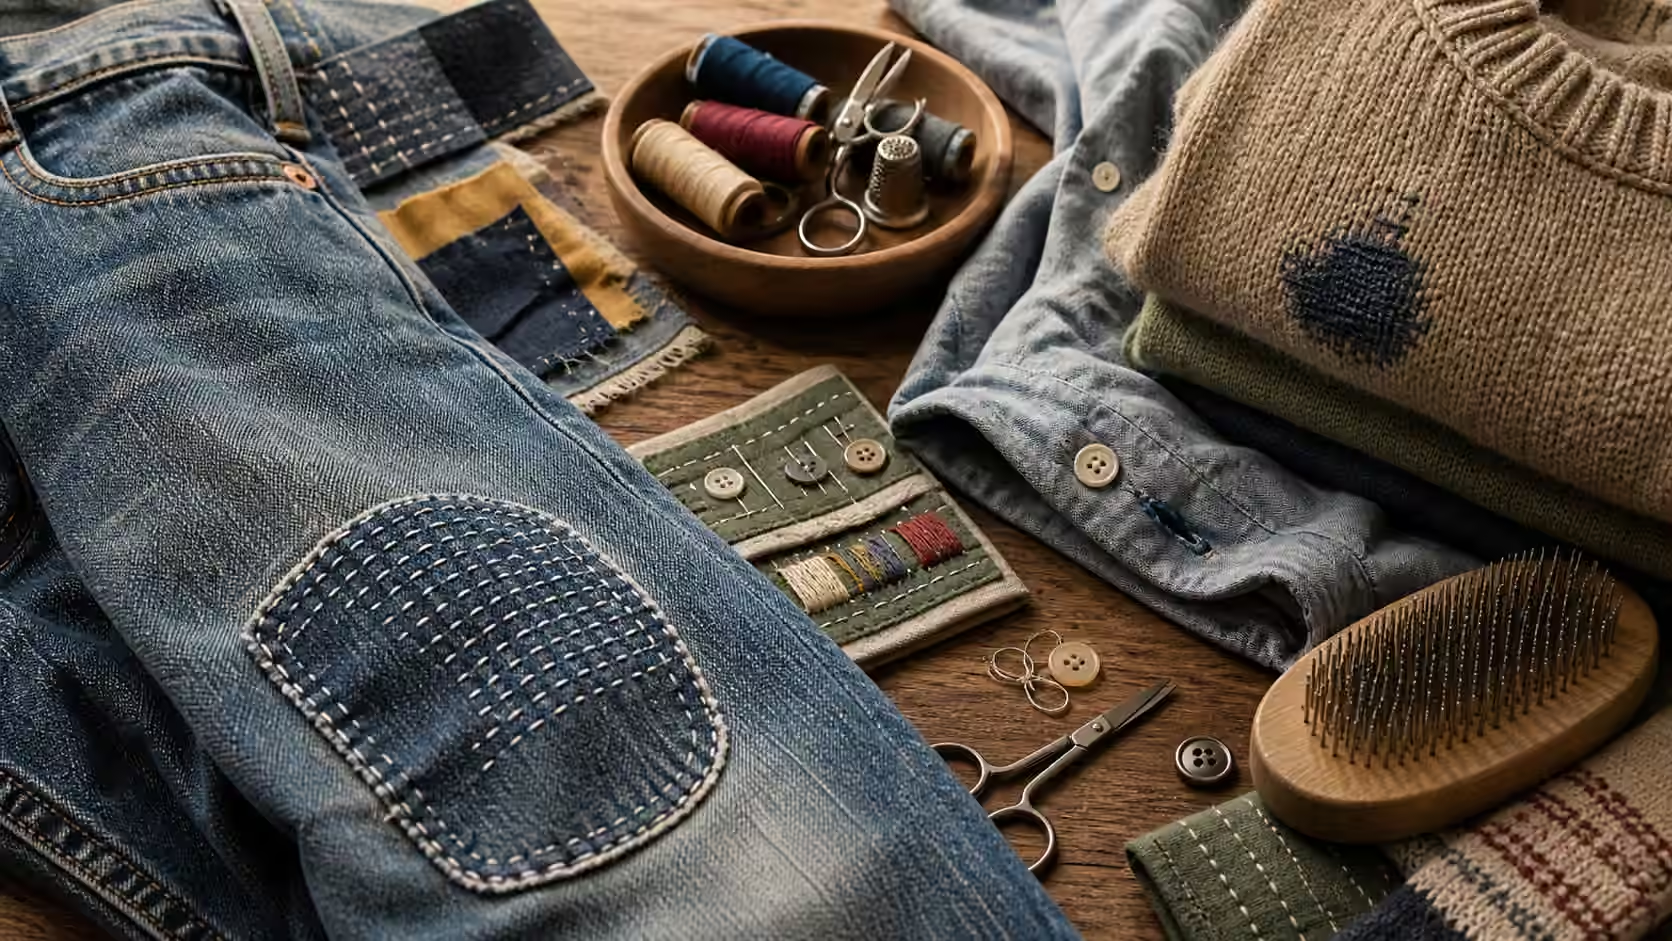
Once the three stitches feel natural, the door opens to more satisfying work: the ladder stitch that closes a seam invisibly, darning to rebuild a worn patch of knit, and backing a patch so it lasts. From here it is a short step to button repair , which uses these same anchoring moves, and to deciding when a fix should disappear versus when it should be celebrated, which our guide to visible mending explores. If you are still working out whether a given piece of damage even calls for stitching, the guide to pilling, snags, holes, and fraying will help you match the problem to the right response before you thread a needle at all.