A reattached button is the smallest repair most people will ever attempt, which is exactly why it is worth doing well. The failure is trivial and the fix takes minutes, but a button sewn badly is worse than the missing button was, because now the shirt puckers, or the button sits crooked, or it is anchored so tightly it will not pass through its own hole. The difference between a repair that vanishes and one that makes the garment look homemade comes down to a couple of details that nobody tells you, and once you know them you will never sew a button the clumsy way again.
Read the failure before you thread anything
Not every button problem is the same problem. A button that is simply loose, with the thread stretched but intact, may only need re-anchoring. A button that has departed entirely needs replacing, and the first place to look is the garment itself, since shirts often carry spares stitched to an inside seam or the care tag. A cracked button needs a new one outright. And a button that is pulling the fabric or has torn the cloth around it is telling you the real damage is in the fabric, not the fastener, which is a different repair altogether.
The most important thing to check before you start is whether only the thread failed or whether the fabric gave way too. If the buttonhole itself has frayed or the cloth around the button has torn, sewing the button back on more firmly just concentrates the same stress on an already weakened spot, and it will let go again. When the fabric is the problem, that is a tailor’s job, or at least a job that starts with reinforcing the cloth rather than the button. Take a moment to look, because this single glance decides whether your ten-minute fix will hold or fail by next week.
The shank is the secret
Here is the detail that separates a professional-looking button from an amateur one: the shank. On a garment with any thickness, a button cannot sit flush against the cloth, because the buttonhole side needs room to fold over and sit underneath. If you sew the button down tight to the fabric, there is nowhere for that layer to go, the shirt strains around the closure, and the button is a fight to fasten. The fix is to leave a small stalk of thread between the button and the cloth, so the button floats just above the surface with room to work.
Creating it is simple: lay a straight pin, a toothpick, or a matchstick across the top of the button before you sew, so your stitches pass over it and are held slightly loose. Once the button is attached, slip the pin out, lift the button so the slack gathers into a neat column of thread beneath it, and wrap the remaining thread tightly around that column several times to bind it into a firm shank. Then pass the needle through to the inside and knot off. That wrapped shank is what lets the button sit properly and last, and skipping it is the single most common reason a resewn button feels stiff and looks wrong.
Anchor cleanly, match honestly, and mind both layers
Start by removing the old loose threads without nicking the shirt fabric, and anchor your new thread with a few tiny stitches on the inside layer where they will not show, rather than relying on a bulky knot that can work loose or leave a lump. Follow the original hole pattern the button used, whether that is a straight bar or a crossed X, so the repair matches its neighbors down the placket. Keep the tension snug but never so tight that the cloth dimples inward around the stitches; a dimpled shirt front is the tell of a rushed job.
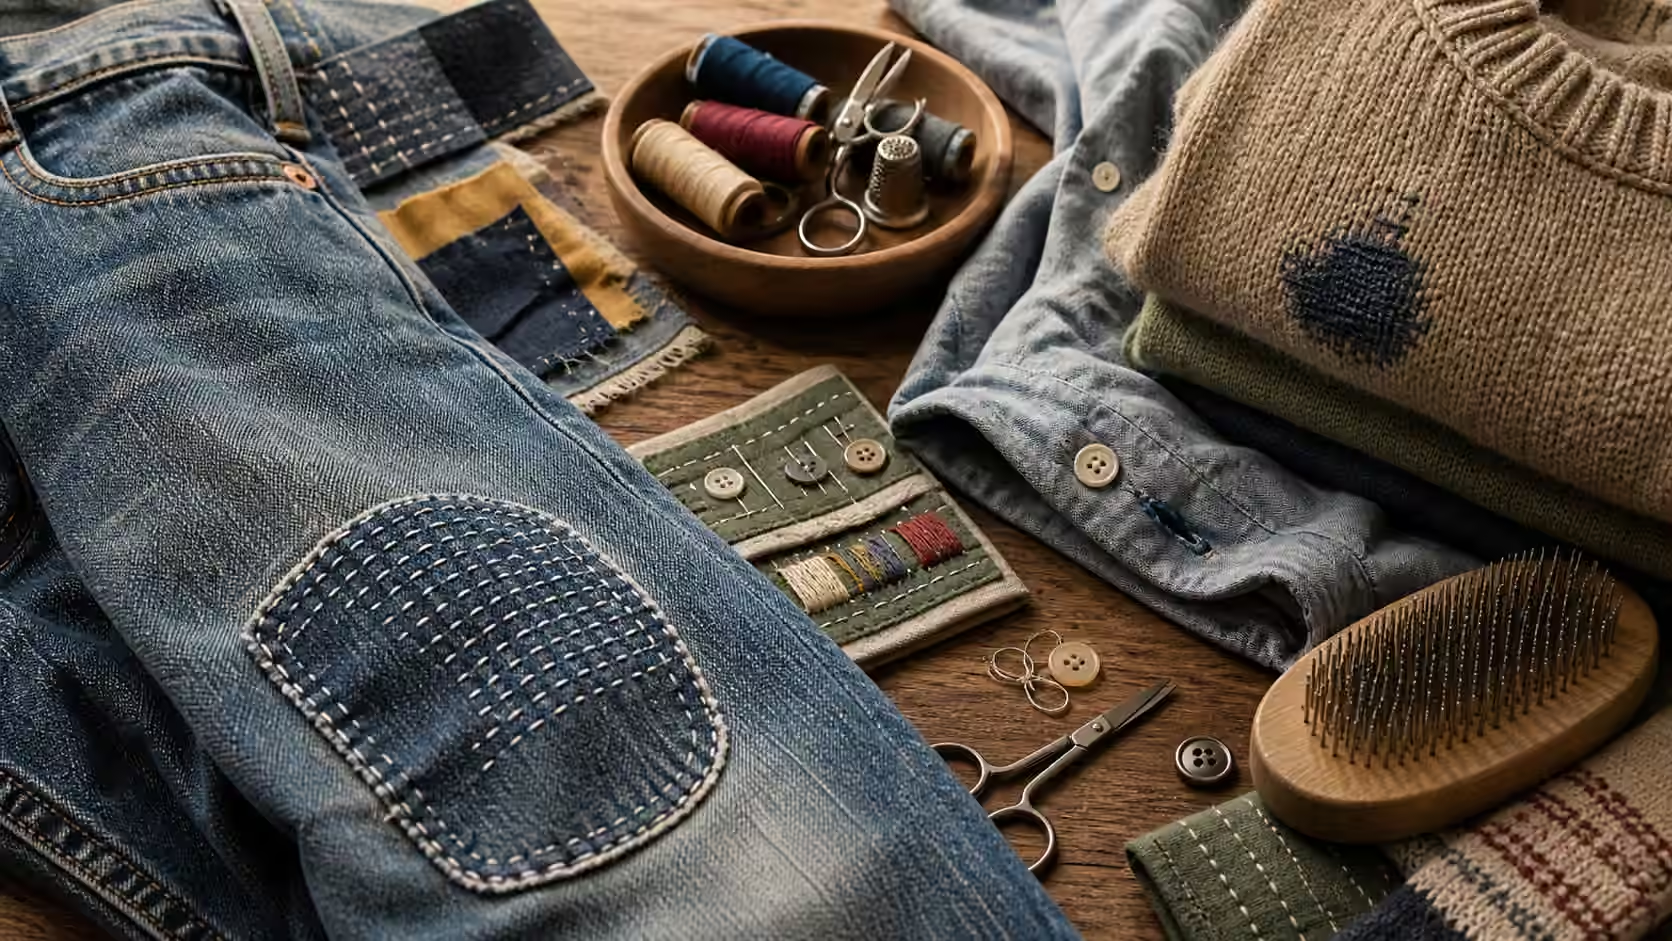
Thread choice is quieter but just as visible. Matching thread makes the repair disappear, which is what you want on almost every shirt. Heavy or contrasting thread only belongs on a button when you are deliberately making a feature of it, an idea our guide to visible mending explores in its own right. Use a needle sharp enough to pass cleanly, since a dull one drags and enlarges the holes. And watch that you are not accidentally stitching through both sides of a placket or a cuff, sewing the opening shut, which is a genuinely common and genuinely annoying mistake to discover only when you try to fasten the shirt.
Finish it so it lasts, and know when to hand it over
Knot off on the inside and trim the thread close, so there is no scratchy tail to catch against skin or snag in the wash. A repair that irritates the wearer gets picked at, and picking is how good stitching comes undone. If you took the button from a garment’s spare, note that you have used it, so you are not surprised later. This whole job draws on the same anchoring and tension skills covered in basic hand-stitching , so if the needle still feels awkward in your hand, a few minutes on scrap fabric there will make the button go on far more smoothly.
There is a point where a button is no longer the right thing to fix at home. When the buttonhole has torn, when the fabric around the closure has given way, or when the garment is formal, tailored, and genuinely valuable, a tailor will do the reinforcement properly and protect the piece. That is not a defeat; it is matching the repair to the stakes, which is the heart of the keeper mindset.
A small habit that prevents the emergency
Buttons rarely fail at a convenient moment. The one on your cuff goes just before a meeting; the one on your coat leaves as you head out into the cold. A little foresight removes most of these. Glance at the buttons that take the most strain, the collar, the cuffs, the one at the waistband, before you launder a garment, since the wash cycle is what finishes off an already-loose button. Reinforce the important ones before a trip or an event, when you least want a surprise. Add heavier or reinforced backing buttons to coats and thick garments, where the load on each button is far greater than on a light shirt. None of this takes more than a couple of minutes, and it turns button repair from a recurring small crisis into something you rarely have to think about at all.