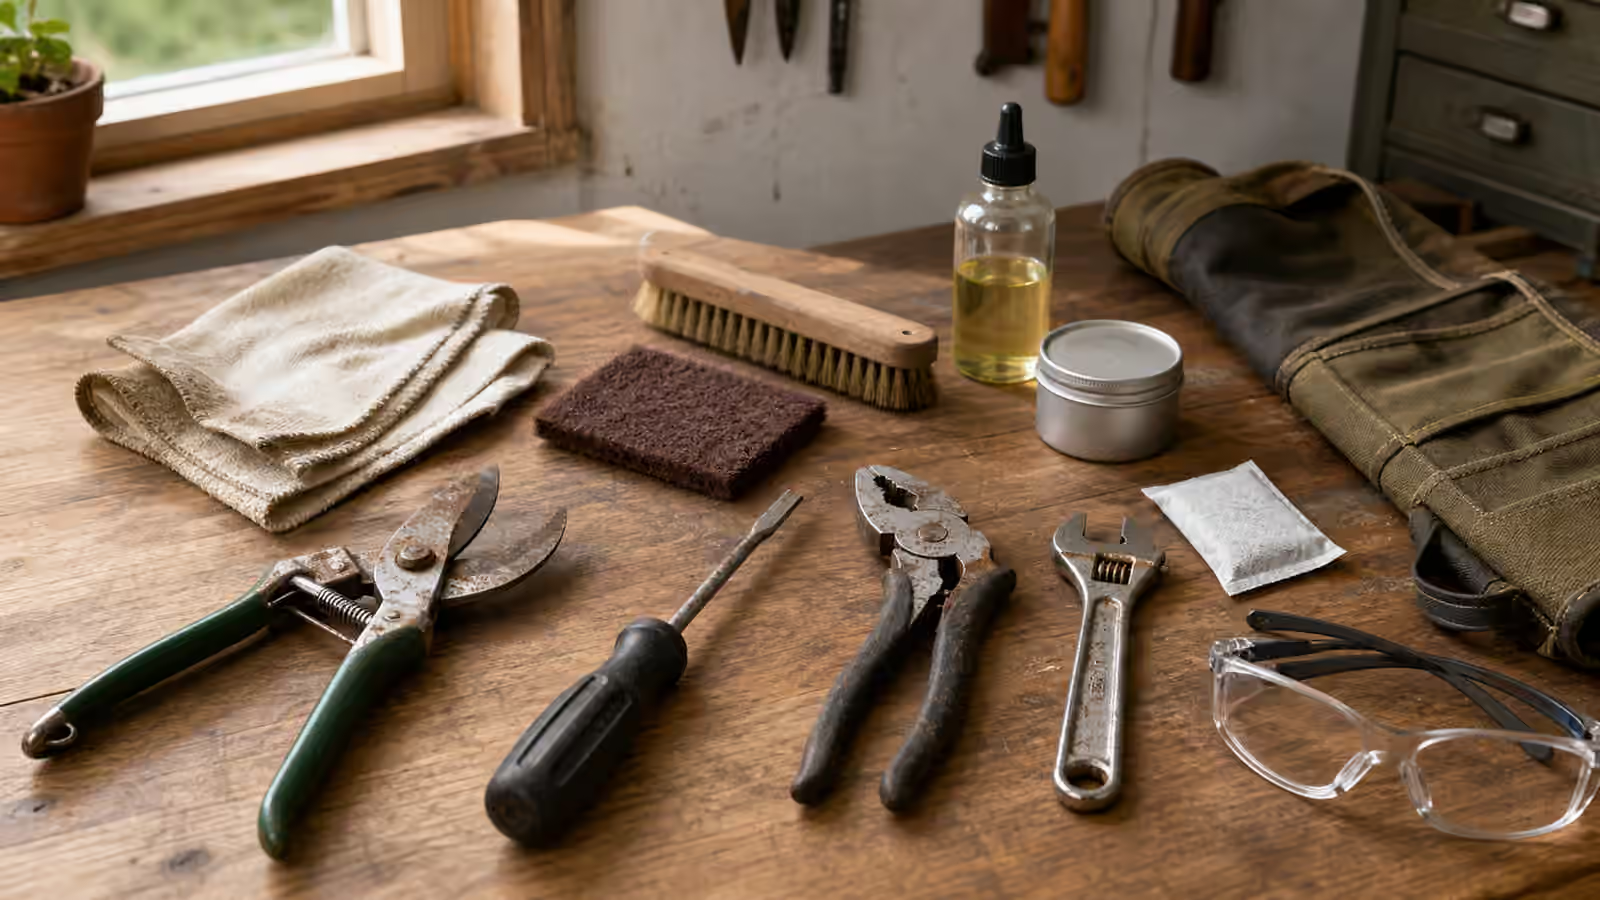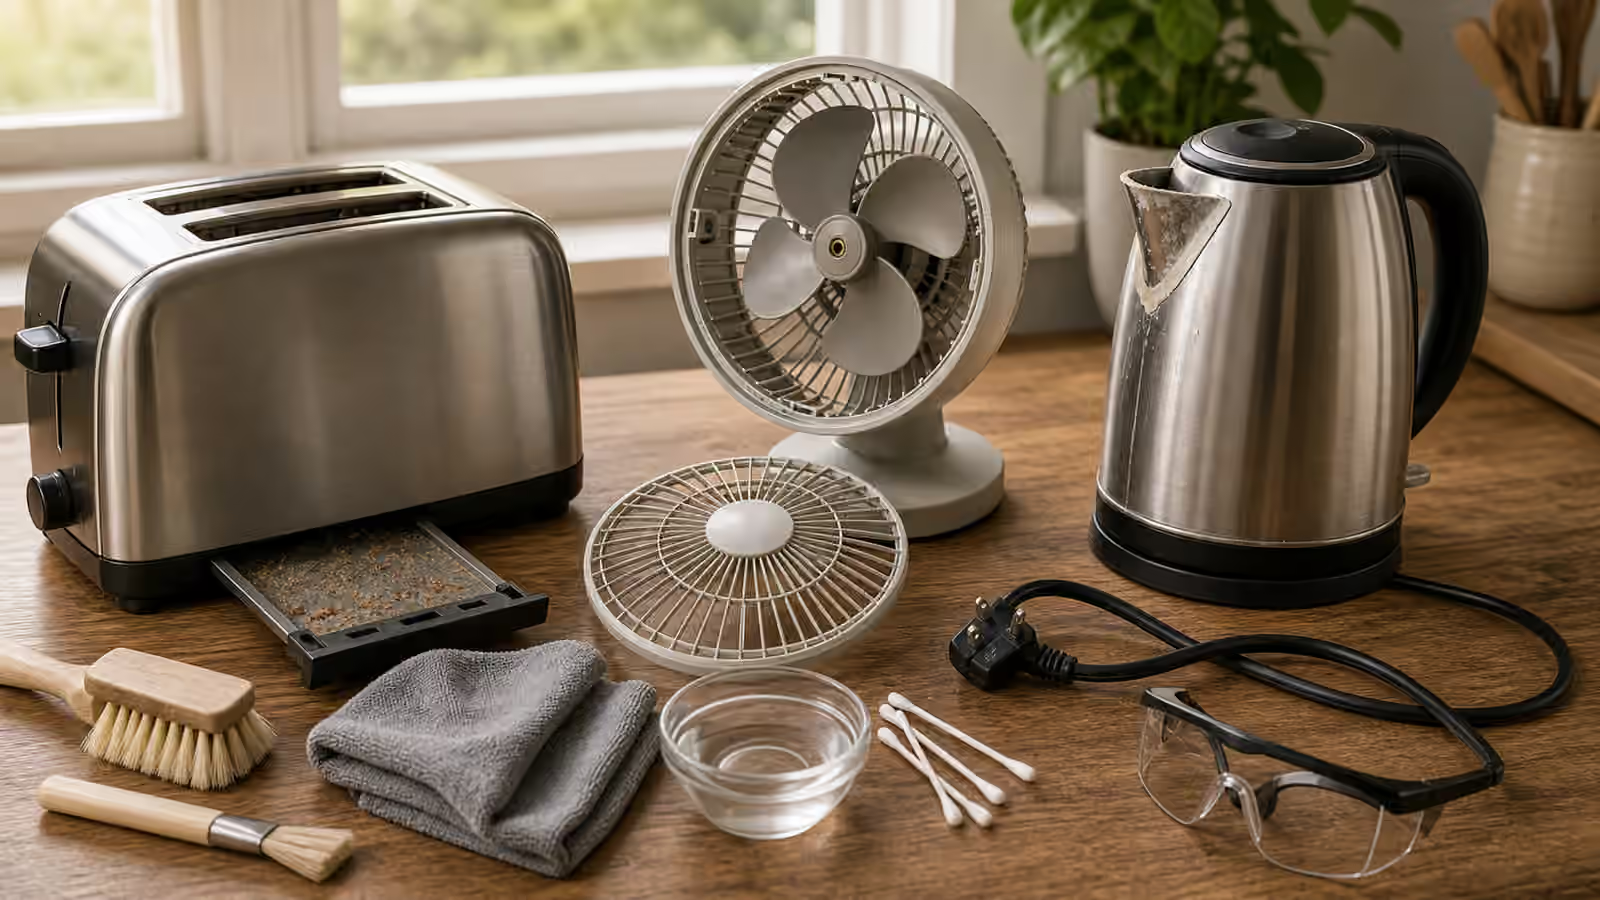
A surprising number of things that seem broken are merely dirty. The zipper that will not glide has lint packed into its teeth. The trimmer that stalls has hair wound around the blade. The touchscreen that ignores you has a film of skin oil over the sensor. The blender that hums without spinning has dried smoothie welding its base. In each case the object is doing exactly what its condition allows, and the first honest move is not to diagnose a fault but to remove everything that is not supposed to be there and look again. Cleaning first is not a chore you do before the real work; on a good number of objects, it is the work.
Cleaning is diagnosis, not punishment
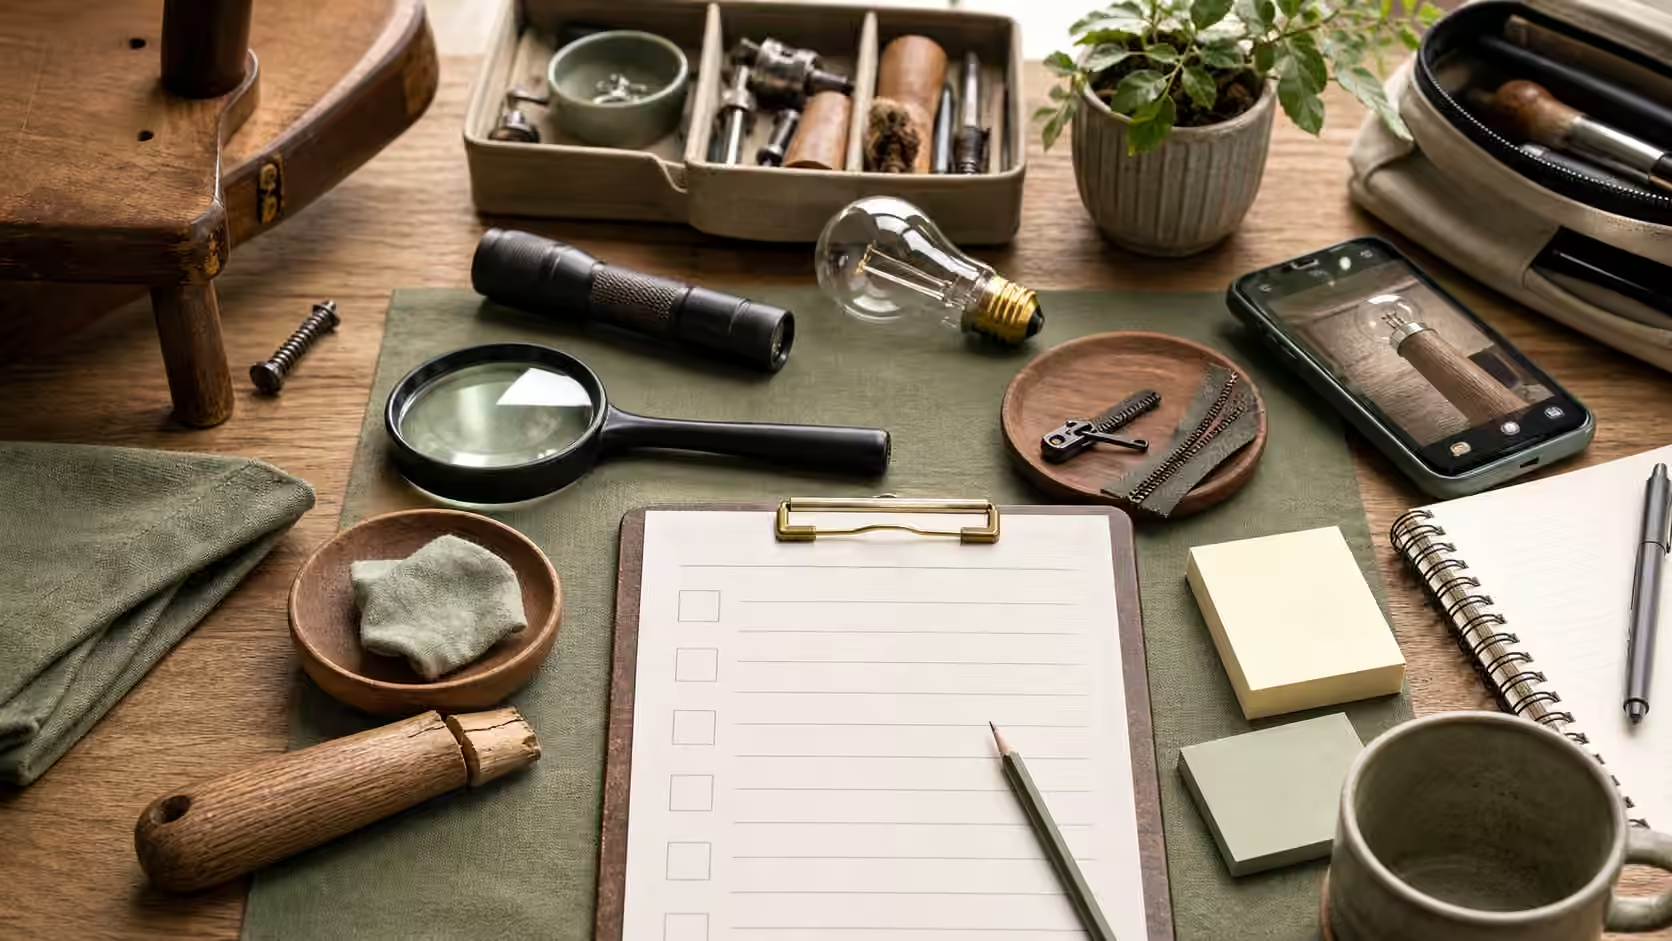
The reason to clean before you decide anything is that dirt hides the actual fault. A grimy hinge and a worn hinge look identical until the grime is gone. A stain and a scratch feel the same under a fingertip until the surface is wiped. When you clean first, you are not being fussy; you are clearing the evidence field so that whatever remains is the real problem. Often nothing remains, and the object simply works, which is the cheapest repair there is. When something does remain, you now know it is a genuine fault and not a passenger of neglect, and that changes what you do next and how much you are willing to spend on it.
It helps to name what kind of soiling you are looking at, because the four common culprits want opposite treatments. Loose grit and dust want to be lifted away dry before any liquid touches them, or you turn them into an abrasive paste. Oils and skin residue want a mild surfactant, a drop of dish soap, to break their grip. Mineral scale from hard water wants a mild acid, but only where the material tolerates one. And corrosion is a different category that is often past the point of simple cleaning. Guess the type before you reach for a product, because the wrong cleaner on the wrong soil can etch, swell, or dull a surface permanently.
Start with the gentlest thing that could work
The governing rule is escalation, and it runs in one direction only. Begin with a dry soft brush to move loose debris out of seams and teeth and mesh. Move to a barely damp microfiber cloth. Only then introduce a little mild dish soap, wipe, rinse the cloth, wipe again, and dry. Alcohol, vinegar, solvents, abrasive pads, and conditioners all sit further up the ladder and get tested on a hidden patch before they touch the visible surface. You can always take a further step; you cannot un-scrub a haze into a polished lens or un-swell a soaked veneer. Working gentle-to-aggressive means the first method that succeeds is also the one that did the least harm, and you stop the moment the object is clean rather than the moment you run out of energy.
The spot test deserves its own respect. On leather, on painted wood, on plated metal, on printed plastic, a cleaner that looks harmless can lift color or dull a coating, and you will not know until it is done. Find an inside corner, an underside, a hidden seam, apply the cleaner there, wait, and check. A cotton swab lets you test a spot the size of a grain of rice, which is all the proof you need before committing to the rest.
The mistakes that turn cleaning into damage
A few habits reliably convert a cleaning into a repair. Mixing cleaners is the dangerous one; certain household combinations produce genuinely harmful gases, and even the harmless-seeming mixes tend to cancel each other out, so nothing is gained and something might be lost. Reaching for an abrasive pad on nonstick coating, polished finishes, screens, camera lenses, suede, or delicate plating is the expensive one, because those surfaces show every scratch and never recover. Conditioning leather or oiling wood while it is still dirty is the sneaky one, because you seal the grime in under the very product meant to protect the surface, and now you have to strip both. And soaking an object because wiping felt slow is the patient person’s undoing: water finds hinge pockets, screw holes, seams, and the inside of electronics, and it does not always come back out. Wiping is slower than soaking for a reason.
Let it dry before you judge it
Drying is the step people skip because the object looks done. It is not done. Water trapped in a hinge, a seam, a screw hole, or a battery compartment does its damage quietly over the following days, and a surface that is still damp can look stained, warped, or cloudy in ways that vanish once it dries fully. Give the object real drying time, upright and with airflow where possible, before you decide whether it is still broken. A remarkable number of “still broken” verdicts are reversed by patience. If, after a full dry, the fault genuinely remains, you have earned a clean diagnosis and can move on to the five beginner moves of tightening, lubricating, patching, gluing, or replacing with confidence that you are fixing a real problem.
Where cleaning-first stops
Not every mess is a job for a cloth and mild soap. Mold contamination, sewage, standing bodily fluids, leaked battery chemistry, fire residue, and unknown chemicals are hazards to you, not merely to the object, and they call for proper protection or a professional rather than a cheerful wipe-down. The same is true whenever a manufacturer’s instructions explicitly forbid a method: the ban usually encodes a failure someone else already discovered. Reading the label or the manual first, especially the line that tells you what never to use, is part of cleaning well.
Build the habit and the small kits
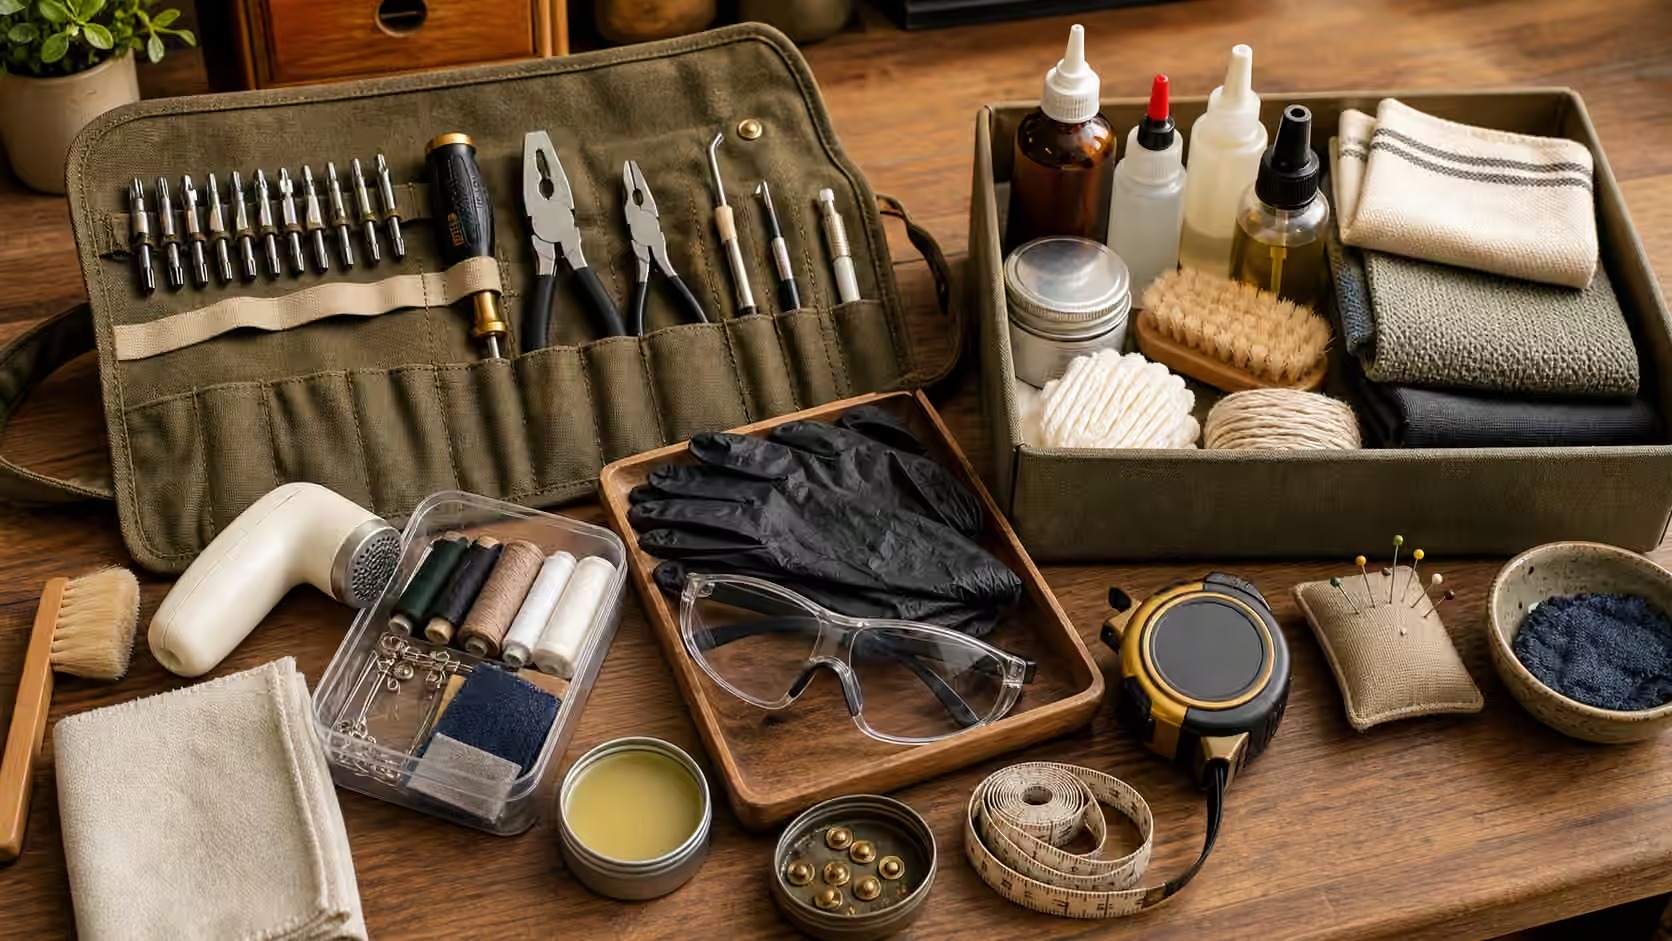
Because cleaning-first is more attitude than technique, it rewards a rhythm more than a big purchase. A quick wipe of high-use tools at the end of the day, a weekly check for lint and crumbs in the things that gather them, a monthly look at filters and gaskets, and a seasonal deeper clean will prevent most of the failures that would otherwise send you searching for a repair. Over time it also pays to assemble small material-specific kits, one for textiles, one for cookware, one for electronics exteriors, so the right gentle option is always within reach and you are never tempted to grab the one aggressive product that happens to be nearby. None of it costs much; a brush, some microfiber, and a bottle of mild soap cover most of a household. The beginner keeper kit covers what to own before something breaks, and the ten-minute triage is where a cleaned, dried, honestly-assessed object goes next when the fault turns out to be real.