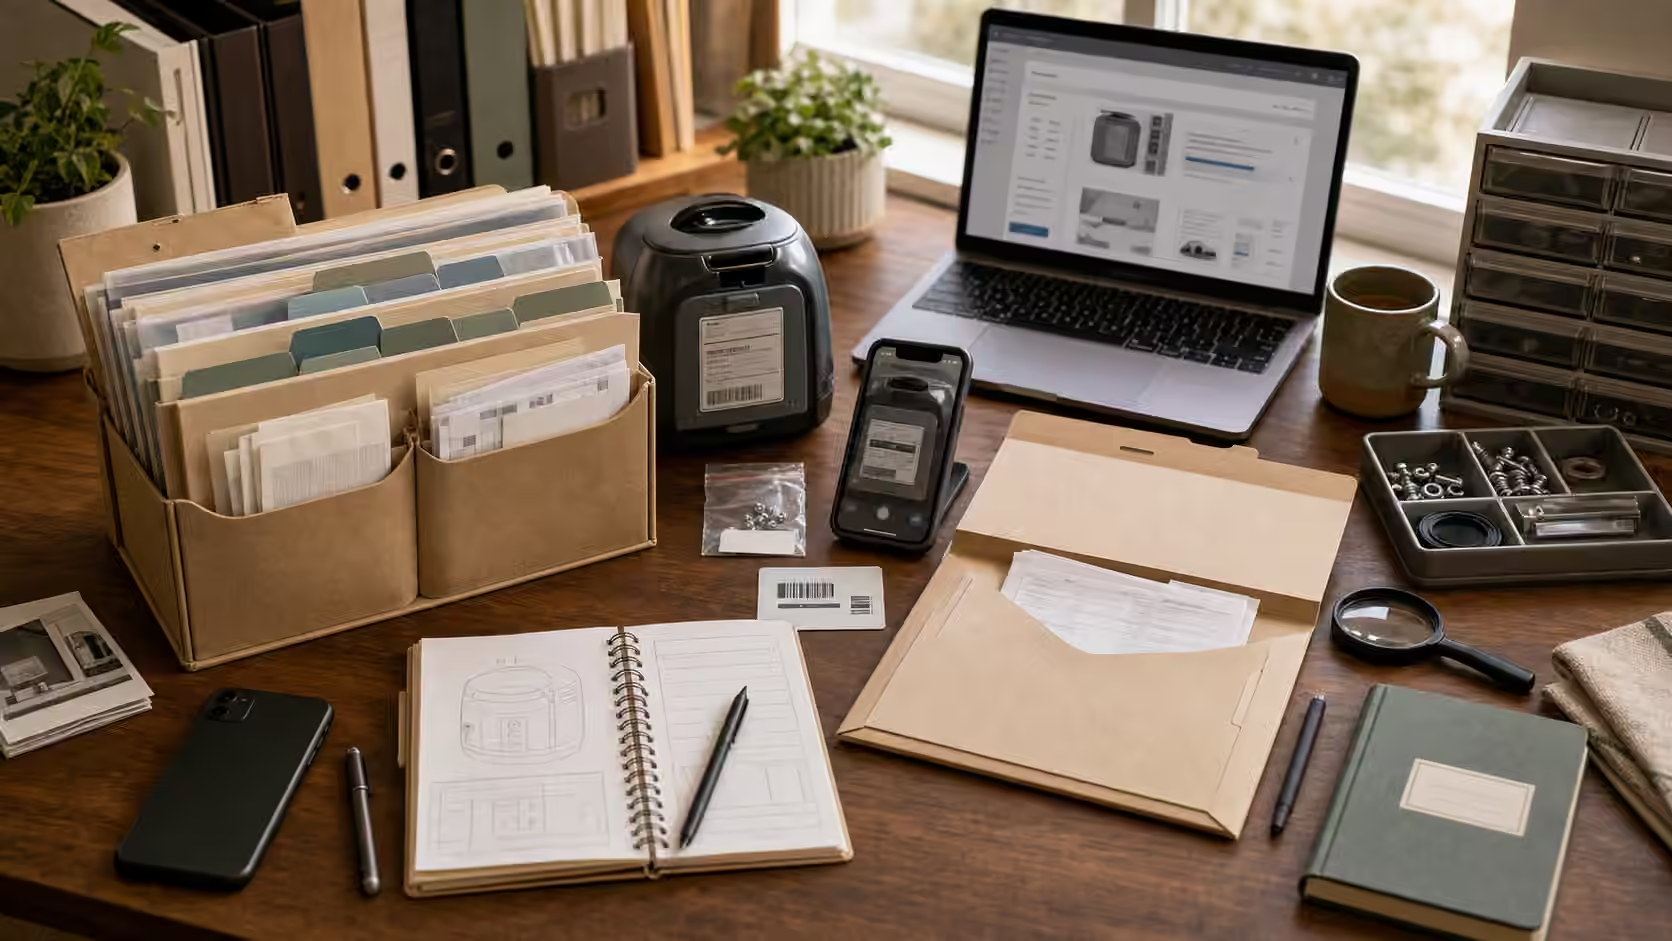
The most valuable repair tool most people own is already in their pocket, and they reach for it too late. A phone camera, used before a single screw comes out, turns a nerve-wracking disassembly into something reversible: you can always put a thing back the way the photos show it. It also turns a vague complaint into a precise one, which is what a repairer needs to quote accurately without seeing the object in person. Photographing before you take anything apart costs nothing and takes a couple of minutes, and it is the closest thing in this whole craft to an undo button. This guide is about doing it well enough that the pictures actually help.
Photos are memory and communication at once
Two different jobs hide inside “take a photo,” and it helps to know which one you are doing. The first is memory: a record of how things were assembled, which way a part faced, how a cable was routed, so that reassembly is a matter of matching pictures rather than remembering. The second is communication: images clear enough that a repair shop, a manufacturer’s support line, or a parts seller can understand the problem and identify the exact model without holding the object. The same photo session serves both, but keeping both purposes in mind changes what you shoot. Memory photos favor orientation and sequence; communication photos favor labels, model numbers, and a clear view of the actual fault.
Wide first, then close, in that order
Start with one wide shot of the whole object before you move or open anything, capturing its overall state and how it sits. This is your baseline, the “before” you can always return to. Then move in close on the things that will matter later: the damage itself, any labels and model or serial numbers, the position and length of fasteners, and the way cables or hoses are routed and clipped. Shoot each fastener location before you remove the fastener, because “which screw went where” is the question that stalls more reassemblies than any other, and long and short screws in the wrong holes can crack a housing or leave a part loose. If the work is genuinely low risk and reversible, photograph each step as you go, so the sequence in reverse becomes your reassembly guide.
Small habits that make photos usable
A few plain techniques separate a helpful photo from a useless one. Include something for scale, a coin or a small ruler beside the damage, so size reads correctly later. Get real light on the subject and avoid firing the flash straight at a shiny label, which blows out the very numbers you were trying to capture; angling the object or using softer side light keeps text readable. Do not trust a zoomed, blurry crop for a model number; move the phone closer and let it focus, because a misread digit sends you the wrong part. Photograph the underside and back, where model plates and date codes usually hide, and do it while the object is intact rather than after pieces are scattered. And keep the whole object in frame at least once, not just the broken corner, because context is often what tells a repairer what they are looking at.
Keep the parts in order as you shoot
Disassembly and documentation should move together. Lay removed parts out in the order they came off, in a tray or on a strip of masking tape, and photograph the tray so the sequence is captured, not just held in your short-term memory. Little tape flags labeled with a step number or a location, “top left,” “faces out,” turn a pile of identical screws into a map. The point is that the photos and the physical layout back each other up: if you lose track, either the tray or the pictures can rescue you. This is also where a repair stops being irreversible in your mind. Knowing you can retrace every step lowers the pressure that makes people rush the one move they cannot take back.
The camera is not a reason to reach into danger
Documentation is a low-risk activity, but it must not become an excuse to enter a high-risk zone for a better angle. Do not reach into live electrical areas, hot surfaces, sharp mechanisms, moldy cavities, or anything under spring tension or structural load just to get the shot. On objects that carry mains power, gas, stored electrical charge, swollen batteries, or structural risk, the honest boundary is that documentation is as far as a keeper goes: photograph the outside, the model plate, and the visible fault, and then hand it to a professional rather than opening it. A good picture is never worth a burn, a shock, or a cut, and no repairer wants a photo taken from inside a danger they would have told you to stay out of.
Turn the photos into something you can find later
Photos only help if you can find them when you need them, which is why the last step is filing, not shooting. Attach the best images to your Save Log entry and to any repair-quote request, and adopt a simple naming pattern, object, date, model, and outcome, so a search months later actually surfaces them. Build the habit at the front end too: when a new appliance or device enters the home, photograph its model plate, its receipt, and how it was set up, so the reference exists long before anything goes wrong. This costs nothing and is one of the highest-return maintenance habits there is. The pictures feed directly into the rest of your ownership records, alongside the warranty folder , the search for a legitimate manual without malware , and the judgment calls in replacement parts . A clear set of before photos is the quiet groundwork that makes every later repair decision easier.